Showing posts with label Grilled Food. Show all posts

Sunday, August 12, 2012

Prime Rib and Did that Chunk of Meat Just Talk to Me?

I've been gone for a couple of weeks due to a trip back to Michigan and after we got back I didn't feel like cooking until the weekend rolled around.  Once the weekend rolled around the big question was "What to cook?"  This morning, during breakfast and my weekly two eggs over easy and toast, I pulled out one of my Weber cookbooks and started scouring through recipes trying to develop ideas.  The pork wasn't tripping my trigger and the wife doesn't like lamb so I turned to the beef section.  Beef, yeah sounds good to me and it's been awhile since we had any beef.  After looking through the recipes I settled on a beef tenderloin recipe, it sure looks good, time to head for the store.  

The first store I went too I wasn't happy with the beef selection at all so it's off to the next store.  Once I get to the next store I head to the back where the meat case is located.  I always go past the display case where the in store butcher is behind the counter to check out the steaks.  This particular store always has a good looking meat display and sometimes they have good sales, this week was no exception.  The prime rib roast was on sale this week and it was talking to me.  (The great thing about the prime rib roast, even though it can be pricey to purchase, is I can get 3 different meals out of one roast, prime rib (obviously), Mongolian Beef later in the week and maybe my favorite Philly Cheese Steaks.)  Of course I answered the rib roast and told it "I'll be back if the beef tenderloin thing doesn't work out."   Somehow I knew I would be lured back to that rib roast.

I headed over to the other meat display case, where there isn't a butcher to help, and found the tenderloin.  The tenderloin was talking too but I didn't like what I was hearing.  All they had were large tenderloins and they were anywhere from $80 to $100.  Ah, I don't think so, can't spend that for an afternoon of grilling.  By now, as you may have already guessed, the rib roast is yelling loud an clear, "COME BACK, COME BACK!"  I did go back and bought a 4-1/2 pound rib roast and proceeded to change my afternoon plans.  

When it comes to beef, especially rib roast, I like to keep it simple.  If the meat is good quality the flavor will come out with little coaxing.  This is a big chunk of meat and as soon as I get home I want to season it.    The first thing I do is cover the entire hunk of meat with olive oil to help the seasonings adhere.  Liberally, I sprinkle coarse seas salt, fresh ground pepper and granulated garlic and wrap it will plastic wrap and put it in the frig for a few hours.  
 An hour before loading this big boy on the grill I take it out of the frig so it can come up to room temperature.  During this hour I take the time to get the grill ready.  Normally, I use the smoker to cook a rib roast but since I bought a rotisserie this spring I decided to roast this bad boy.  I got the charcoal going and threw in a couple of chunks of hickory wood for some smokey flavor.
 I let this roast spin for 1-1/2 hours at 400 degrees F until I had an internal temperature of 125 degrees F, a good medium rare for me.  One thing to remember, with any large piece of meat, is it will continue to cook after it is removed from the heat.  I didn't measure the internal temperature after I let the roast rest for 15-20 minutes but I would guess it was someplace in the low 130 degree F. range.  
 
Mmm, good stuff right there.  Crispy exterior loaded with flavor from the seasoning.  Smoky hickory wood flavor but not too strong, just the way I like it.  This roast was loaded with flavor and I can't wait until later in the week when I get to make philly cheese steaks with the leftovers.  

The next time you walk by the meat display case listen closely, you never know what might be talking to you.


Monday, July 16, 2012

Spinning and Roasting Pineapple While Keeping OSHA Out of the Backyard


I'm always looking for something a little different for the grill and also look for ideas for my rotisserie so when little sis posted a spit roasted pineapple recipe on Facebook I perked up. Now mind you, not just grilled pineapple but grilled pineapple on a rotisserie, don't get much better than that.  

I've grilled pineapple before but always as spears or cut up in rounds mainly because I didn't own a rotisserie at the time.  All the pineapple I've grilled have been good but the use of a rotisserie took the pineapple to a whole new level.  

To properly roast a pineapple we first must start with fresh pineapple, available at most grocery stores.  Fresh pineapples normally are pretty east to spot, due to their size and rather large greens on top.  This pineapple could be a little riper but it was the best I could find at the store this week.  

It's not hard to cut up a pineapple if you follow a few simple rules with rule number one being don't cut towards yourself, isn't that right John?  If I keep him around I'll have OSHA camped out in my back yard writing safety violations.  Follow the link I provided and it will explain how to cut up a pineapple better than I ever could.  

Once the pineapple is ready for the spit it's a matter of pushing the spit through the pineapple, being careful not to push the spit through the pineapple and your hand or you'll end up like John again, with a bandage around your hand.  After the pineapple is on the spit, and no extra holes in your body, it's time to assemble the cast of characters.  It's a simple cast starting with:

  • 3 Tablespoons melted butter
  • 1 Cup sugar (I used sugar in the raw)
  • 2 Tablespoons ground cinnamon
  • 1 Teaspoon ground cloves
Mix the sugar, cinnamon and cloves.

Now it's time to fire up the grill and get it hot.  My grill had cooled off a bit since I used it to cook dinner that night so it took about an hour to roast the pineapple at 350 degrees.  The butter is basted on throughout the roasting time with the sugar mixture applied at the same time.
 It makes me drool just to look at the photo.  Like the wife said "What's not to like?  You got butter, sugar, cinnamon and cloves."

The last decision to be made is how to serve it.  The original recipe gives good options with one being with whipped cream.
No doubt that's a good option but my favorite, vanilla ice cream.
 That's hard to beat in my world.

Regardless what you choose, roasted pineapple on the rotisserie is hard to beat, simple and delicious, let's give it a 5 out of 5 forks.


Saturday, June 30, 2012

Sriracha Chicken Wings


Chicken wings, chicken wings, chicken wings, so many ways to cook and almost all are good.  Most chicken wings found in restaurants are deep fried and coated with hot sauce.  As the story goes the original chicken wing was concocted at the Anchor Bar in Buffalo New York, hence the name Buffalo Chicken Wing, clever.  

Since I rarely, if ever, deep fry anything I make my chicken wings in the oven in the winter and on the grill in the summer.  My personal favorite is the grill so anytime I see grilled chicken wings pop up on one of the barbecue blogs I follow I usually take note.  That was the case a few weeks ago when I came across a blog post with grilled chicken wings using sriracha chili sauce.  Since I happen to have the sriracha chili sauce in the frig, from a family recipe a few weeks ago, it just seemed like one of those moments when everything comes together and the subconscious says to me "Make these wings, make these wings."  Since I can't find the original blog post you will have to follow along to find out how to make these sweet, spicy, delicious wings.  I have changed the recipe from the original because I either 1) Didn't have the ingredients from the original recipe and need to substitute what I did have or 2) I needed to use up the ingredients I did have before I threw them out.  Either way, the results speak for themselves.  

Usually, I sprinkle a little seasoning on the wings and slap them on a hot grill but these wings need to be marinated.  The cast of characters for this episode include (in no particular order):
3-4 pounds chicken wings
1 cup chicken broth
1/2 cup sriracha chili sauce
1/4 cup brown sugar
1/2 medium sized onion, chopped
2 tbsp garlic, minced
Salt
Pepper
Cajun seasoning (I use Emeril's Essence)

All ingredients get mixed together, other than the chicken wings and cajun seasoning, and set to the side.  Next, time to get the chicken wings ready.  I always start by cutting the wing tip off and discarding.  After that, sometimes I'll cut the wing apart at the next joint but this time I decided to leave the wing whole.  Next, sprinkle the chicken with the cajun seasoning, put in a resealable plastic bag, and pour the marinade over the wings.  Put the wings in the frig and walk away, just walk away, for at least 2 hours and preferably overnight.

I let the chicken wings marinate overnight and what a night it was.  Thunderstorms rolled through with winds up to 80 MPH and left 1.5 million people without electricity.  We were lucky and got our electricity back early this morning and the second most important utility, the internet, back in the middle of the afternoon.

Now is the time to fire up the grill, don't need electricity for that, and get it ready to cook wings.  The original recipe said to cook the wings in the marinating liquid for 45 minutes uncovered and then 45 minutes covered.  Then, after that, grill over the hot coals, or flame if you use gas, while basting with the liquid.  The first time I cooked wings using this recipe I did all that and the results were good but since I like to keep my chicken wings simple this time I cooked them over the hot coals until the skin was crispy and then finished them over indirect heat.  However you choose to cook your wings they will turn out good either way.

Regardless how you decide to cook your wings, while the wings are cooking, it's time to make the chicken wing sauce.  The classic sauce, and I think the original, is made up of Frank's Red Hot and butter.  No doubt a good chicken wing sauce but when I saw this particular recipe with sriracha sauce (and if you remember I also had a bottle in the frig) I knew I needed to try it.  The original recipe is as follows:
1/2 cup butter
1/2 cup of sriracha chili sauce
1/2 cup clover honey

Mix ingredients together.
Once again, since I didn't have any clover honey, although I did have regular honey, I decided to use barley malt instead, again left over from a previous recipe.
The barley malt definitely brings a different flavor to the party and one which I like.  I should also mention I only use half the butter the original recipe calls for and only because I really don't need all that butter.


After the wings are cooked it's time to pour the wing sauce over them and serve.
There's some good grub right there, a little spicy, a little sweet, a lot messy, and another way to enjoy those tasty chicken wings.


Sunday, June 24, 2012

Bacon, Lettuce and Tomato, Not Just for Sandwiches Anymore


"Nothing burps better than bacon." - Dutch Dooley.

I couldn't agree more with Dutch and I think there is nothing better in this world than a good slab of bacon.  Bacon should have its own food group and I think Emeril was right, it would make a car bumper taste good.  And speaking of tasting good why is it that everything that taste good isn't good for you?  I haven't quite figured that one out yet.

My favorite sandwich since I was knee high to a grasshopper is the bacon, lettuce and tomato sandwich.  I love the smokey flavor of the bacon along with the crunch from crispy bacon that's just been cooked and for some reason it just seems to go with a big, cold slice of tomato and crispy piece of lettuce.  I don't know who invented the BLT sandwich but they sure hit a winner.  

Lately, I've been into making pizza, all kinds of pizza.  Since it can be hard to find good pizza these days, more and more I make my own.  Making pizza isn't difficult, the pizza dough is probably the toughest part and even that isn't too tough.  And once the pizza dough is ready it's as easy as piling on your favorite toppings.  Today my toppings are bacon, lettuce and tomato for a BLT pizza.

There are several recipes available on the net for BLT recipes but the BLT pizza recipe I chose is the one my daughter posted a few months back for our weekly family dinner recipes.  I made some slight tweaks, after all recipes are only guidelines, to the original recipe but the outcome is the same.  I used asiago cheese instead of mozzarella and mixed greens for the lettuce, all because it's what I had in the frig that needed to be used up.  

A few weeks back a guy told me if you are going to be a true pizza pie maker make sure you use a pizza peel.  It's a good thing I happen to have own one but I'm not sure it helps to make a better pizza.  

My choice of cooking vessels, especially this time of year, is my trusty grill.  Since I prefer the traditional style pizza I try to have a grill temperature around 400 degrees.  I think the lower temperatures helps to cook the crust throughout before the outside crust burns.   When I make a thin crust pizza I try to get the grill as hot as possible.  The grill also gives a flavor that can't be matched in a conventional oven.  

As you can see from the photo below I also used whatever tomatoes we had available.  
I really do use the pizza peel.
 Now that's good grub and remember what Dutch said, "Nothing burps better than bacon."


Saturday, June 16, 2012

The Best Steak I Ever Made

I
I'll admit it, I'm a Food Network junkie.  This time of year, right after Washington Nationals baseball, it's my most watch TV channel.  Every year after Memorial Day Weekend the Food Network airs a week of barbecue and grilling and I set my dvr to record many shows during the week so I can watch them later and to also save shows that have recipes I want to try.  This particular recipe idea for this post came from a show called The Best Thing I Ever Made during the grilling week specials.  For those of you not familiar with the show several chefs from The Food Network will share the best thing they ever made, along with the recipes and how to prepare them, on the show.  Every week the show has a theme and of course during grilling week the theme was.............wait for it.........Grilling!!!

Although there were many good ideas and recipes on that show the one that stood out to me was the Grilled  Ribeye Steak by Chef Geoffrey Zakarian.  In my never ending quest to grill a better steak I immediately filed this recipe away for later.  Chef Zakarian didn't give me any earth shattering information I didn't already know but he did use a little different method than I normally use.  His ingredient list is simple enough, olive oil, salt, pepper and a little pad of butter applied after grilling but it is when he applies all the ingredients, other than the butter, that is different.  My normal method is to get the steak out of the frig before I go out to start the grill and this is when I apply oil, salt and pepper.  If you checked the Grilled Ribeye Steak link above you will notice Chef Zakarian use a ribeye steak 2-1/2 inches thick.  What he said during the program was a thick steak like that needs plenty of salt and pepper and plenty of time to absorb the salt and pepper. He salt and peppered the steak the night before and let it sit in the frig.  The next day he got the steak out a hour before he wanted to grill to give it a chance to come up to room temperature (this also helps to cook the steak more evenly once on the grill).  Since my steaks were only 1-1/2 inches thick I applied the salt and pepper in the morning of the day I planned on cooking them.  

My choice of charcoal for cooking the steaks was the hardwood type charcoal.  I also knew I wanted a hot fire, the hardwood charcoal burns much hotter than the regular charcoal, so I decided to put a pan under my charcoal holders so the grate sat on top of the coals.  I watched Alton Brown on Good Eats cook steak on top of charcoal and it always intrigued me.  I'll admit, I don't think I will ever be able to put meat in direct contact with the charcoal but none the less, I still wanted to try something similar.  After the grill was ready I had one hot fire and it was time to get the steaks.

I made sure I didn't go far while cooking the steaks because I didn't want the steaks to end up as as big chunk of charcoal.  I cooked the steaks 5 minutes on each side, alternating with the lid up and with the lid down.  I only put the lid down whenever I thought the fire was going to flame up but once I was convinced fire wasn't going to engulf the steaks and turn them into blackened shoe leather I left the lid up.  After the steaks had sufficient sear marks on each side I slid them to the "cool" side of the grill and let them finish cooking for another 10 minutes until they were a perfect medium rare.  

Hot off the grill and tempting to pick up by the bone and start eating.  But I can't do that because these steaks need to rest for 15 minutes.  The recipe also calls for a pad of french butter to be added to the steaks while resting.  I'm not sure what "french" butter is or what makes it different but since I had some Lancaster County Pennsylvania Amish butter I used that instead.
Once rested, it was time to slice the steaks and get them ready for their final resting place, my plate.  I got to admit though, after I sliced the meat off the bone I did pick up the bones and chew the remaining meat off.  After chewing on a bone I can see why dogs fight over steak bones.  
The steak was served on a simple salad, leafy greens, red onions, red peppers and sweet grape tomatoes.  This might be the best way to eat a steak.
So simple and yet so delicious.  How did the steak turn out?  It's the best steak I ever made and gets a perfect 5 out of 5 forks.  You would have to search far and wide to find a fancy steak joint that could serve a steak as good on this.

Original Recipe

Grilled Rib Eye Steak with Romaine Marmalade and Watercress

Tuesday, June 12, 2012

Barbecue Chicken Pizza Part Deux


If you read the last post you will know I made some barbecue chicken.  If you didn't read the last post go ahead and it now, don't worry I'll wait.......................................................Done? Okay let's roll.


For those people that know me you know there is only three in our household and most days or nights there are only two of us for dinner so you may be wondering "Why did he cook 2 chickens when there are only three people to feed?"

Well, the answer is simple, especially if you opened your eyes and saw the first photo, Barbecue Chicken Pizza.  If you have never tried a Barbecue Chicken Pizza it's definitely a must try.  I have made BBQ Chicken Pizza before using different ingredients and different ways of cooking.  Until recently, I have had limited success with pizza on the grill but I think I got it down now.  I have been fairly successful with thin crust pizza on the grill, in my opinion much easier to make than the traditional style, but I prefer the traditional style crust.  I was going to post the recipe for the pizza dough but I think I will save that for a post all by itself.  I will tell you this though, it is the best pizza crust I have found to date and this particular pizza crust was 50% white flour and 50% wheat flour.

As far as the ingredients go for the pizza itself it's fairly short list.  The cast of characters include: leftover bbq pizza from the Sunday cookout, red pepper, sweet onion, barbecue sauce, and some green onion because it was in the vegetable drawer and needed to be used.  Ingredients can vary and the only reason I used these particular ingredients is because I had them on hand.  Cheese can vary too with my normal favorite for bbq chicken pizza being asiago but since I used what I had in the frig I used baby swiss with a little pecorino and parmesean shredded on top.  If you notice the cheese didn't make the photo shoot because it's either A) To shy to show up and have its picture taken or B) The photographer forgot it, take your pick.

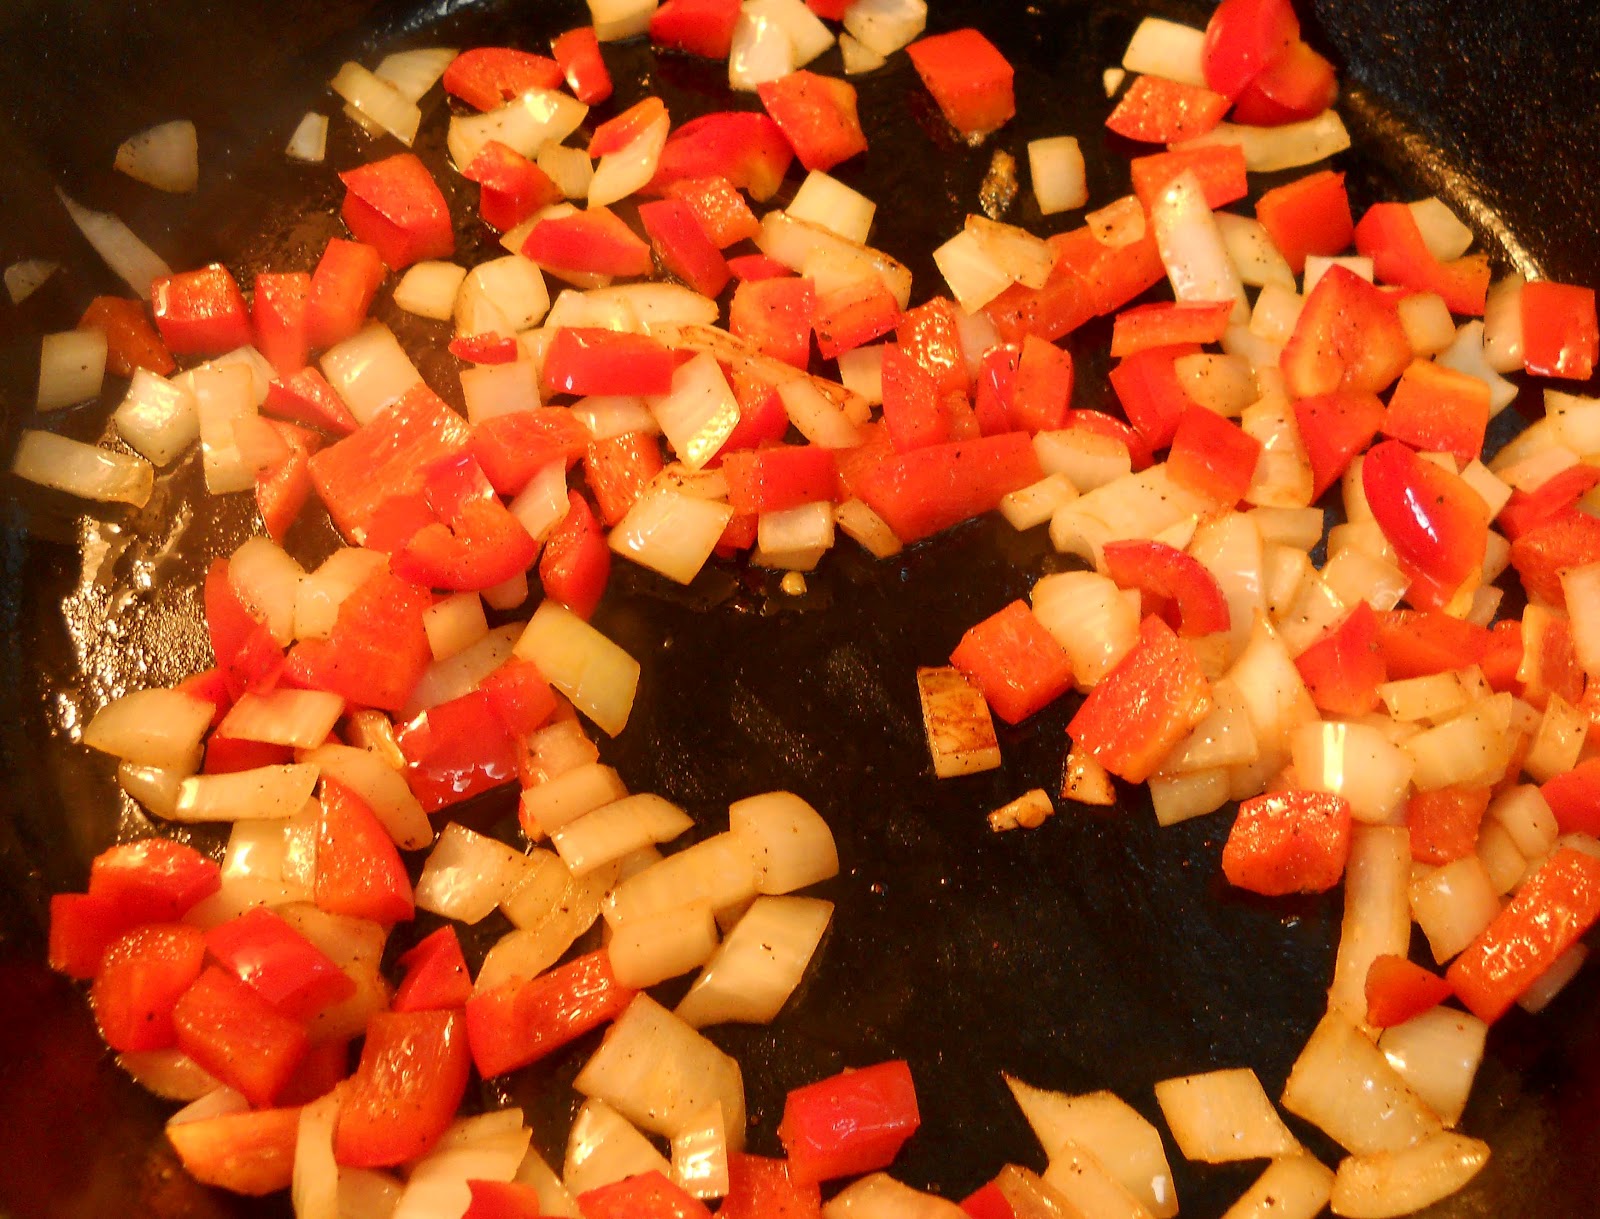
I like to saute the onions and red pepper on the stove top for a few minutes before putting them on the pizza.  I also throw a little fresh garlic in the pan at the end until fragrant.   

Building the pizza is easier than building a box out of Lego's, pizza dough, favorite barbecue sauce, cheese, red peppers and onions, chicken and more shredded cheese on top.  And oh yeah, don't forget the green onions I needed to use up from the veggie compartment in the frig.  Also, notice the pizza peel under the pizza, I was told you can't be a pizza pie maker if you don't have a pizza peel.  I'm not sure the pizza peel makes me any more of an expert but I'm sure it gets me a step closer.

I've tried all sorts of ways to cook pizza on the grill and here is the way the works the best for me.  I start with a chimney full of charcoal and after the coals are white I for a circle all around the outside of the grill.  I also put four or so hot coals in the middle of the grill so when the pizza stone is laid on the grill it helps to warm it up.  And speaking about warming up the pizza stone, that may be the most important step, making sure plenty of time is given to warm up the stone, at least 10 minutes or more.  I'll bet you noticed how much the grill and stone have been used.  Since I don't have a big budget for buying new grilling equipment for every show like the big boys on Food Network I must work with what I got.

Now that the grill and stone are ready all that's left to do is cook the pizza.
That looks good and we're just getting started.  After 12 to 15 minutes, depending how hot the grill gets, we can take a peek and see how things are going........ 
 Ohh, almost ready, only a couple more minutes.
 My, my, my, that looks good.  All that's left to do is let cool, slice, eat and enjoy.


Sunday, June 10, 2012

Grandma's Barbecue Chicken


Let's climb into the wayback machine and take a trip back 40 years or so to my Grandma Williams cottage.  We land on a fall Sunday afternoon, leaves need to be raked and life jackets put away for the winter.  After the leaves are raked in piles and lit on fire we head for the dock on the lake and catch a few bluegills with kernels of corn.  Meanwhile, grandma drags the old red reliable charcoal grill (I'm not sure gas grills existed in those days), piles up the charcoal in a neat pyramid and douses the charcoal with lighter fluid.  After the lighter fluid soaks into the charcoal she touches a match to the coals and fire slowly spreads from coal to coal until the coals were completely covered with white ash.


While the charcoal is getting ready we know within the next couple of hours we will be treated to barbecue chicken by the unmistakable smell of lighter fluid and charcoal burning.  (Years later, in one of my first attempts to use a charcoal grill, I thought the only way to light charcoal was with lighter fluid.  Of course, being a young buck and impatient, thinking if a little lighter fluid is good then more must be better.  Needless to say those burgers tasted just like lighter fluid and that day I swore off charcoal and shortly thereafter purchased my first gas grill.  A few years later, while in a local store, I came across a chimney starter for lighting charcoal without lighter fluid that would change my grilling life forever.)

I don't now what grandma did to get the chicken ready for the grill, I was too busy being a 13 year old boy to care how barbecue chicken was made.  However, I do know she made the best barbecue chicken on this planet.  My guess is she kept it simple, probably salt and pepper, before she tied it to the rotisserie.  There was no mistaking when the chicken finally made it to the grill.  The constant whining of the rotisserie motor told you chicken was cooking.  The chicken was never balanced properly on the rotisserie and the motor changed to a lower growl when the breast portion of the chicken was lifted upwards.  Once the chicken breast cleared the top the motor pitch increased as gravity helped push the rotisserie motor down.  This continued for a 1-1/2 to 2 hours until the chicken was done.  She would start slathering barbecue sauce on half way through and continue until the chicken was done. The smell was incredible and one of my favorites while growing up. Anyway, back to our trip.......

The chicken is fall off the bone good.  Caramelized barbecue sauce on the skin from the thigh is my favorite part of the chicken with the legs coming in a close second.  Oh so good but it's time to get back in the wayback machine and come back to the present.

A couple of years ago I made barbecue chicken for little sister and asked her if it was as good as grandma made back in the day, much to my disappointment she said no.  Needless to say, I expected that answer and that started my quest towards duplicating grandma's barbecue chicken.  I've made barbecue chicken many different ways, and all are good, but I always knew until I bought a rotisserie I couldn't match grandma.  So a couple of weeks ago I broke down and bought a rotisserie for my Weber grill and it turns out to be one of the better gadgets purchased in the last couple of years.  

I knew simpler was better but I a big believer in brine for anything poultry. I usually keep it simple, apple juice, brown sugar or sugar in the raw, salt, and peppercorns.  I heat it all up on the stove top until the salt and sugar are dissolved and cool it all down with a couple handfuls of ice.  The chicken is submerged in the brine overnight.  The next day I remove the chicken and pat it dry with paper towels.  Once dry, I message canola oil onto the chicken and liberally salt and pepper the outside as well as inside the cavity.  Other seasonings can be added but like I stated earlier, simpler is sometimes better.  

Once the chicken is seasoned it's time to put it on the rotisserie and tie it down so it can't flop all over the place.  On to the grill it goes and spins........
.............and spins..........
 ........and spins.......
 ......and spins for 1-1/2 hours until the chicken is cooked through and the barbecue sauce is caramelized and delicious.
 Is it as good as grandma's?  I won't know until little sister gets a taste but I like to think it is.