Monday, December 29, 2008

Giada's Classic Italian Lasagna

If you remember a couple of weeks ago we made some simple tomato sauce that could be used in a variety of different ways. This is one of the ways to use it. The recipe for the tomato sauce is at the bottom of this post just in case you missed the episode where I made it a couple of weeks ago.

This is another Giada recipe and I must say one of my favorites from her. I made this lasagna a couple of weeks ago and froze it to take it with me to Michigan for one of our meals during Christmas week.

If you have a fast internet connection you should be able to keep up with me but if you have a slow dial up connection good luck. There are over 20 pictures in this episode so we better get this show on the road if we want to finish tonight.

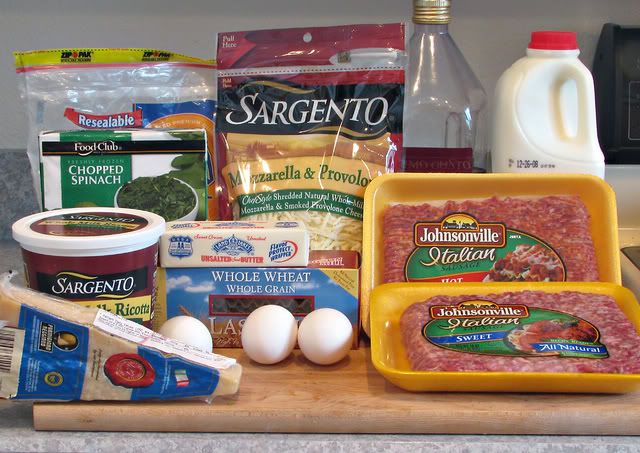
We must first introduce you to the cast of characters for tonights episode.
Photobucket

Quite a good looking cast this week eh? I don't make this very often for one big reason, it's very time consuming. Let's keep rolling.

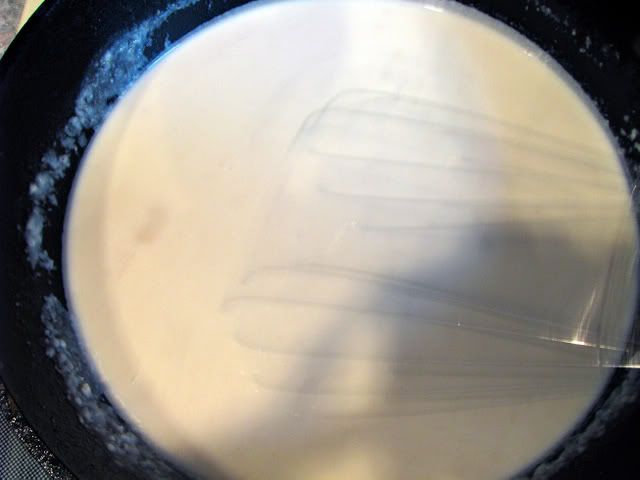
We start by making the bechamel sauce.
Photobucket

It's not very hard it just takes some stirring. Once it is all cooked I add a cup and a half of our tomato sauce we made a couple of days ago. This makes it turn a orange color as you will see in a few more pictures.

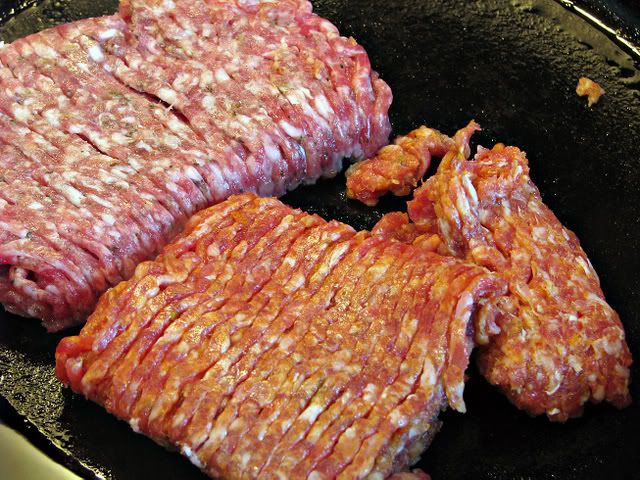
Next, time to brown the sausage. This is where I differ from Giada's recipe because I use a 1/2 pound of Hot Italian Sausage and 1/2 pound of Sweet Italian Sausage.
Photobucket

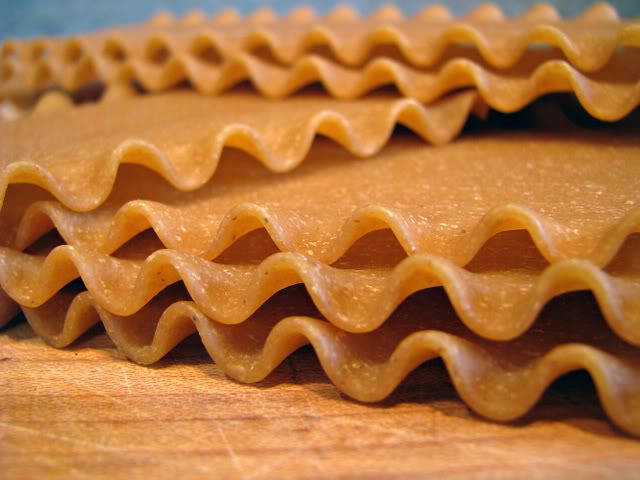
Next it is time to drop the pasta noodles in some boiling water. My choice today is whole wheat. I find the whole wheat is a good balance to the whole milk, cheese, and real butter in this recipe to make it somewhat healthy. Well maybe not but it makes me feel better.
Photobucket

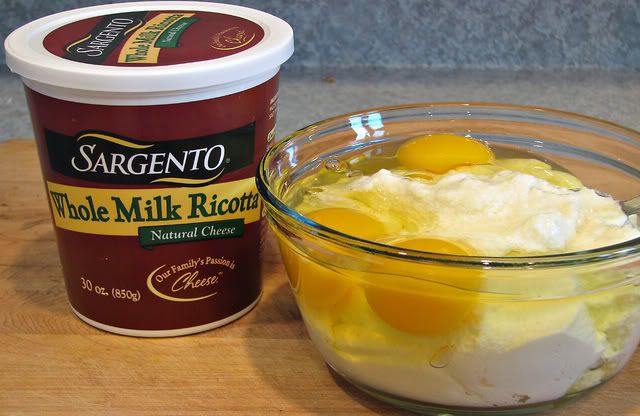
After our meat is browned and the pasta is cooking it's time to mix up the ricotta mixture.
Photobucket

Now it's time to assemble, try to keep up if you can.

Here is everything we need to assemble our lasagna.
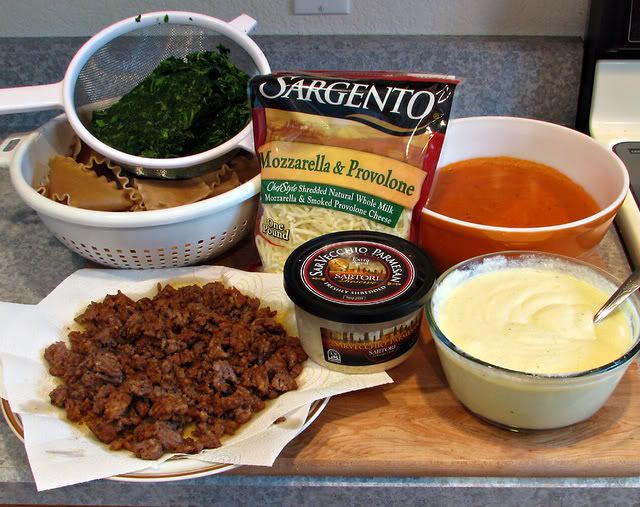
Photobucket

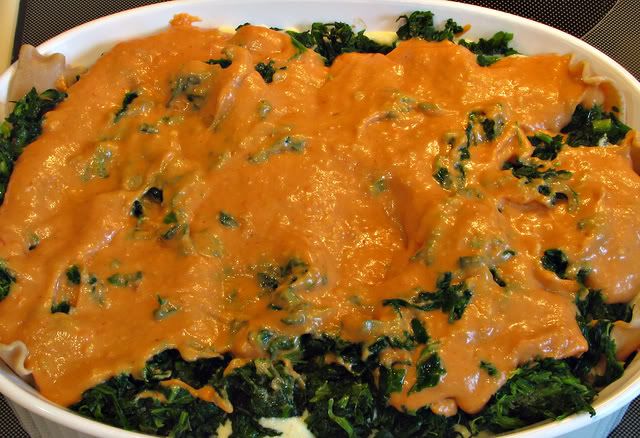
Notice the orange sauce in the upper right corner? That is our bechamel sauce with the simple tomato sauce added.

First a little bechamel sauce on the bottom of the pan.
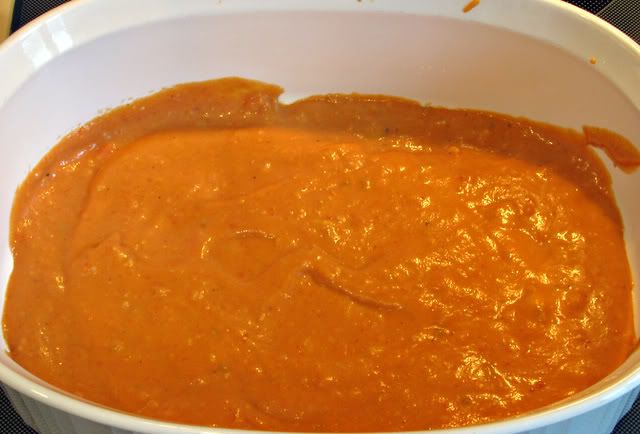
Photobucket

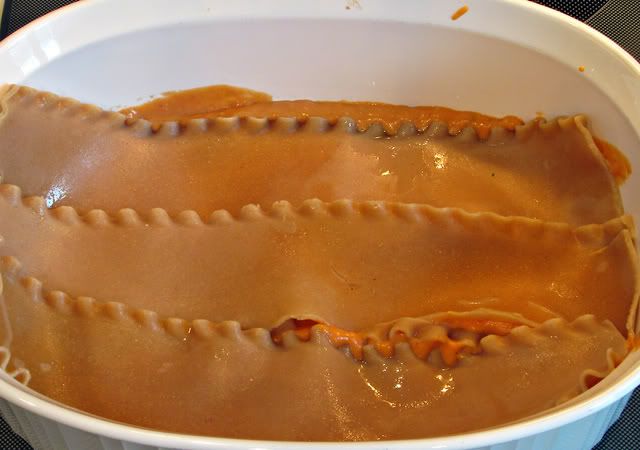
Next a layer of noodles.

Photobucket

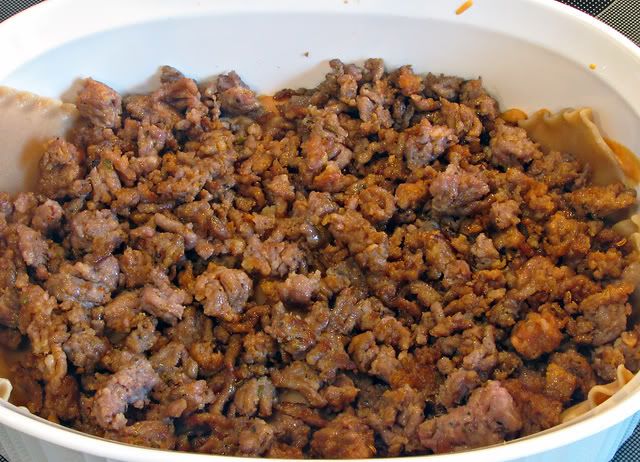
Meat....

Photobucket

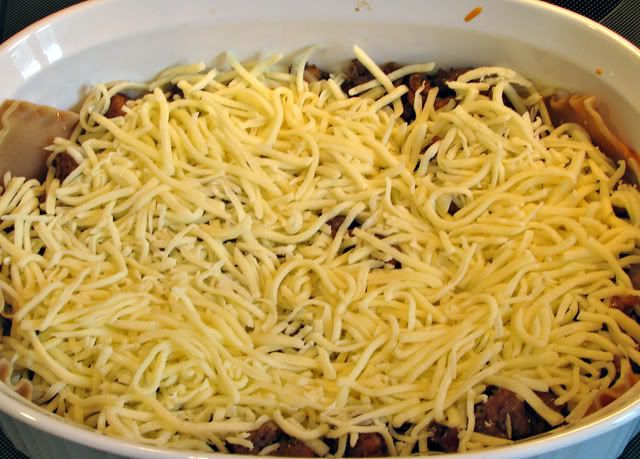
Now cheese, in my case provolone.

Photobucket

More noodles.

Photobucket

Ricotta mixture.

Photobucket

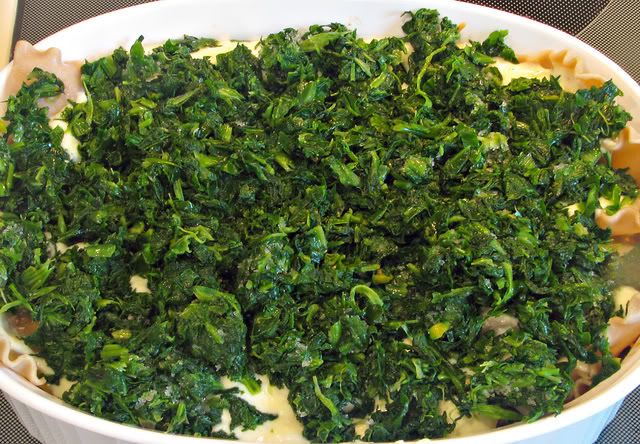
Spinach. More healthy food.

Photobucket

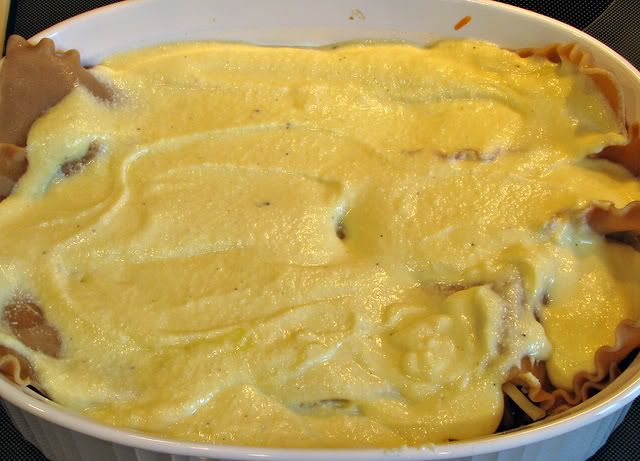
More bechamel suace.

Photobucket

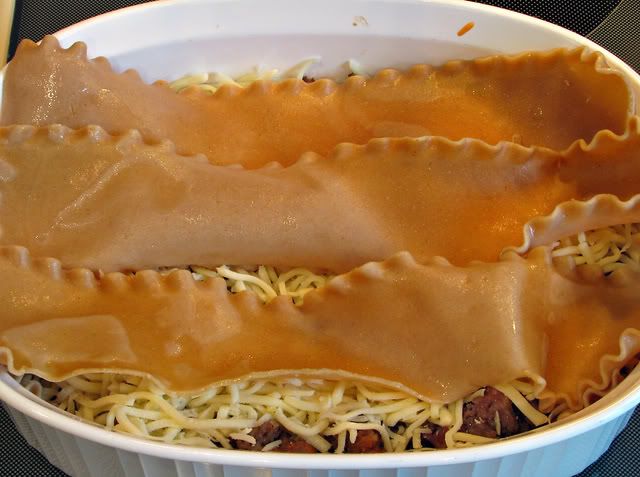
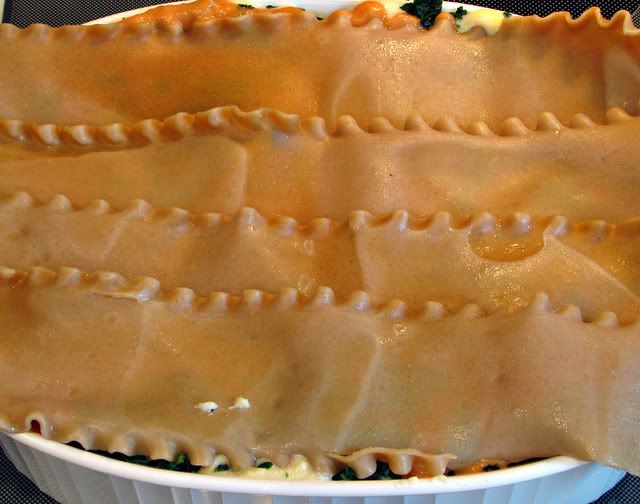
More noodles.

Photobucket

Are you still with me?

Some more sauce and ricotta mixture. If you actually read the recipe down below you will realize I got a little out of order but does it really matter in the end?
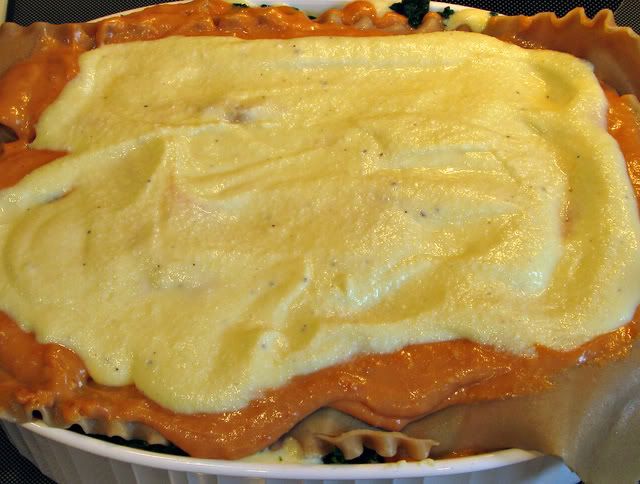
Photobucket

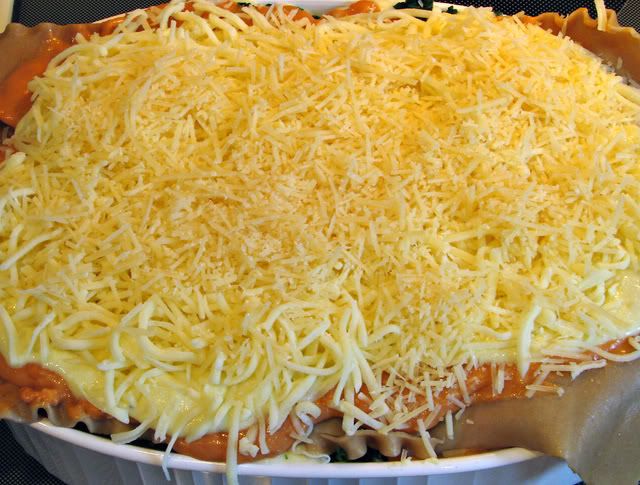
More cheese on top.

Photobucket

Yippe Kay Yayee where done assembling and time to cook.
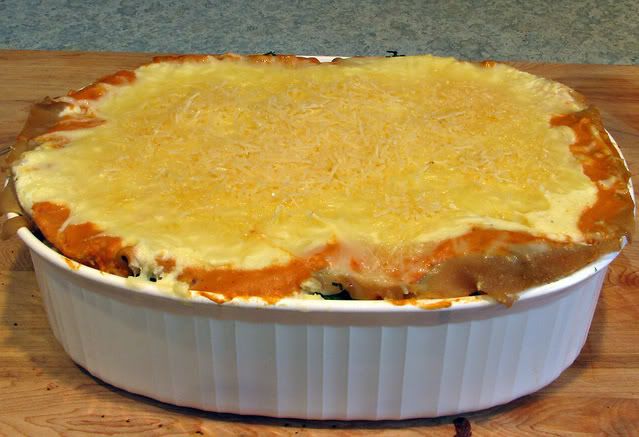
Photobucket

As much as I wanted to eat this as soon as it came out of the oven I knew I had to save it for the following week. This lasagna was traveling to Michigan to be eaten during Christmas week by the family.

Time to fast forward to the following week and once again we catch the lasagna coming out of the oven once again only this time it is 450 miles from the original oven it was cooked in.
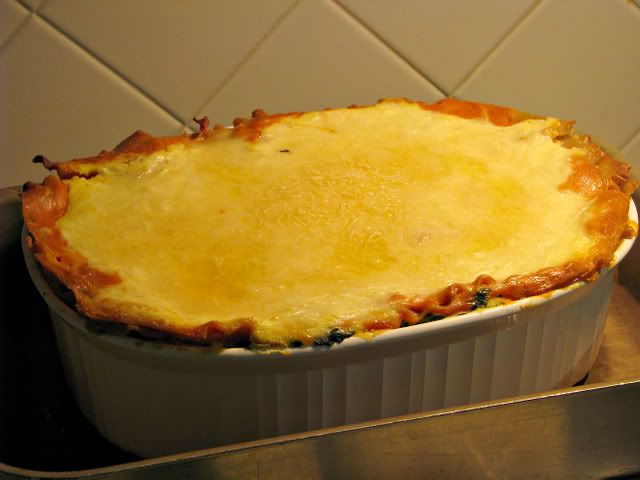
Photobucket

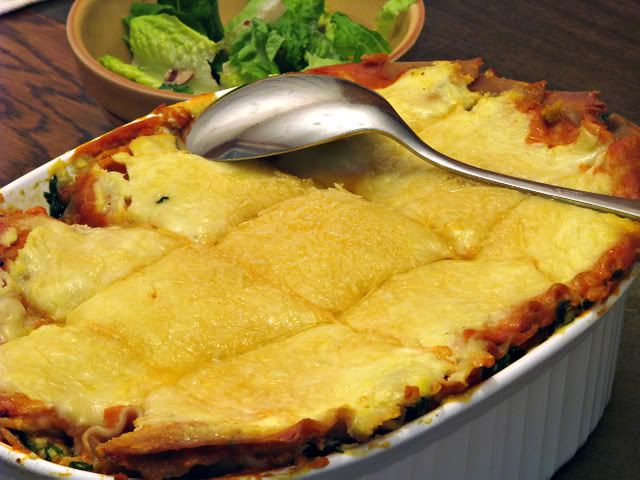
Pretty simple from here just stick it in the oven, set the table.....
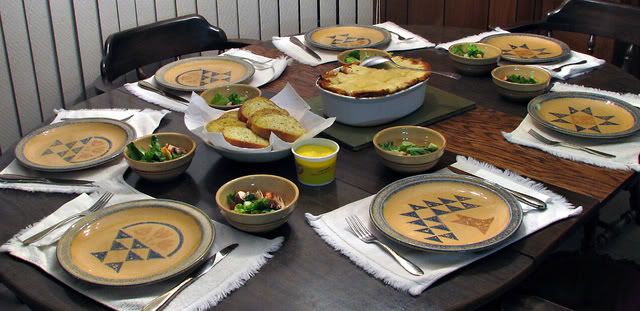
Photobucket

....cut into nice squares.....

Photobucket

...and eat.

Pretty darn good too. This is my favorite lasagna I love the spinach in it. If you have the time and you like lasagna I would recommend this recipe to you.

Classic Italian Lasagna

Béchamel Sauce:
5 tablespoons unsalted butter, plus 2 tablespoons for the lasagna
1/2 cup all-purpose flour
4 cups whole milk at room temperature
Pinch freshly grated nutmeg
1 1/2 cups tomato sauce, recipe follows
Salt and white pepper
1/4 cup extra-virgin olive oil
1 pound ground chuck beef
Salt and pepper
1 1/2 pounds ricotta cheese
3 large eggs
1 pound lasagna sheets, cooked al dente
2 packages (10 ounces each) frozen chopped spinach, thawed and squeezed dry
3 cups shredded mozzarella
1/4 cup freshly grated Parmesan
Preheat oven to 375 degrees F.

Béchamel sauce:
In a 2-quart pot, melt 5 tablespoons of butter over medium heat. When butter has completely melted, add the flour and whisk until smooth, about 2 minutes. Gradually add the milk, whisking constantly to prevent any lumps from forming. Continue to simmer and whisk over medium heat until the sauce is thick, smooth and creamy, about 10 minutes. The sauce should be thick enough to coat the back of wooden spoon. Remove from heat and add the nutmeg and tomato sauce. Stir until well combined and check for seasoning. Set aside and allow to cool completely.

In a sauté pan, heat extra-virgin olive oil. When almost smoking, add the ground beef and season with salt and pepper. Brown meat, breaking any large lumps, until it is no longer pink. Remove from heat and drain any excess fat. Set aside and allow to cool completely.

In a medium sized bowl, thoroughly mix the ricotta and eggs. Season with salt and pepper. Set aside. Into the bottom of a 13 by 9-inch baking dish, spread 1/3 of the béchamel sauce. Arrange the pasta sheets side by side, covering the bottom of the baking dish. Evenly spread a layer of all the ricotta mixture and then a layer of all the spinach. Arrange another layer of pasta sheets and spread all the ground beef on top. Sprinkle 1/2 the mozzarella cheese on top of the beef. Spread another 1/3 of the béchamel sauce. Arrange the final layer of pasta sheets and top with remaining béchamel, mozzarella and Parmesan cheeses. Cut the remaining 2 tablespoons of butter into 1/4-inch cubes and top lasagna.
Line a large baking sheet with aluminum foil. Place lasagna dish on top, cover and put on the middle rack of the oven and bake until top is bubbling, about 30 minutes. Remove cover and continue to bake for about 15 minutes.

Simple Tomato Sauce:
1/2 cup extra-virgin olive oil
1 small onion, chopped
2 cloves garlic, chopped
1 stalk celery, chopped
1 carrot, chopped
Sea salt and freshly ground black pepper
2 (32-ounce) cans crushed tomatoes
2 dried bay leaves
4 tablespoons unsalted butter, optional
In a large casserole pot or Dutch over, heat oil over medium high heat. Add onion and garlic and sauté until soft and translucent, about 5 to 10 minutes. Add celery and carrots and season with salt and pepper. Sauté until all the vegetables are soft, about 5 to 10 minutes. Add tomatoes and bay leaves and simmer uncovered on low heat for 1 hour or until thick. Remove bay leaves and check for seasoning. If sauce still tastes acidic, add unsalted butter, 1 tablespoon at a time to round out the flavors.

Add 1/2 the tomato sauce into the bowl of a food processor. Process until smooth. Continue with remaining tomato sauce.
If not using all the sauce, allow it to cool completely and pour 1 to 2 cup portions into freezer plastic bags. This will freeze up to 6 months.

Printed from FoodNetwork.com on 11/12/2008 © 2008 Scripps Networks, LLC. All Rights Reserved
Wednesday, December 17, 2008

Simple Tomato Sauce

As promised the other night after showing everybody the lazy persons version for making spaghetti and meatballs I thought I should show you how I make spaghetti sauce or as some people (Italians) say Red Sauce. This recipe comes from Giada Delaurentis and is so simple that even a slow, middle aged white man like myself can make it.

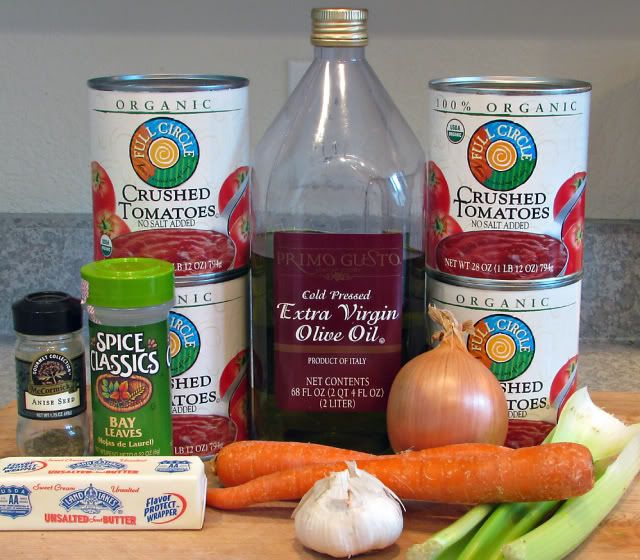
Let's start with the cast of characters.

Photobucket

Pretty simple don't you think? Like I said simple and something that can be done in just a little bit of time.

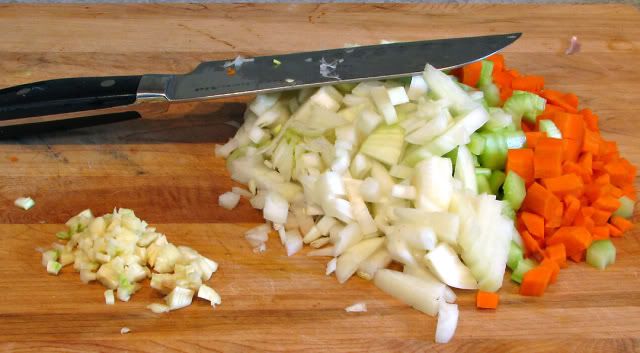
First things first and cut up veggies we must.

Photobucket

Garlic to the left of me and onions, celery and carrots to the right. That was the hard part.

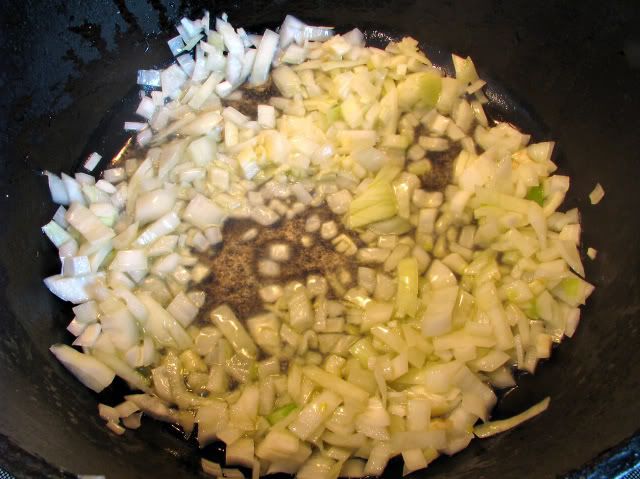
Start with the garlic and onions simmering away in some olive oil.

Photobucket

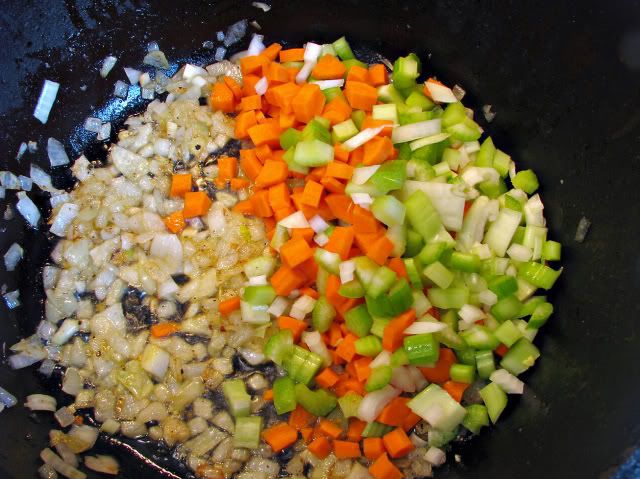
Next add the celery and carrots and let cook for a few more minutes. I should add I don't really worry about the size of the veggies because they are going to end up in the food processor anyway.

Photobucket

Can you keep up because if you can't I can slow down. I know this is getting pretty complicated.

Add the crushed tomatoes and seasonings. If you notice in Giada's recipe she used nutmeg in her tomato sauce. I don't use nutmeg I use anise seed in mine. The anise gives it a bit of a licorice flavor which I like. I suggest you do whatever floats your boat.

Photobucket

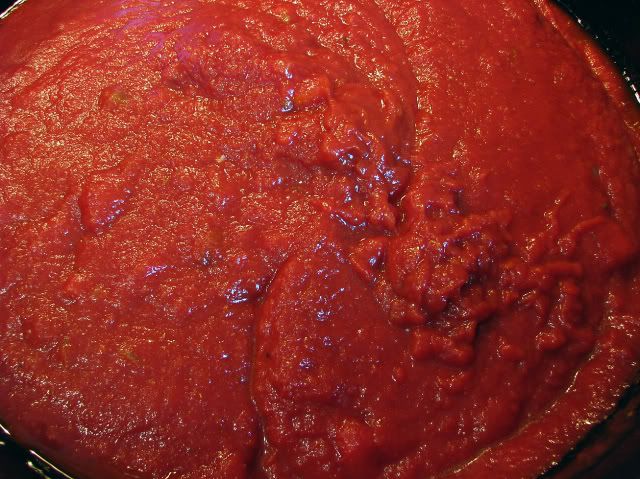
And stir everything together and let simmer away on the stove for about and hour or so.

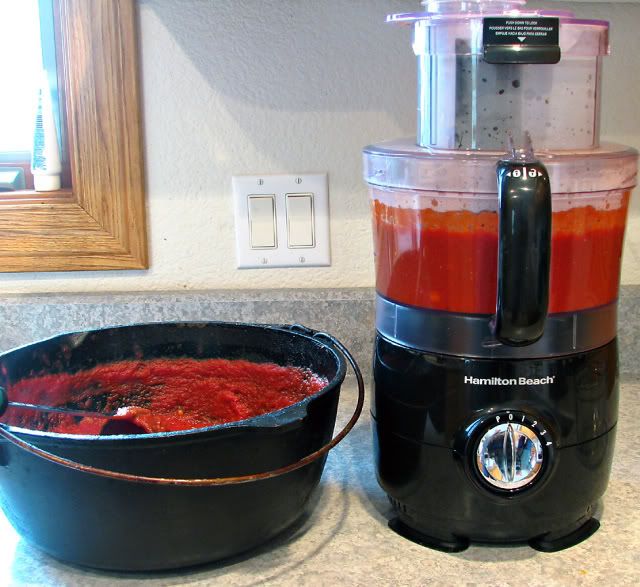
Now is the fun part where we get to use the power equipment, the food processor.

Photobucket

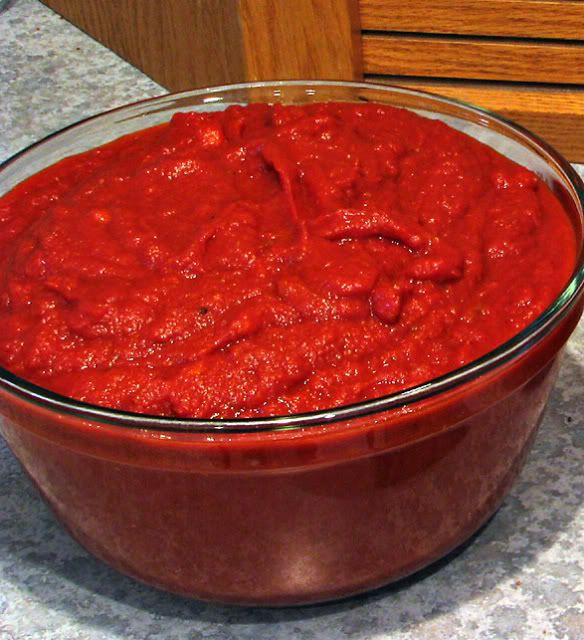
Process until smooooth.

Photobucket

Looks good and this will last me for about 6 months in the freezer. There are many, many ways to use this sauce and in the next few weeks we will explore some of the ways I use it.

Mario Batali has a good recipe for basic red sauce if you are interested too. His is real simple and takes no time at all to make. If you are interested go to the Food Network site and do a search and I'm sure you will come up with it. Below I have provided Giada's recipe.

Simple Tomato Sauce:

1/2 cup extra-virgin olive oil
1 small onion, chopped
2 cloves garlic, chopped
1 stalk celery, chopped
1 carrot, chopped
Sea salt and freshly ground black pepper
2 (32-ounce) cans crushed tomatoes
2 dried bay leaves
4 tablespoons unsalted butter, optional

In a large casserole pot or Dutch over, heat oil over medium high heat. Add onion and garlic and sauté until soft and translucent, about 5 to 10 minutes. Add celery and carrots and season with salt and pepper. Sauté until all the vegetables are soft, about 5 to 10 minutes. Add tomatoes and bay leaves and simmer uncovered on low heat for 1 hour or until thick. Remove bay leaves and check for seasoning. If sauce still tastes acidic, add unsalted butter, 1 tablespoon at a time to round out the flavors.

Add 1/2 the tomato sauce into the bowl of a food processor. Process until smooth. Continue with remaining tomato sauce.

If not using all the sauce, allow it to cool completely and pour 1 to 2 cup portions into freezer plastic bags. This will freeze up to 6 months.

http://www.foodnetwork.com/food/cda/recipe_print/0,1946,FOOD_993...

Monday, December 15, 2008

Easy Spaghetti and Meatballs, Sort Of

This was a post I meant to do a couple of weeks ago but when I went to our little store here in Elkhart Lake after work they didn't have any spaghetti sauce. This store is not a super market but it's no party store either so imagine my disappointment when they didn't have any spaghetti sauce. Now I do know how to make spaghetti sauce and it really isn't that hard and it really doesn't take that long but the reason for this post was to show how easy it is to make a quick meal when you're being lazy like me that night. Well to make a long story short I ended up making my own spaghetti sauce that night and I didn't do the post on my blog as you may noticed. If you stick around for the next couple of nights though I will be posting how to make easy spaghetti sauce or as some call it red sauce since I just made a big batch of it yesterday.

Time to get on with today's meal the lazy man's way to make spaghetti and meatballs, sort of.

Photobucket

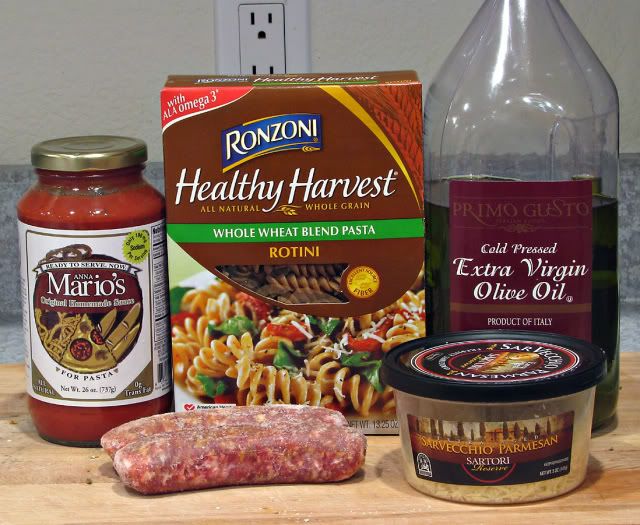
Let me introduce you to today's small cast, and I mean small, of characters.

Photobucket

Five, count em five ingredients. And if you are really being lazy or just cheap you can get this down to three ingredients by eliminating the "meatballs" and olive oil.

You have probably noticed by now that I'm not using spaghetti noodles and that's because I'm not a big fan of the spaghetti noodles. I prefer these rotini noodles because of their spiral shape and their ability to hold sauce. Plus rotini noodles are a lot easier to find in the whole wheat version. That's right I said whole wheat because with the way I love pasta I have to do something to try and eat healthy pasta. It is a little different than regular pasta but after a couple of meals with the whole wheat version you get use to it.

I suppose you have noticed the Johnsonville Sausage too? Well to be honest I have never found a good frozen meatball to use in spaghetti and I dare anybody to find a meatball as good as a Johnsonville Sausage. It just can't be done. Now there is always the option of making meatballs but that would take many more ingredients and much more time and since this is the lazy and cheap man's version of spaghetti and meatballs, well it just wouldn't fit here now would it?

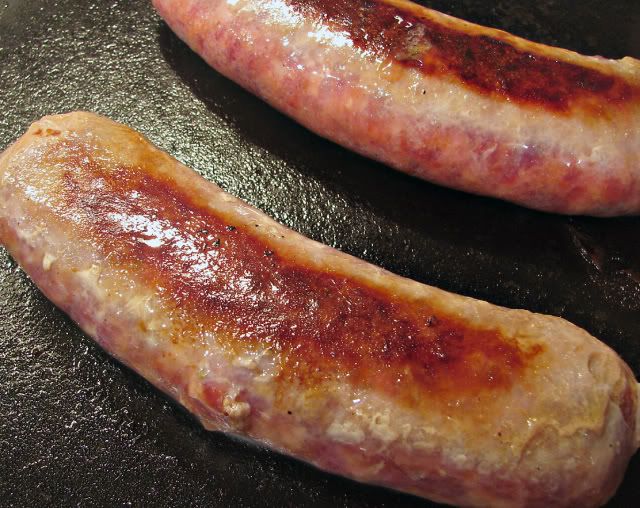
Time to cook. Start by browning the sausage or should I say our future meatballs.

Photobucket

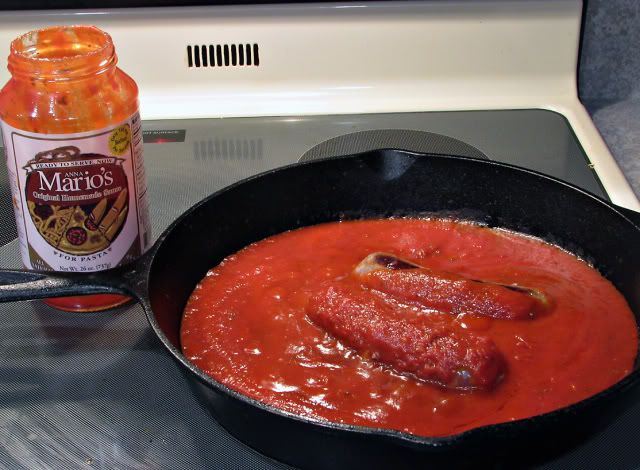
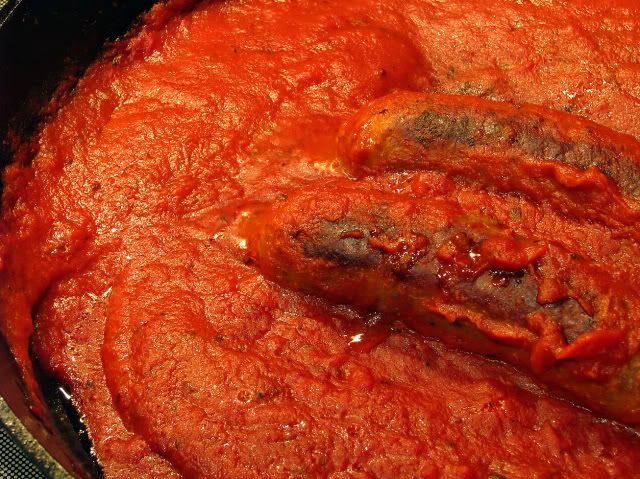
Once browned dump a jar of your favorite spaghetti sauce in the pan with the sausage.

Photobucket

Now look at that we are already half way done and we are barely even started. I let the sausage simmer in the sauce for about 45 minutes. Meanwhile the hardest part of making this meal is timing the noodles to be done at the same time as the spaghetti and 'meatballs.' Real tough eh?

After 45 minutes the sausage will be cooked and the sauce has thicken up a bit.

Photobucket

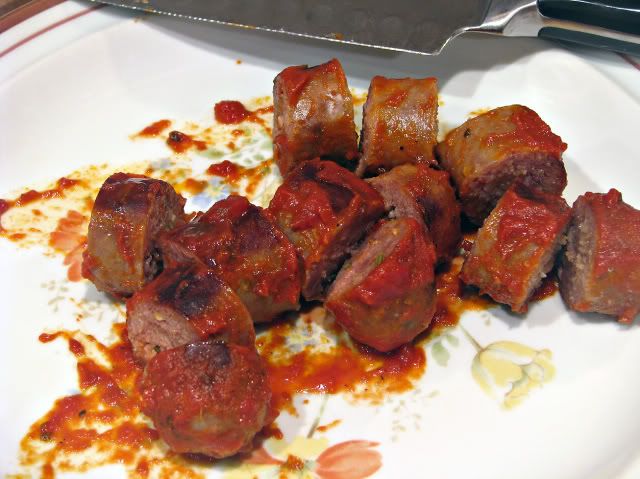
We will take care of the sauce in a bit but first the sausage. Take those bad boys out of the pan and set them on a plate or counter if you prefer. Let them rest for a couple of minutes and then......

Photobucket

....cut them up into meatball size chunks. Don't you love how easy it is? And good, the best you will ever have.

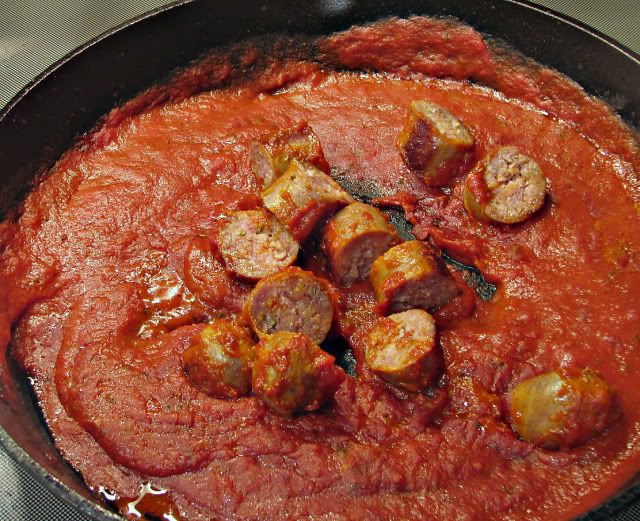
Time to put them back into the sauce.

Photobucket

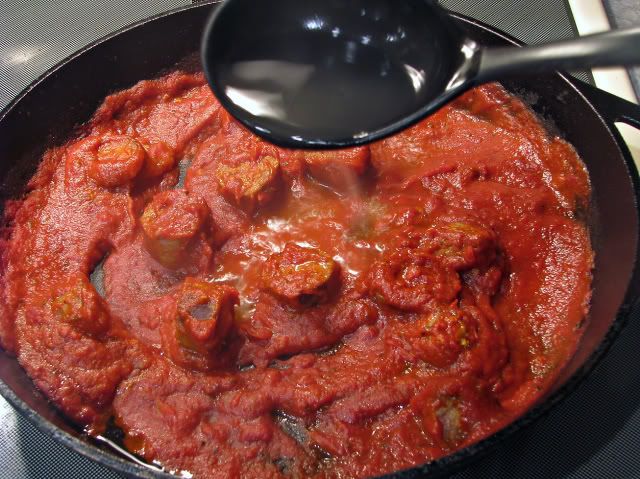
If you like thick sauce you are done but if you want to thin the sauce out a little bit add some of the pasta water in it like I do.

Photobucket

My understanding of the pasta water is it is suppose to help the sauce stick to the noodles better by adding it back into the sauce. I saw Mario Batalli explain it one day. I am not sure I explained that right but I do know ever since I started doing it the sauce sticks to any type of noodle I use. Give it a try and let me know what you think.

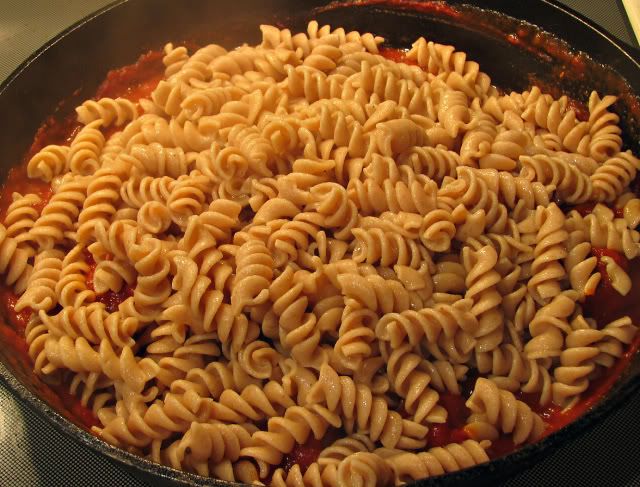
Add the noodles.

Photobucket

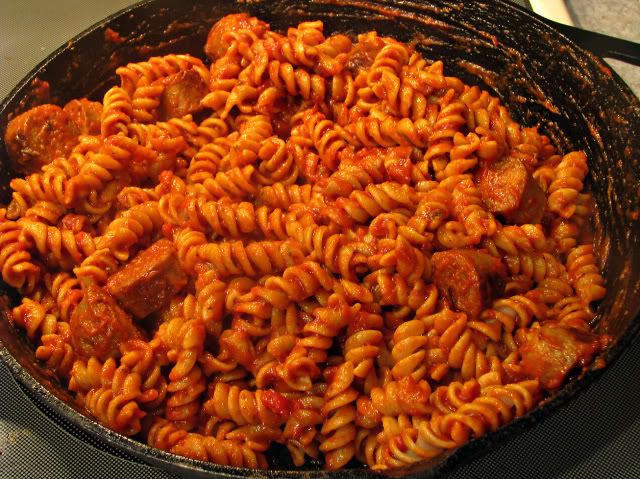
Stir.

Photobucket

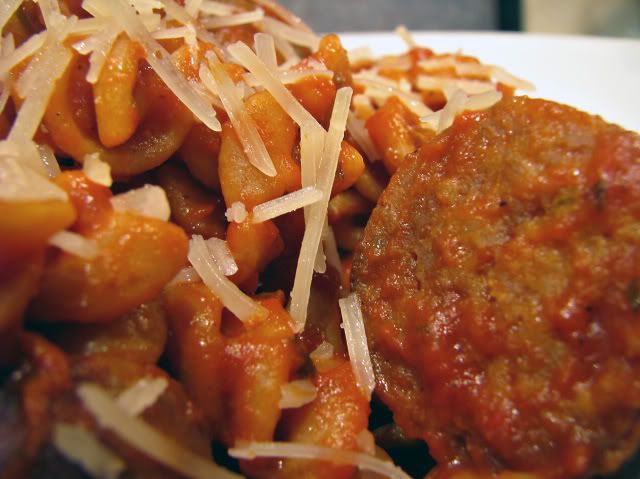
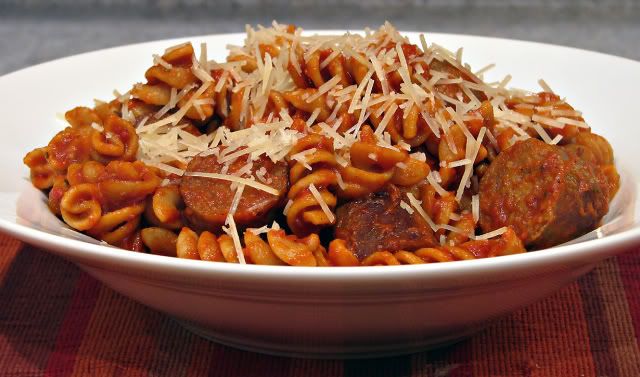
And serve.

Photobucket

Easy, peazy and very good. Just a great meal for when you are being lazy.

Lazy Man's Spaghetti and Meatballs

1/2 pound of Johnsonville Sweet Italian Sausage
1 drizzle of extra virgin olive oil
1 jar of your favorite pasta sauce
1 box of whole wheat rotini pasta
A sprinkle of Parmesan cheese

Drizzle olive oil in skillet over medium heat and brown sausage.

Add the pasta sauce.

Cook pasta according to instructions on the box.

Remove sausage and slice into meatball size chunks.

Add back into sauce and add one cup of pasta water and mix.

Add pasta and fold everything together.

Serve with Parmesan cheese sprinkled on top.

Monday, December 8, 2008

Throwdown Special

With the impending throw down coming up over Christmas vacation I thought I would do an update on how I am coming along with my entry. When I found out about the throw down a couple of weeks ago I immediately began searching and thinking about what I could cook. Since this category is anything you can eat with a spoon I had many, many choices. I thought of cereal and believe me it doesn't get much better than Cinnamon Life cereal or the new maple flavored Life cereal. That just seems too easy and I think I need to find something a little more substantial. Now where can we go from here? How about some sort of vegetable or chicken noodle soup? Or how about some chili? I actually won a contest once with my chili could I do it again? Or how about a chowder? I do love my chowders but I'm not sure everyone else does and after all I do have to appeal to everyone to win. Such choices, what to do what to do.

Well this weekend I did the trial run on my choice. Let me introduce you to the cast of characters.

Photobucket

Interesting choice don't you think? I'll bet you are wondering how I am going to put all this together? Well follow along.

This isn't some kind of cold soup we don't have to cook so for my choice of cooking vessel I think I will choose.......

Photobucket

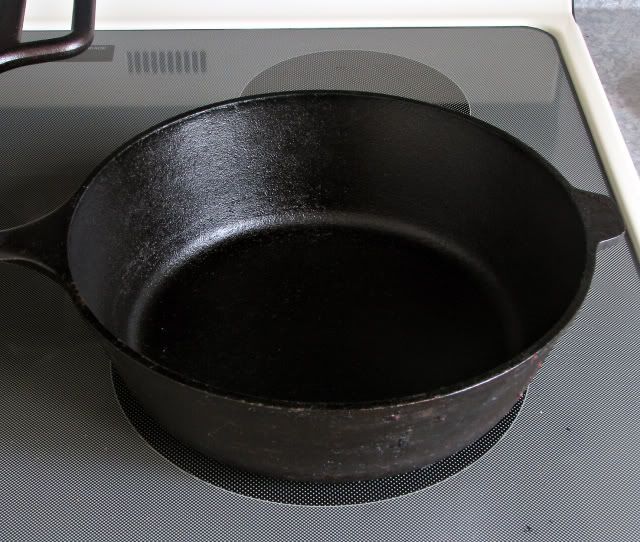
.......my small cast iron chicken fryer. Since I am here by myself right now I don't need to make a whole lot just enough to find out if I'm on the right track.

Anyway I end up throwing a little of this and a little of that in there and sooner or later we end up with this.......

Photobucket

Looks good eh?

Now come on let's get real you didn't really think I was going to let everybody in on my throw down choice now did you? Not a chance it will be a surprise. I will tell you this though it was pretty good and if anybody out there decides to enter something against this entry they will have their work cut out for themselves. BRING IT ON I'M READY!!!

Ok I'll show you a picture of the finished entry.

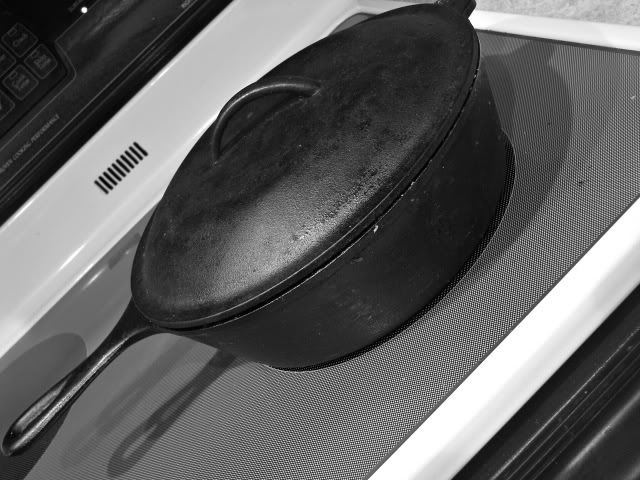
Photobucket

Opps I forgot to take off the lid.

ARE YOU READY FOR A THROWDOOOOOWWWWWWWN?

I am.

Recipe to Win a Throwdown

A little of this
A little of that

Throw together

Cook for awhile.

Monday, December 1, 2008

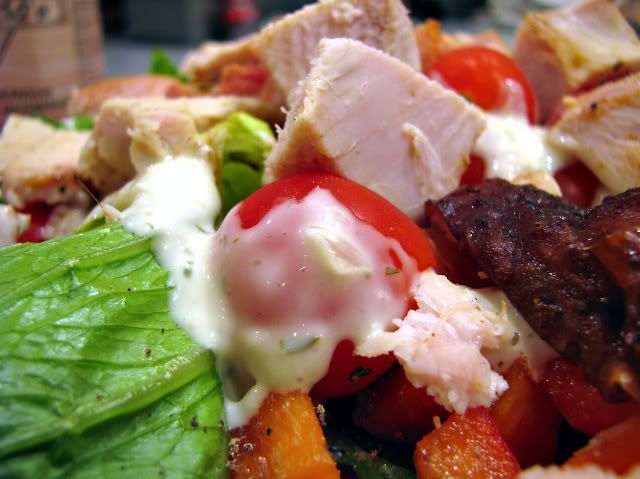
Leftover Turkey Salad

It's the end of an era my Thanksgiving turkey is gone. I used up the last of it tonight for dinner.

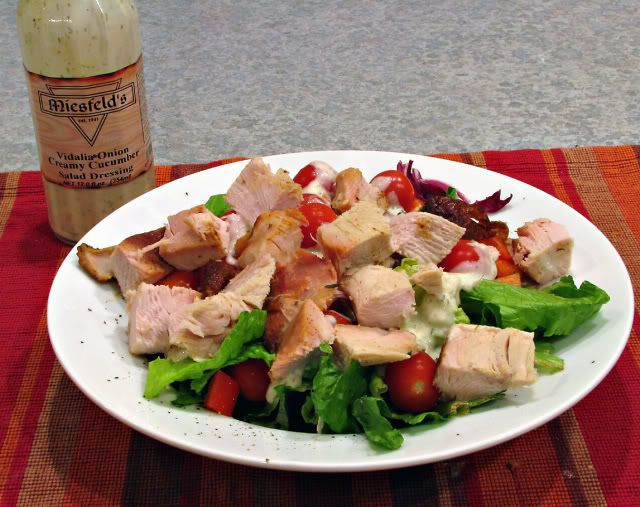
Photobucket

I like to make salads for dinner so simple, so fast, and so good. What it really comes down to is I was to lazy to cook anything tonight so what could be better?

One more bonus for a lazy night I only dirtied 4 things tonight, 1 fork, 1 knife, 1 bowl and one glass for my milk. The only meal I know better for dirty dishes is a peanut butter and jelly sandwich.

One last look and then the recipe at the bottom.

Photobucket

Cranberry Glazed Turkey Salad
Salad greens
Leftover Thankgiving cranberry glazed turkey
Favorite salad toppings
Favorite salad dressing

Mix together.

Serves 1.

Sunday, November 30, 2008

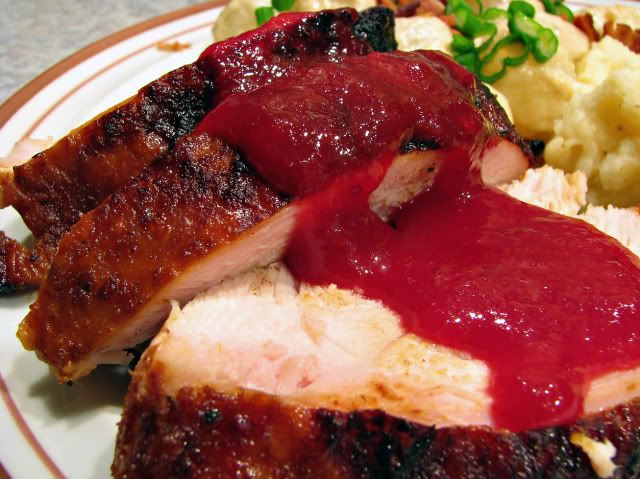
Cranberry Glazed Turkey

Finally I am posting the turkey recipe I had on Thanksgiving. The reason I'm 4 days late is I needed time to digest everything. Well not really I've been a little busy working on a project for the last 3 days. My plan was to work again today but my brain didn't kick in until mid to late afternoon. Since I already wasted most the the day I thought I might as well sit down and take care of this all important meal. Let's get rolling.

Just as a reminder in case you were to lazy or just didn't want to here is where we left off on turkey day.

Photobucket

Cranberry glazed turkey cooked on the grill. Just in case you get hungry for this turkey, which I doubt since everyone by now has had their fill of turkey until Xmas, there is a full blown recipe at the bottom of this post. I made a couple of minor changes and I will let you know where as we take photo trip through this meal.

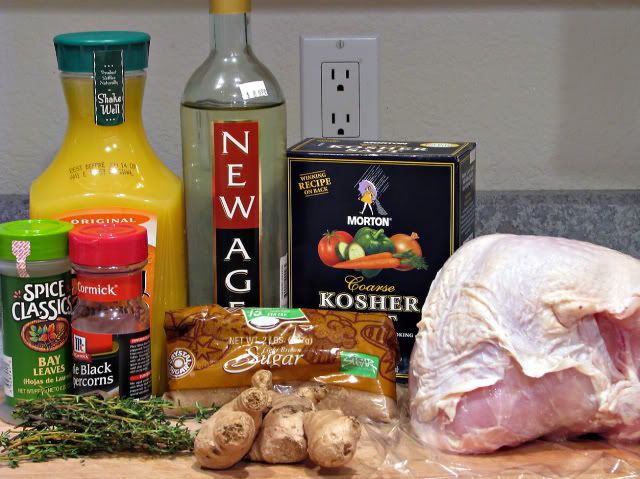
First thing first and I think the best way to start a turkey anymore is to brine the turkey. The cast of characters is as follows:

Photobucket

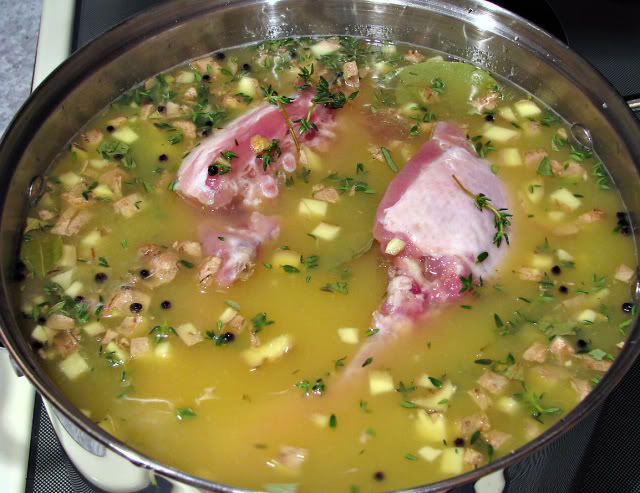
The brine keeps the turkey nice and moist for when you get ready to eat. I know there is a lot of salt but remember the salt does not soak up into the turkey. I'm not sure what really happens but I think the salt seals the pores of the turkey to keep the moisture inside while cooking. If you really want to know the hows and whys watch Alton Brown because on one of his shows he explains the reasons. This brine is real simple, no cooking involved, just mix all the ingredients and stir until the salt and sugar are dissolved. Now just add the turkey breast side down and find a place in the ice box.

Photobucket

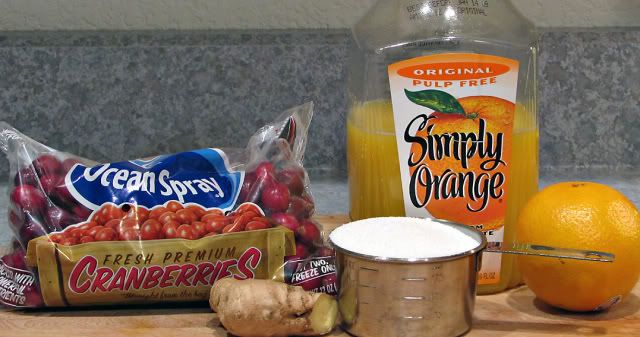
Since it is Wednesday night and the night before Thanksgiving and the turkey is brining away in the ice box we might as well make the cranberry glaze tonight before we sit down with a cold beer for the night. Again it's not really all the hard but before I show you how easy it is I need to introduce you to the characters involved.

Photobucket

This is one of the places I didn't do as the recipe below suggests. I didn't use any orange liqueur like in the recipe. I have a hard time buying all the different liqueurs and spirits some of these recipes call for. If I did I would have a better stocked liquor shelf than most of the bars and taverns here in Wisconsin. What I did is use more orange juice in place of the orange liqueur.

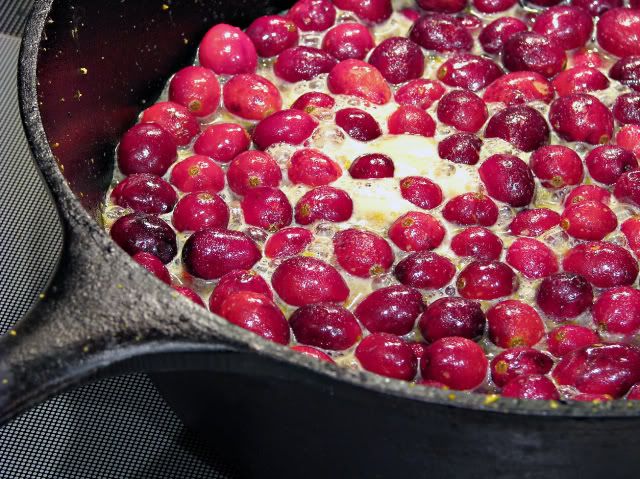
One again dump everything into the pot and cook. This is what it looks like in the beginning.

Photobucket

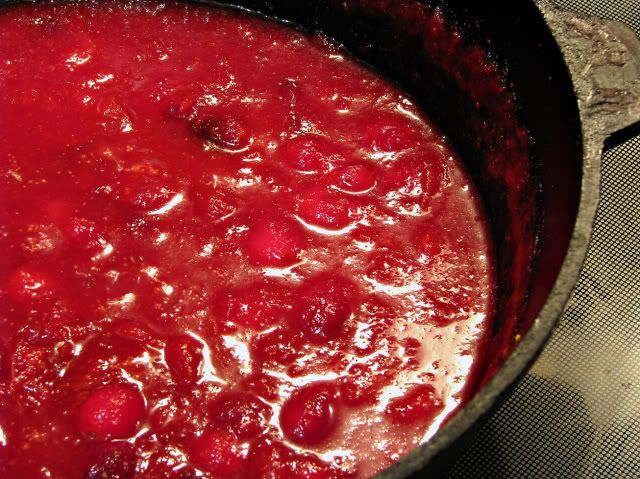
And here is what it looks like after its cooked.

Photobucket

From here strain it and stick it in the ice box too.

On Thanksgiving everything gets put together. What I liked about this meal since it is only a turkey breast we are cooking is it only takes 1-1/2 to 2 hours to cook.

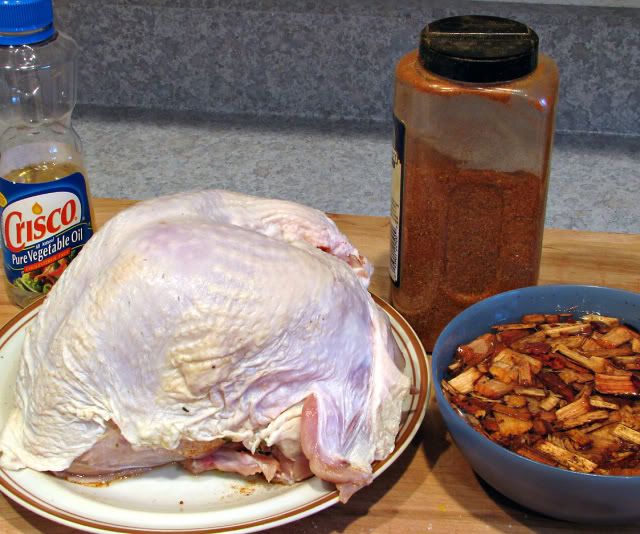
The final cast of characters for this meal are as follows:

Photobucket

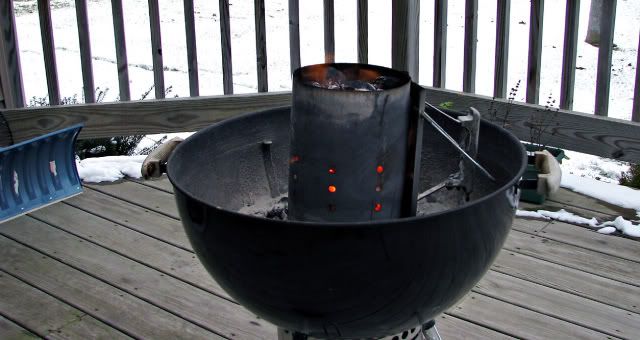
Notice that one ingredient to the right? Nope that's not dressing, although I've had some worse, it's hickory wood chips. This is the other difference from the recipe below I cooked mine on the grill. So for the final time this year let's "FIRE UP THE GRILL!!!!!!"

Photobucket

Yippe Kay Yay is there nothing better? Notice the snow and the snow shovel? I had to shovel off the deck earlier in the week so I could use it today. It was a struggle too with the cold and wind blowing, not ideal grilling weather.

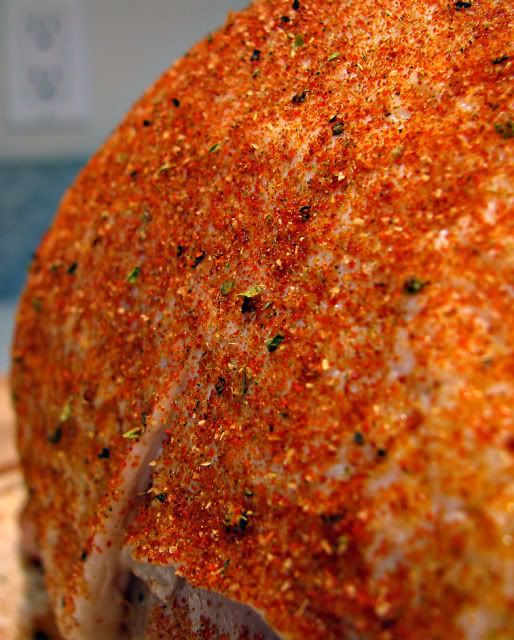
While I'm waiting for the grill I sprinkle the bird with some Emeril's Essence.

Photobucket

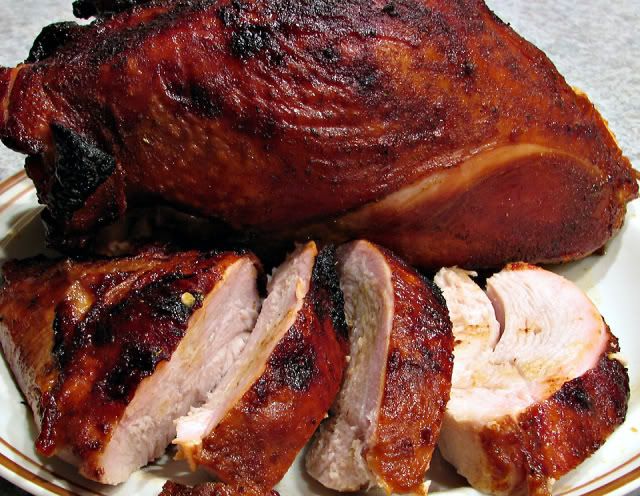
When the turkey has about 20 minutes left to cook it's time to brush it with some of the cranberry glaze I made last night. That's right just like brushing on barbecue sauce. After the turkey is cooked let it rest and slice it up.

Photobucket

After cooking a turkey breast like this I'm not sure I would cook a whole turkey again. The white meat was so moist and favorable and remember it only takes 1-1/2 hours to cook. This is a 5 out of 5 forks recipe.

I have to give credit for this recipe to Emeril. I had another recipe all picked out when I was searching on the Food Network web site for some other recipes and came across this one. As soon as I saw it I knew I had to make it I mean after all whats better at Thanksgiving than turkey and cranberries.

Photobucket

Cranberry Glazed Breast of Turkey
(Emeril recipe from the Food Network Web Site.)

Brine:
3/4 gallon water
2 cups white wine
1 1/2 cups orange juice
1 cup kosher salt
1 cup light brown sugar
1/3 cup chopped ginger
1 tablespoon black peppercorns
4 bay leaves
4 sprigs fresh thyme

Turkey:
1 (6-pound) whole turkey breast
1 tablespoon vegetable oil
1 tablespoon Essence

Glaze:
1 (12-ounce) bag fresh cranberries
1/3 cup chopped ginger
2 teaspoons orange zest
1 cup sugar
1/4 cup orange juice
1 1/4 cups water
1/4 cup orange-flavored liqueur (recommended: Grand Marnier)

Combine all of the brining liquid ingredients in a large non-reactive container (a stockpot works well for this) and stir to dissolve the salt and sugar. Rinse the turkey well under cold running water. Place the turkey in the brine, cover, and refrigerate, turning occasionally, for at least 12 hours and up to 24 hours.

While the bird is brining, make the cranberry glaze by combining the cranberries, ginger, orange zest, sugar, orange juice, and water in a medium saucepan. Bring to a boil over high heat, stirring occasionally, and reduce to a simmer. Cook for 5 to 10 minutes, or until cranberries burst and sauce is very thick. Strain through a fine mesh sieve into a mixing bowl to cool. When cooled, add the liqueur and stir to combine. Cover and refrigerate until you are ready to glaze the bird. (Make sure to return the glaze to room temperature before serving. If the glaze gets too thick, thin it with a bit of water.)

Preheat the oven to 375 degrees F.

Remove the turkey from the brine and discard the brine. Place the turkey, breast side up, in an aluminum foil lined roasting pan. Pat dry with paper towels. Rub the turkey with the vegetable oil and sprinkle on all sides with Essence. Roast the turkey until it is golden brown and almost done, about 1 hour and 20 to 30 minutes. Remove the turkey from the oven and brush all over with about 1/3 cup of the cranberry glaze. Return the turkey to the oven and continue cooking until an instant-read thermometer inserted in the thickest part of the breast registers 160 to 165 degrees F, about 10 minutes longer. (If the turkey begins to get too dark before it is cooked through, cover loosely with aluminum foil until it reaches the desired temperature. Transfer to a platter and let rest at least 15 minutes before carving. Carve into thin slices. Serve with the remaining glaze passed at the table.