Finally I am posting the turkey recipe I had on Thanksgiving. The reason I'm 4 days late is I needed time to digest everything. Well not really I've been a little busy working on a project for the last 3 days. My plan was to work again today but my brain didn't kick in until mid to late afternoon. Since I already wasted most the the day I thought I might as well sit down and take care of this all important meal. Let's get rolling.
Just as a reminder in case you were to lazy or just didn't want to here is where we left off on turkey day.
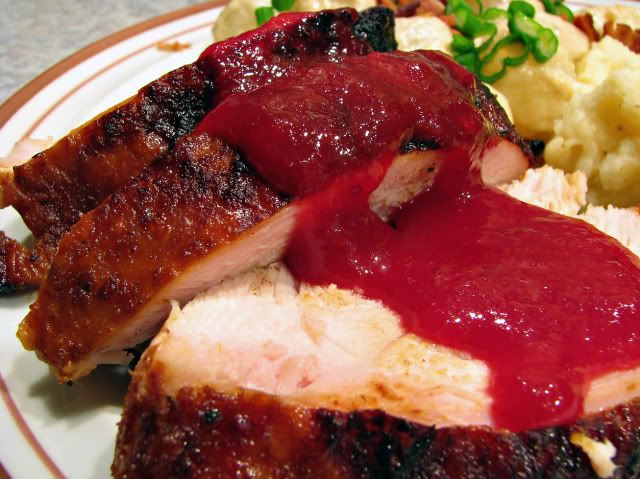
Cranberry glazed turkey cooked on the grill. Just in case you get hungry for this turkey, which I doubt since everyone by now has had their fill of turkey until Xmas, there is a full blown recipe at the bottom of this post. I made a couple of minor changes and I will let you know where as we take photo trip through this meal.
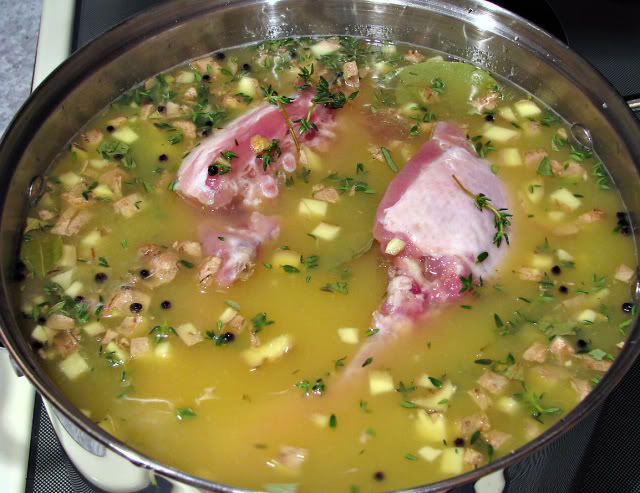
First thing first and I think the best way to start a turkey anymore is to brine the turkey. The cast of characters is as follows:
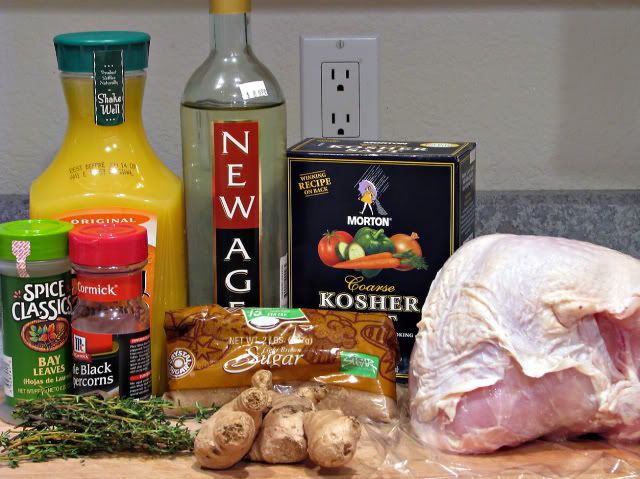
The brine keeps the turkey nice and moist for when you get ready to eat. I know there is a lot of salt but remember the salt does not soak up into the turkey. I'm not sure what really happens but I think the salt seals the pores of the turkey to keep the moisture inside while cooking. If you really want to know the hows and whys watch Alton Brown because on one of his shows he explains the reasons. This brine is real simple, no cooking involved, just mix all the ingredients and stir until the salt and sugar are dissolved. Now just add the turkey breast side down and find a place in the ice box.
Since it is Wednesday night and the night before Thanksgiving and the turkey is brining away in the ice box we might as well make the cranberry glaze tonight before we sit down with a cold beer for the night. Again it's not really all the hard but before I show you how easy it is I need to introduce you to the characters involved.
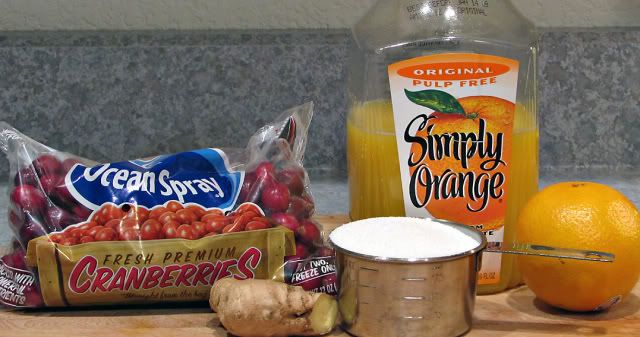
This is one of the places I didn't do as the recipe below suggests. I didn't use any orange liqueur like in the recipe. I have a hard time buying all the different liqueurs and spirits some of these recipes call for. If I did I would have a better stocked liquor shelf than most of the bars and taverns here in Wisconsin. What I did is use more orange juice in place of the orange liqueur.
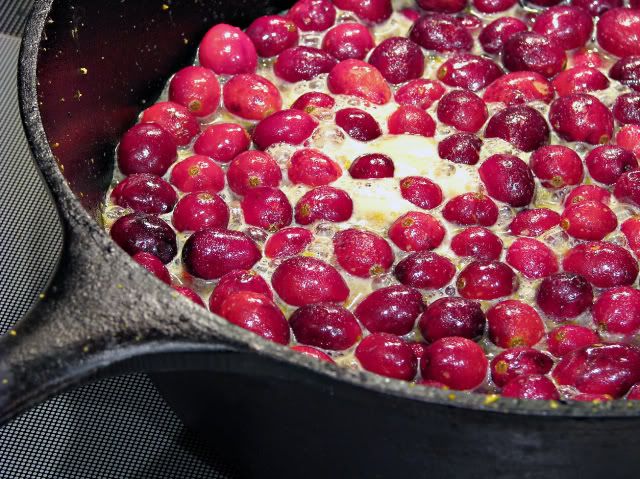
One again dump everything into the pot and cook. This is what it looks like in the beginning.
And here is what it looks like after its cooked.
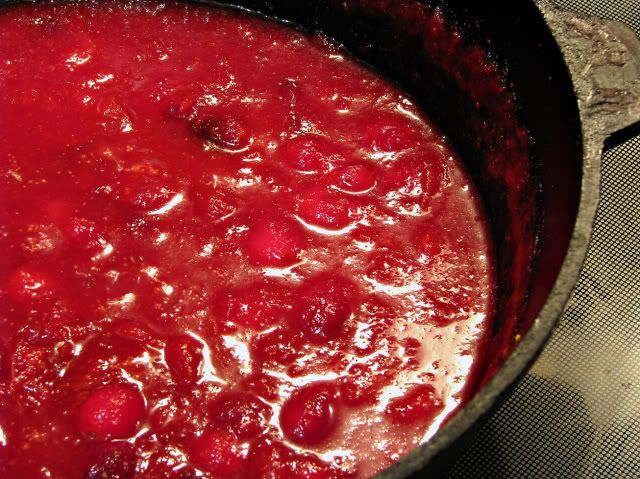
From here strain it and stick it in the ice box too.
On Thanksgiving everything gets put together. What I liked about this meal since it is only a turkey breast we are cooking is it only takes 1-1/2 to 2 hours to cook.
The final cast of characters for this meal are as follows:
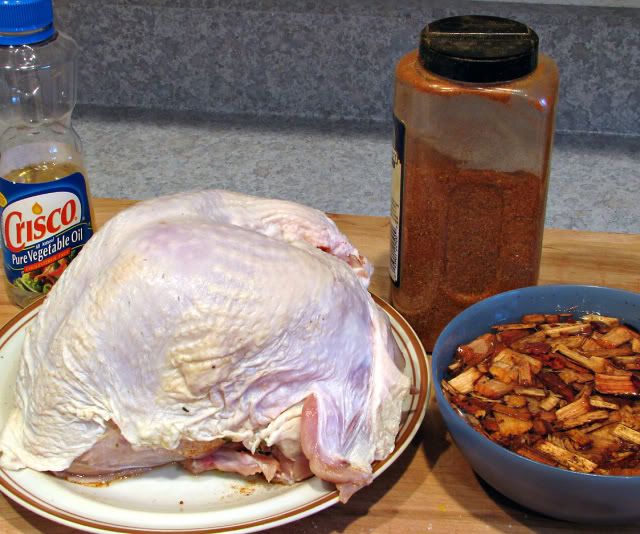
Notice that one ingredient to the right? Nope that's not dressing, although I've had some worse, it's hickory wood chips. This is the other difference from the recipe below I cooked mine on the grill. So for the final time this year let's "FIRE UP THE GRILL!!!!!!"
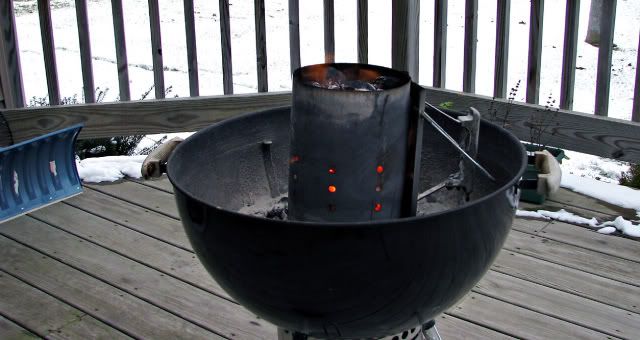
Yippe Kay Yay is there nothing better? Notice the snow and the snow shovel? I had to shovel off the deck earlier in the week so I could use it today. It was a struggle too with the cold and wind blowing, not ideal grilling weather.
While I'm waiting for the grill I sprinkle the bird with some Emeril's Essence.
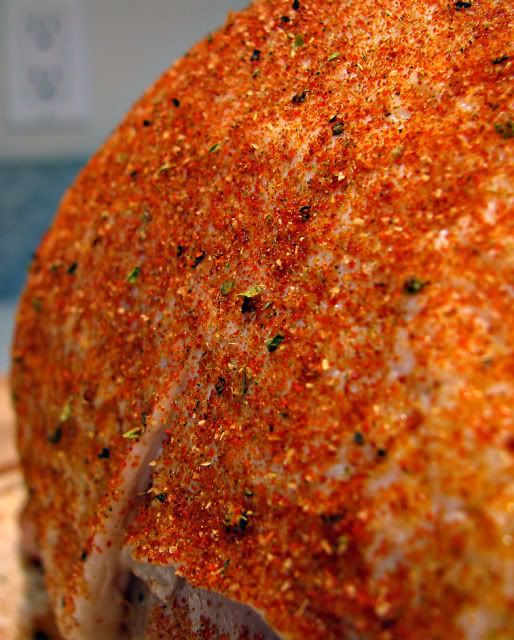
When the turkey has about 20 minutes left to cook it's time to brush it with some of the cranberry glaze I made last night. That's right just like brushing on barbecue sauce. After the turkey is cooked let it rest and slice it up.
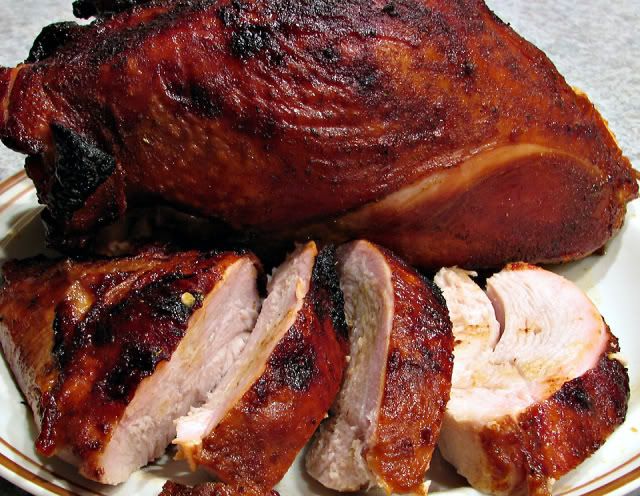
After cooking a turkey breast like this I'm not sure I would cook a whole turkey again. The white meat was so moist and favorable and remember it only takes 1-1/2 hours to cook. This is a 5 out of 5 forks recipe.
I have to give credit for this recipe to Emeril. I had another recipe all picked out when I was searching on the Food Network web site for some other recipes and came across this one. As soon as I saw it I knew I had to make it I mean after all whats better at Thanksgiving than turkey and cranberries.
Cranberry Glazed Breast of Turkey
(Emeril recipe from the Food Network Web Site.)
Brine:
3/4 gallon water
2 cups white wine
1 1/2 cups orange juice
1 cup kosher salt
1 cup light brown sugar
1/3 cup chopped ginger
1 tablespoon black peppercorns
4 bay leaves
4 sprigs fresh thyme
Turkey:
1 (6-pound) whole turkey breast
1 tablespoon vegetable oil
1 tablespoon Essence
Glaze:
1 (12-ounce) bag fresh cranberries
1/3 cup chopped ginger
2 teaspoons orange zest
1 cup sugar
1/4 cup orange juice
1 1/4 cups water
1/4 cup orange-flavored liqueur (recommended: Grand Marnier)
Combine all of the brining liquid ingredients in a large non-reactive container (a stockpot works well for this) and stir to dissolve the salt and sugar. Rinse the turkey well under cold running water. Place the turkey in the brine, cover, and refrigerate, turning occasionally, for at least 12 hours and up to 24 hours.
While the bird is brining, make the cranberry glaze by combining the cranberries, ginger, orange zest, sugar, orange juice, and water in a medium saucepan. Bring to a boil over high heat, stirring occasionally, and reduce to a simmer. Cook for 5 to 10 minutes, or until cranberries burst and sauce is very thick. Strain through a fine mesh sieve into a mixing bowl to cool. When cooled, add the liqueur and stir to combine. Cover and refrigerate until you are ready to glaze the bird. (Make sure to return the glaze to room temperature before serving. If the glaze gets too thick, thin it with a bit of water.)
Preheat the oven to 375 degrees F.
Remove the turkey from the brine and discard the brine. Place the turkey, breast side up, in an aluminum foil lined roasting pan. Pat dry with paper towels. Rub the turkey with the vegetable oil and sprinkle on all sides with Essence. Roast the turkey until it is golden brown and almost done, about 1 hour and 20 to 30 minutes. Remove the turkey from the oven and brush all over with about 1/3 cup of the cranberry glaze. Return the turkey to the oven and continue cooking until an instant-read thermometer inserted in the thickest part of the breast registers 160 to 165 degrees F, about 10 minutes longer. (If the turkey begins to get too dark before it is cooked through, cover loosely with aluminum foil until it reaches the desired temperature. Transfer to a platter and let rest at least 15 minutes before carving. Carve into thin slices. Serve with the remaining glaze passed at the table.
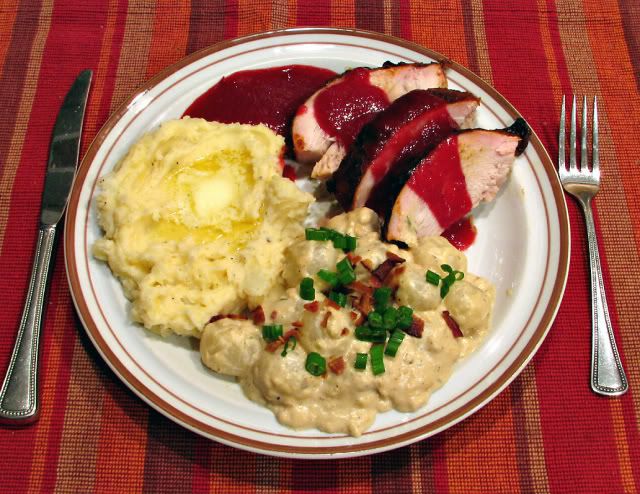
Sunday, November 30, 2008
Thursday, November 27, 2008
My Thanksgiving Dinner
Tuesday, November 25, 2008
Sarah's Balsamic Pork Chops
A while back our Irish friend, Megawatt Miler, posted some of her favorite things. One of the items was Paul Newman's Balsamic Vinaigrette. Since balsamic vinegar is my favorite type of vinegar I thought I should give this stuff a try. I know she doesn't know if a switch and light bulb are on the same circuit, I know she doesn't travel well, but I figured she had to know something. After all she did graduate from Notre Dame. So I decided to take a chance and see if this was her time. Guess what? It was. This may be the best vinaigrette I have had so I dedicate this post to her and this meal to her. From here on and evermore this meal and recipe will be called Sarah's Balsamic Pork Chop.
Let's get started.
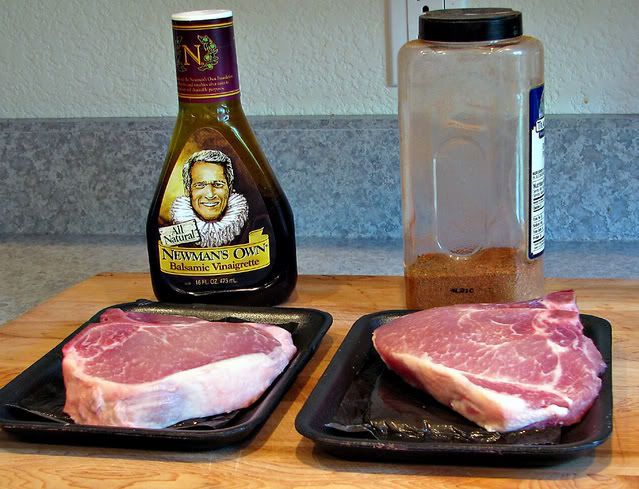
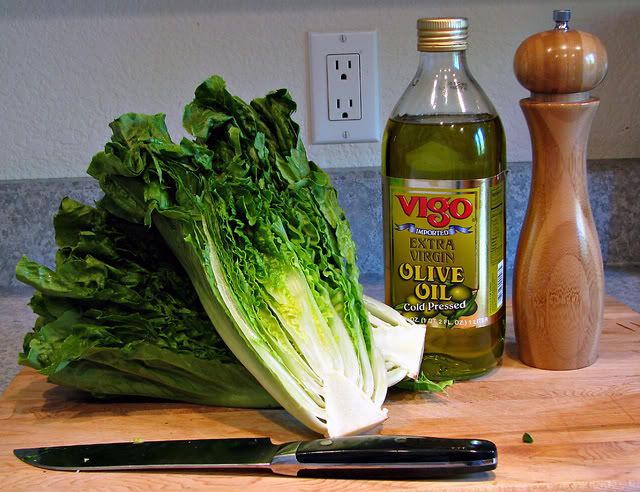
Act 1 of this episode starts with this cast of characters.
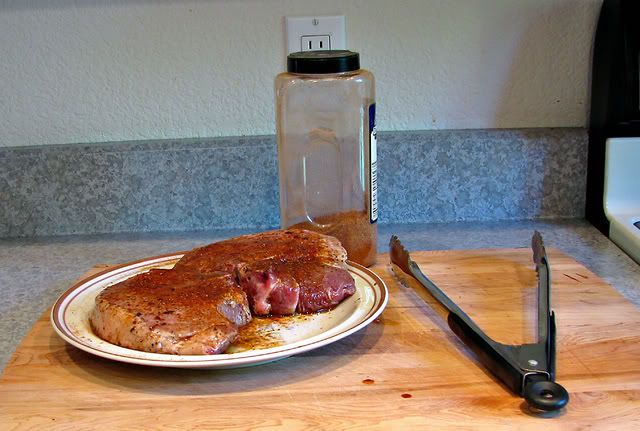
If I was going to use balsamic vinegar as the main character I thought I should marinade the pork chops with it. I use a thicker pork chop (actually easier to cook) but a thinner pork chop can be used. I used about a half a bottle to marinade 2 pork chops. I marinaded the chops for about 4 hours but I think it would be better if they were marinaded overnight. When it comes time to cook the pork chops take the chops out of the refrigerator and remove from the marinade. I then sprinkle them with Emeril's Essence and let them come up to room temperature. This will take about 1/2 hour or about the time it takes to get the grill going.
"FIRE UP THE GRILL"
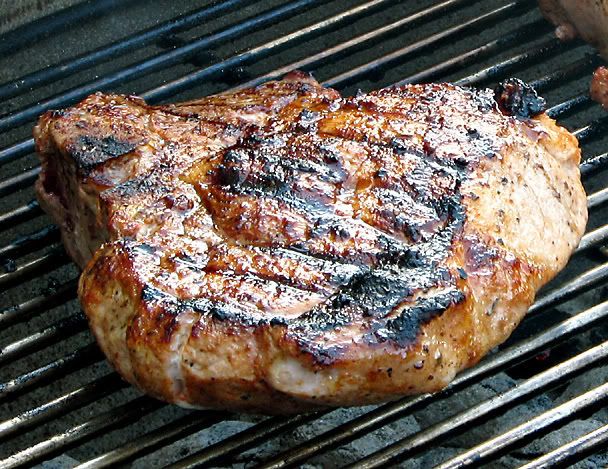
Stick those chops on the grill and cook with the lid on. Once again if you want to "Run with the Big Dogs" and take the chops to the ultimate level add a little wood to it. My favorite, so far, with pork is apple.
Start with the chops over the fire for the first 2-3 minutes on each side and then move over and cook with indirect heat the rest of the way. Cook the chops to 147 degrees. Like I have said before if the temperature gets above 147 pork will start to dry out fast.
Act 2 of the episode starts with this cast of characters.
A simple salad made of romaine lettuce with a twist, it's grilled. Start by cutting the head of lettuce in half and leave the end on so it stays together. Next brush a little olive oil on the lettuce and sprinkle with pepper.
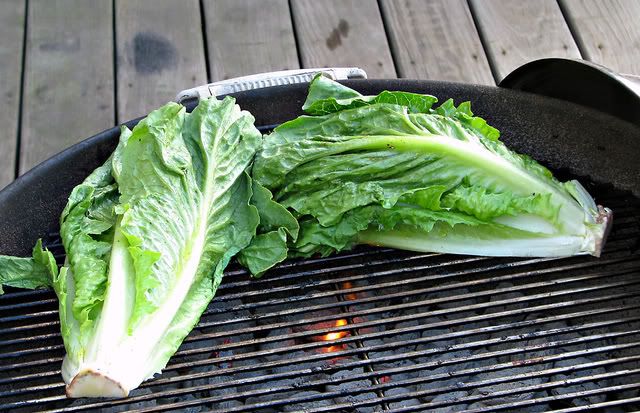
Let's head to the grill.
Lightly grill the lettuce just so it warms up a grill marks appear. Take it off the grill, cut off the end and spread it out on a plate. Add some grape or cherry tomatoes (I prefer cherry), maybe sprinkle some parmesan/reggiano cheese on top and hit it with balsamic vinegar.
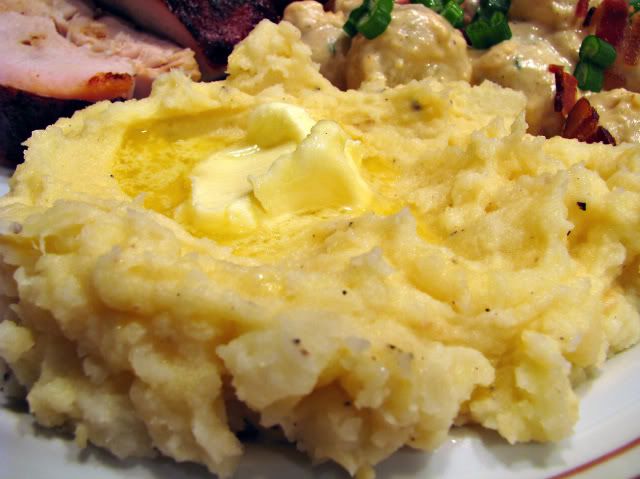
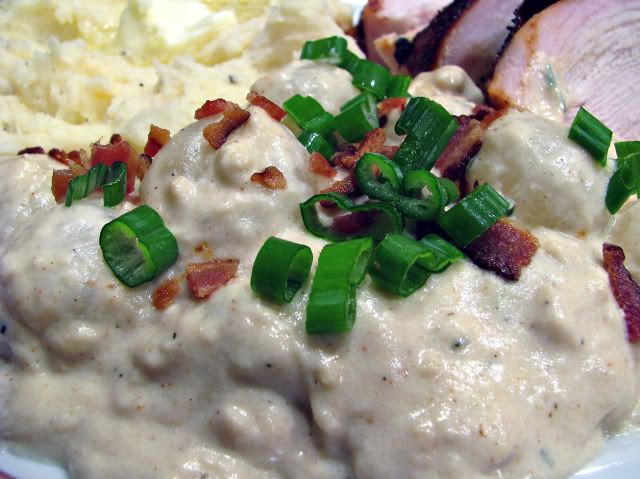
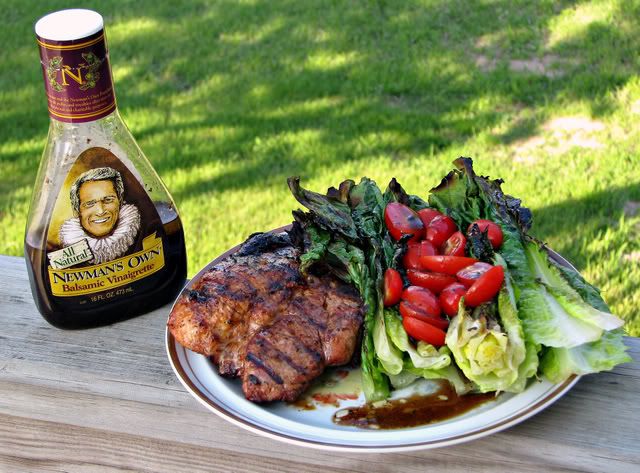
Introducing Sarah's Balsamic Pork Chop.
I gave it a 4.75 out of 5 forks. I forgot to sprinkle the parmesan/reggiano cheese on the salad. Pork chops are so tender they can be cut with a fork. This may be my new favorite way to cook pork chops. I will definitely do it again.
Sunday, November 23, 2008
Scallops with Green Onions and Hoisin Sauce
Every so often you know it's going to happen, you know what I'm talking about, disaster in the kitchen. It has been a while for me but tonight disaster found me and nearly ruined my dinner. I suppose it is one of the hazards of cooking with a new pot, like my cast iron wok, and learning how to use it.
This particular meal comes from a web site called Sam the Cooking Guy. This is my first recipe from his web site. I like his recipes normally easy with easy to find ingredients, just the way I like it. And if Sam happens, by some remote chance, see this I'm sorry I will try to do better next time.
This meal is Scallops with Green Onions and Hoisin Suace. For some of you out there that don't like scallops you don't have to tell me "I don't like scallops" because I don't care, it only means more for me. It doesn't mean you can't cook this all you have to do is substitute chicken for the scallops. Ok? Ok.
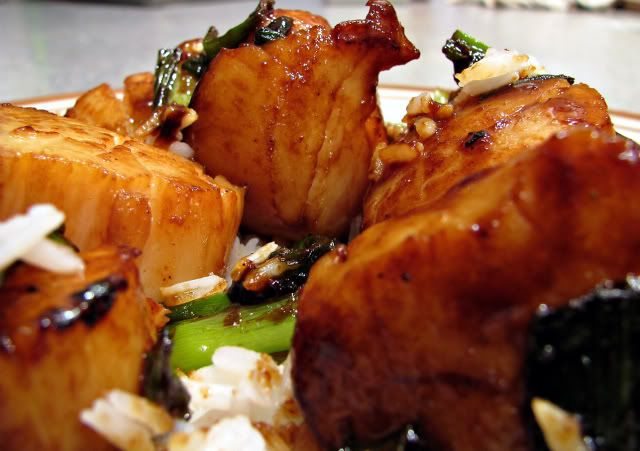
This is the only picture of the meal on a plate because one of the disasters tonight was how it looked on the plate when I got done.
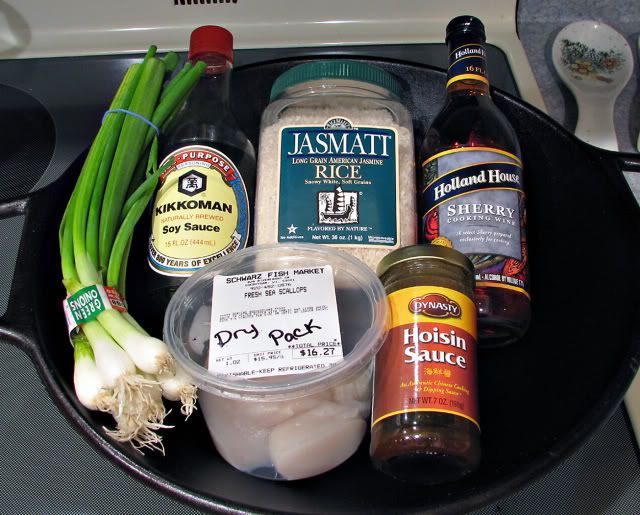
Here is the cast of characters.
Now with a simple cast like that how in the world could I screw this up? Just follow along.
Since I knew it would only take only 3-4 minutes to cook the scallops and green onions the first thing I needed to do was cook the rice. Normally rice is fairly simple to cook, twice as much water as rice, bring to a boil, cover, let set for a half hour or so over real low heat, take off heat, fluff and serve. I think I screwed up the "real low heat" part tonight. When the rice was done it was done a little more than it should have been on the bottom. Let's just say about 1/4 of the rice ended up down the garbage disposal.
While the rice is cooking and everything seems fairly normal right now I get everything ready so when I cook the scallops I have what I need in front of me. Like I said earlier it only takes 3-4 minutes to cook this meal. (If Rachael Ray did this meal she would have 25 minutes of dead air time.) This meal is so simple (so I thought) the only prep work is the rice and making the sauce for the scallops.
Another one of those great actions shots in the kitchen.
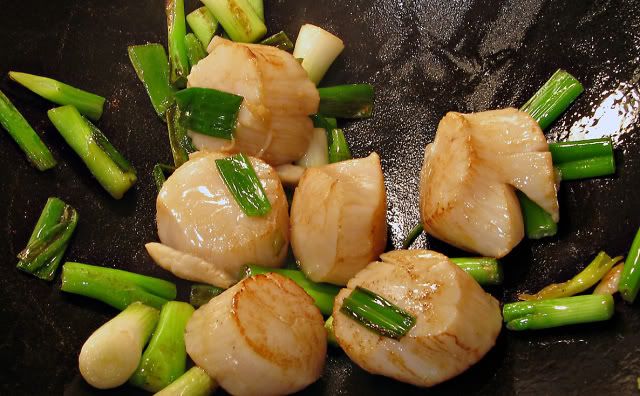
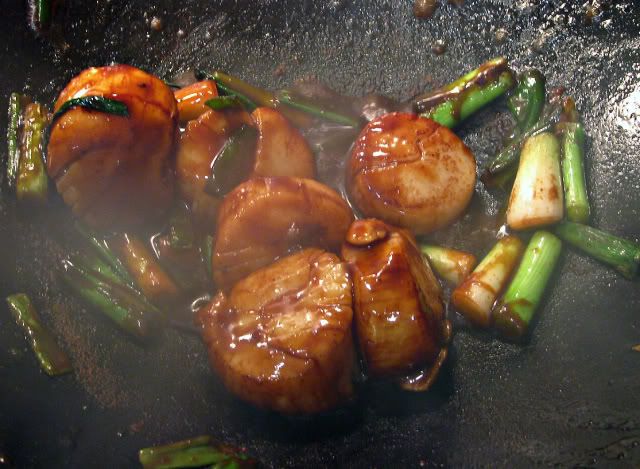
Once the rice is done and ready on the plate it's time to start the scallops and green onions. Add 1 tablespoon of peanut oil to a hot wok and then add the scallops and green onions.
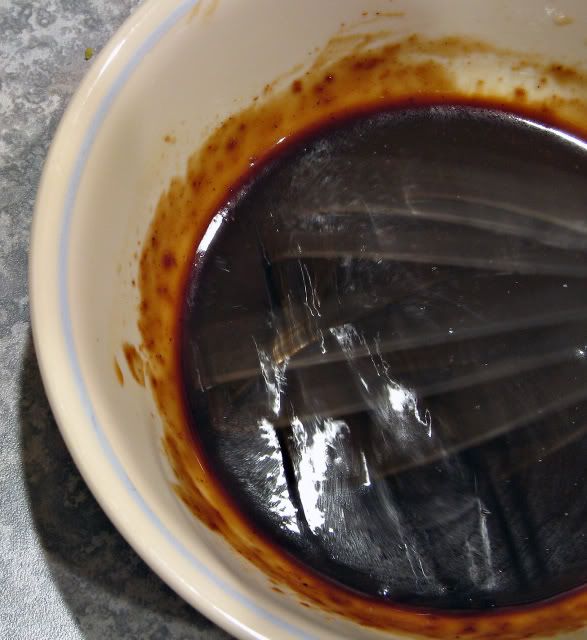
After the scallops are cooked add the sauce we mixed up earlier.
Now doesn't everything look nice and calm in the pictures? Well trust me they're not. I have a hot wok that burns food if allowed to sit in one place very long (maybe that's why it's called stir fry), I have a camera on a tripod right in front of the stove and to my right, I'm trying to take pictures with one hand and stir with the other. I just learned tonight I'm not coordinated enough to do that. I have a camera that uses no flash inside the house plus I have the shutter set up on a 2 second timer so I'm not touching the camera and I get no jiggling of the camera when the shutter snaps. Take the 2 second delay, plus the time it takes me to find the shutter button to push it, plus the 2 seconds for the shutter on the camera to stay open because of the lack of light in the kitchen and this ends up being an eternity when cooking stir fry. Somehow I survived all this without knocking over my camera, burning myself or burning down the house.
Once everything was cooked I realized I now have another problem. How do I get everything in the wok onto my overcooked rice on the plate? Keep in mind this is a cast iron wok that weighs 14 pounds to pick it up with one arm, tip it up over the plate and scrape out the scallops isn't easy. Another thing I learned tonight I'm not strong enough to this with my left hand or for that matter my right either. Keep in mind I said cast iron not only is it heavy but it retains heat too. Once the wok is hot it takes quite a while to cool down so waiting for it to cool down wasn't an option or setting on the kitchen counter because I was afraid it would burn the counter. So I did what I had to and grabbed it by both handles and shook the scallops out of it and on to the plate. Just one problem if you ever had scallops you know they are kind of round in shape. When they hit the plate they had enough momentum they didn't stop there they kept on rolling right onto the floor. Panic starts to set in as I watch my dinner roll across the floor so with some quick thinking I tip the wok up and slow the momentum down of the scallops coming out of the wok. Keep in mind the scallops were covered with Hoisin sauce so they weren't hard to find on the floor, just follow the trial of Hoisin sauce across the floor.
After everything was back on the plate where it belonged I started taking pictures and I thought the plate looked like such a mess I decided I couldn't use the zoomed out photos so this is all I'm left with.
Over all a good meal and I will rate it a 4.25 forks out of 5. The next time I cook it I am going to start the scallops first and after a minute or so I am going to put the green onions in.
And if Sam the Cooking Guy does happen to see this I apologize next time I will do better.
Scallops with Green Onions & Hoisin
Ingredients
1/2 lb scallops, defrosted and dried on paper towels
1/4 cup Chinese Hoisin sauce
1 tablespoon dark soy sauce
1 tablespoon dry sherry
6 scallions (green onions)
1 tablespoon peanut oil
Steps
1. Trim green onion ends and cut into 1" pieces
2. Mix together Hoisin, soy, and sherry
3. Heat wok with oil until almost smoking
4. Put in green onions and scallops - stir-fry 2 to 3 minutes until scallops are cooked
5. Add Hoisin mixture and stir all until thickened and heated through, about a minute
6. Sprinkle with finely chopped green onion and serve over rice.
www.thecookingguy.com
Copyright © 2008 Sam the Cooking Guy. All Rights Reserved
Sam the Cooking Guy- Scallops with Green Onions & Hoisin http://www.thecookingguy.com/cookbook/recipe.php?id=174
1 of 1 11/15/2008 1:22 PM
Saturday, November 22, 2008
Turtle Pumpkin Pie
I don't bake and I don't even pretend to bake so when desserts show up on this blog you can bet I probably didn't make it. I will take credit for the pictures but not the desserts.
I was scanning through the wife's Taste of Home magazine the other day when I came across a different way to make pumpkin pie. I thought it looked pretty good so I said to the wife "Hey where ya at? I found something you should make for me." She asked me "Why don't you make it?" So I replied "I don't bake, you do and I can use it for my new blog." I finally talked her into it and last weekend she made what is called Turtle Pumpkin Pie.
I got to tell you I can't really explain or describe what is really going on here because remember I don't bake. Hopefully the photos will help.
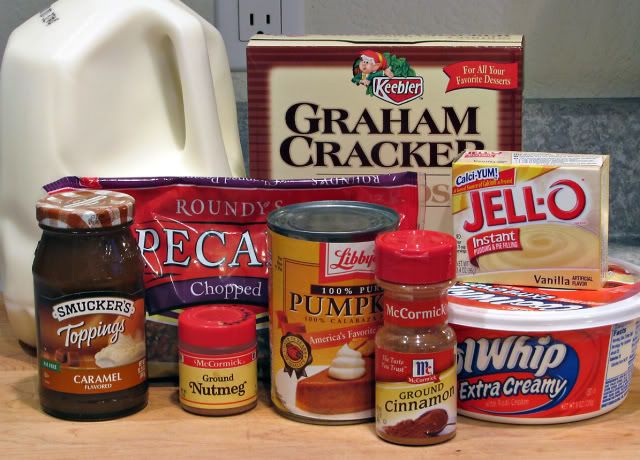
Let's first introduce the cast of characters.
Sure looks like a simple cast but if you want a complete list the recipe will be at the bottom of this post.
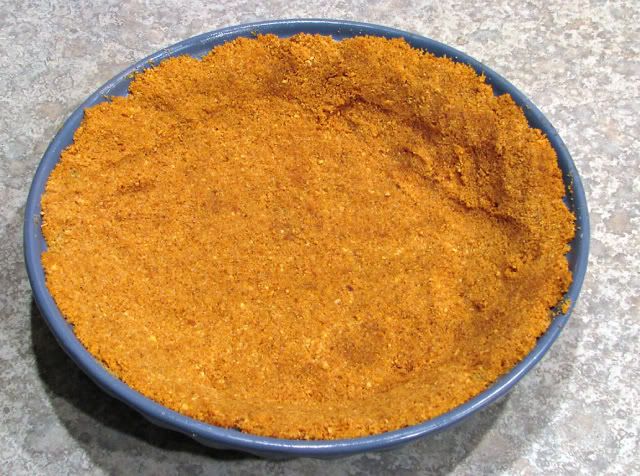
Next she had to start with a crust.
Even though the recipe at the bottom says to use a store bought one she made her own. At least I think she made her own like I said this baking is like a foreign language to me.
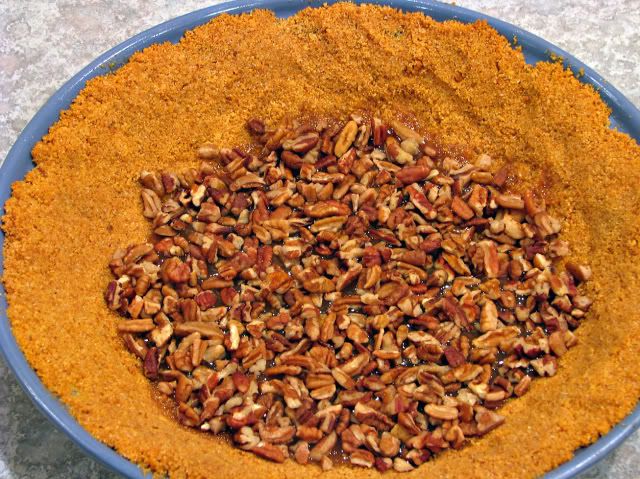
Now it's time to line the crust with some kind of nut. Pretty technical eh? Like I said read the recipe at the bottom for more or accurate information.
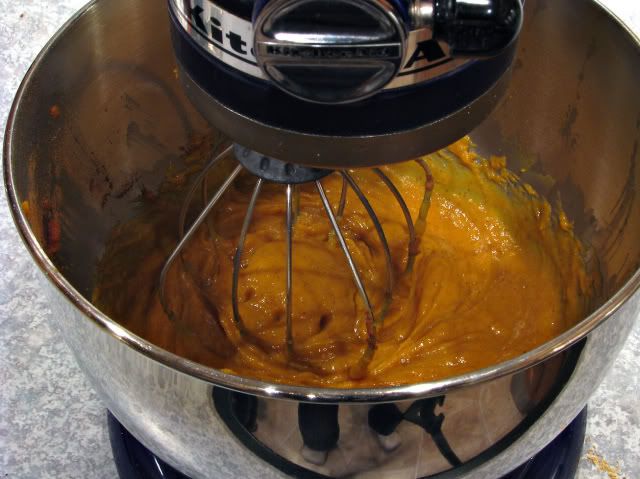
Once the pie crust is ready she makes the best part of the pie the filling.
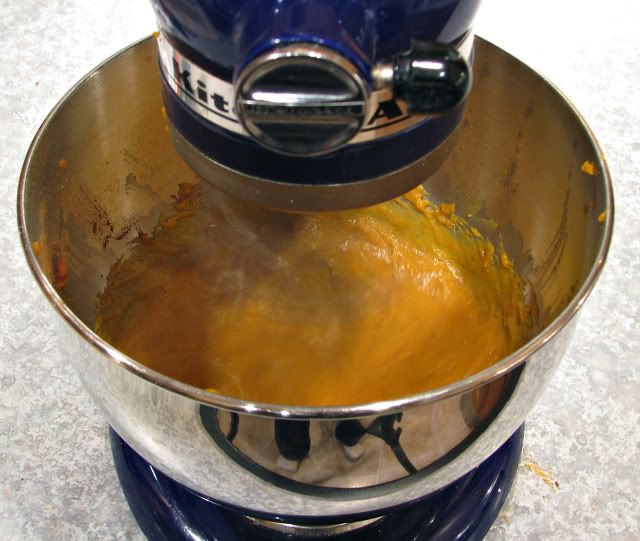
Here is an action shot.
You don't see a lot of action shots in the kitchen and maybe the above photo explains why. Not real exciting.
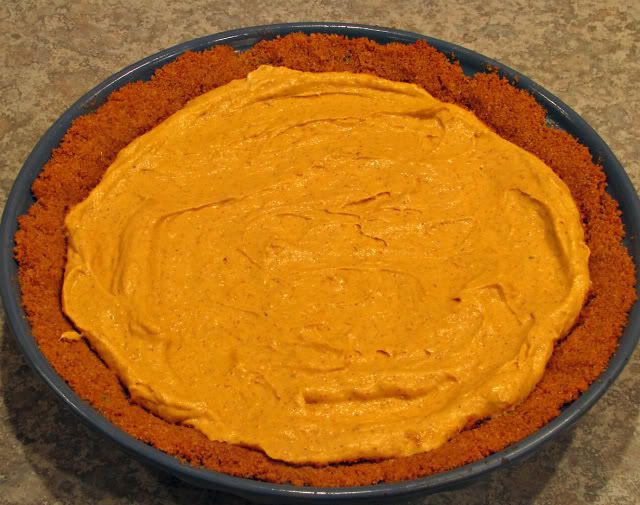
Next she spreads the pie filling around the crust while I lick the whisk from the mixer and scrap out the what I can out of the mixing bowl to eat.
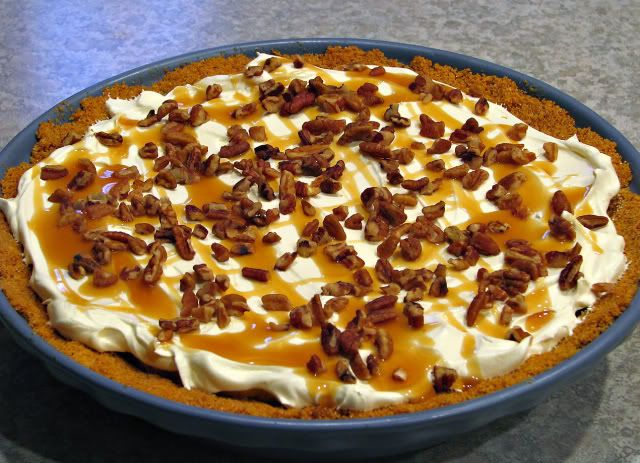
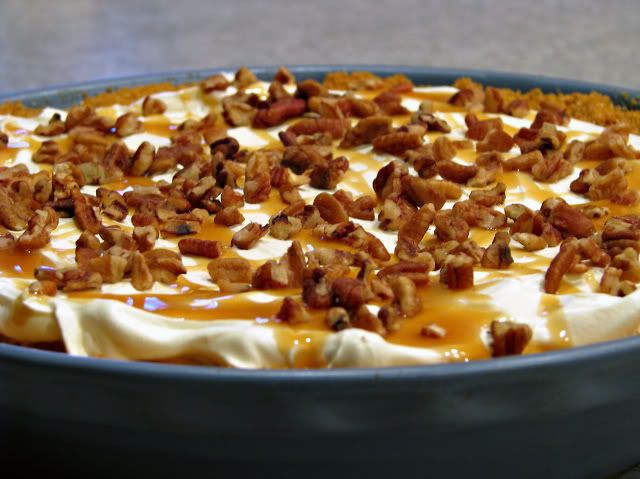
Sure is starting to look good but it's not finished yet. Next it goes into the ice box for awhile and then she adds the cool whip, caramel and nuts to the top to finish the pie.
Now it is really looking good, time to cut a piece of pie and check it out.
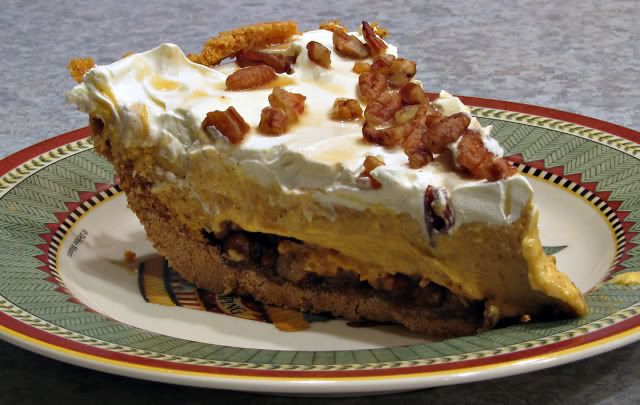
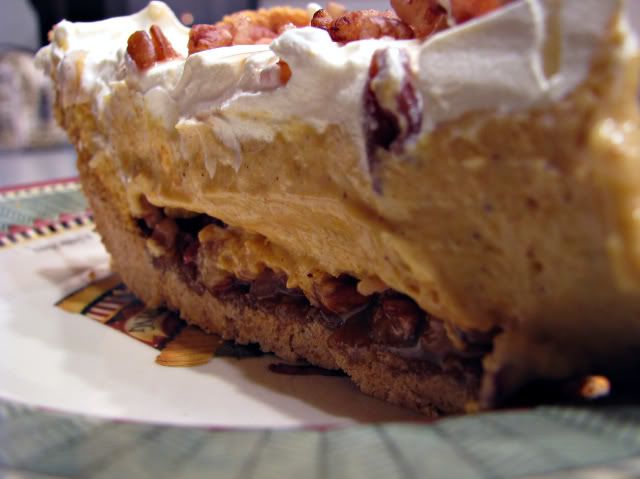
Here is where the problem starts, not with the pie per say because it just might be the best pumpkin pie I ever ate, but trying to get a good photograph of just one piece of pie. I think we tried for three different nights and this was the best we could come up with. I'm not sure what to do to make it look like the one in the magazine but I will figure it out in time.
Nope that photo just doesn't do the pie justice.
Turtle Pumpkin Pie
(From Kraft Foods advertisement in Taste of Home October and November 2008)
¼ cup plus 2 Tbsp caramel ice cream topping, divided
1 Honey Maid Graham Pie Crust
½ cup plus 2 Tbsp Planters Pecan Pieces, divided
1 cup cold milk
2 pkg. (3.4 oz. each) JELL-O Instant Pudding
1 cup canned pumpkin
1 tsp ground cinnamon
½ tsp ground nutmeg
1 tub (8 oz.) Cool Whip Whipped Topping, thawed, divided
Pour ¼ cup caramel topping into crust; sprinkle with ½ cup pecans
Beat milk, pudding mixes, pumpkin and spices with whisk until blended. Stir in 1-1/2 cups Cool Whip. Spread onto crust.
Refrigerate at least 1 hour. Top with remaining Cool Whip, caramel topping and pecans just before serving.
Friday, November 21, 2008
Chipotle Shrimp
I love chinese food and even though I will probably never master the art of cooking chinese food it doesn't mean I can't try. You can cook chinese food in a regular frying pan but for some reason it just isn't the same as cooking it in a wok. I have a wok already but to be honest it is one of those tephlon coated cheap models. For the last couple of years I have been looking for a real wok, a cast iron wok. I have been told the cast iron woks will make all the difference in the world when it comes to chinese cooking.
Whenever I found a cast iron wok it usually had a round bottom on it to be used on gas cooking stoves. Now imagine my pleasure last weekend when I did a search for cast iron woks and up pops a Lodge cast iron wok, not only a Lodge cast iron wok but a Lodge cast iron wok with a flat bottom to use on electric stoves. Yippee ky yay. It took me about 5 seconds to talk it over with the wife and I had it ordered.
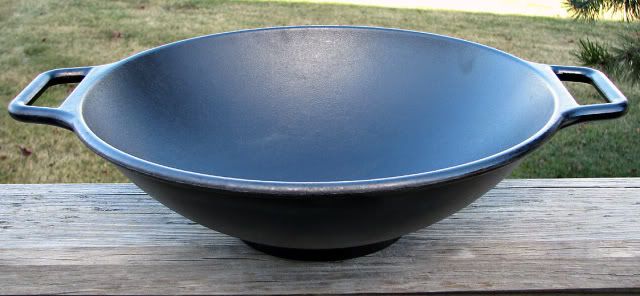
Fast forward to Thursday and while I am home eating lunch the UPS driver shows up with this.
Another yippee ky yay. Isn't that just a thing of beauty? Fourteen pounds worth of beauty. These preseasoned Pro Logic cast iron pots and pans are just the cats meow from Lodge. I like them because I can take them out of the box, wash them, and use them right away. No more seasoning the pans myself and stinking up the whole house for a day.
Of course I needed to use it right away so tonight I decided to try and make Mongolian Shrimp. The only problem was the store didn't cooperate with me so I was stuck with making up my own recipe tonight with ingredients I already had. It turned out ok in the end. I think I will call it Jock's Chipolte Shrimp.
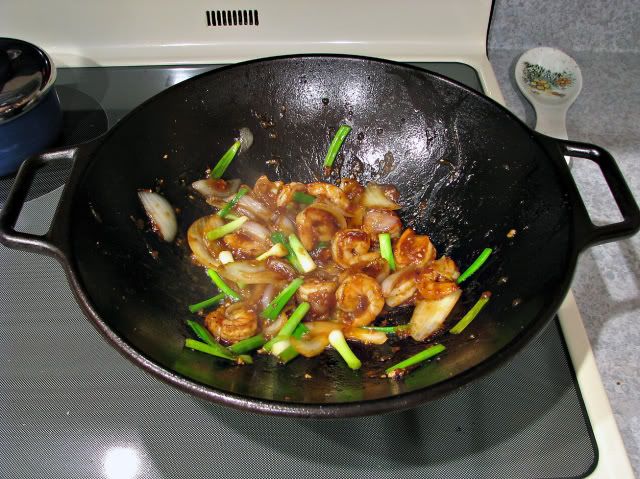
This is what it looked like in the wok just before it was finished.
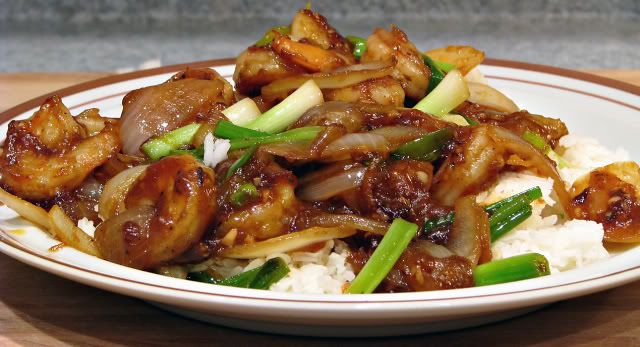
And this is what it looked like on my plate just before I devoured it.
Tomorrow I think I will go to Fond Du Lac and see if I can find the ingredients so I can make Mongolian Shrimp.
Stay tuned.
Jock’s Chipotle Shrimp
½ pound shrimp (or ½ pound of boneless, skinless chicken thighs cut into cubes)
Emeril’s Essence
Sauce mixture:
3 Tbsp soy sauce
1 Tbsp sugar
1 Tbsp sesame oil
1 Tbsp rice vinegar
1 Tbsp chipotle sauce
2 clove garlic, minced
6 green onions cut into 1-inch lengths
1 small to medium yellow onion, sliced
1 Tbsp cornstarch mixed with 2 Tbsp water
2 Tbsp peanut oil cooking.
Combine sauce ingredients separately
Heat wok and add oil. Sprinkle the shrimp with Essence.
When wok is hot add the shrimp.
Cook stirring constantly for about 2 minutes or until the shrimp are done.
Remove the shrimp. Add the yellow onions and cook for 2-3 minutes.
Add the sauce mixture and let it reduce over high heat for 1 minute.
Add the cornstarch/water mixture and cook until the sauce is the right
consistency. Add the green onions, cook for 1 minute and add the shrimp
back in and cook for another 1 minute.
Serve over rice.
Wednesday, November 19, 2008
Beef Short Ribs with Garlic Mashed Potatoes
Beef short ribs who would ever thought they could be so good. A few years ago while watching Emeril Live he made a recipe using oxtail. It looked good so I went to the grocery store to buy oxtail. There was just one problem, it's hard to find oxtail and after looking and looking I finally decided to use beef short ribs instead. The beef short ribs soon became one of the wifes and my favorite meals. I did make some changes to the original recipe to better suit our tastes but the overall idea is still pretty close to the original recipe.
This is winter time comfort food at its best. I know its still fall but here in Wisconsin snow is already blowing in the air and we have had some on the ground too so I think that's close enough.
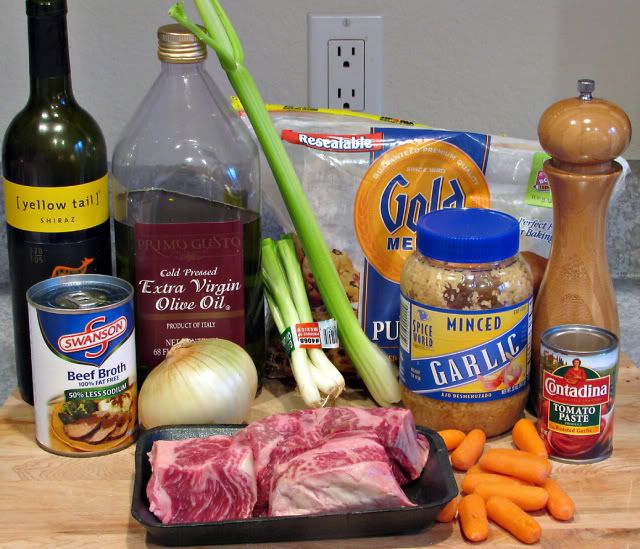
Let's introduce this weeks cast of characters
Pretty simple ingredients this week. I'll bet most people have this stuff already in their cupboard other than the short ribs and wine. The wine can be substituted with extra beef broth if one prefers.
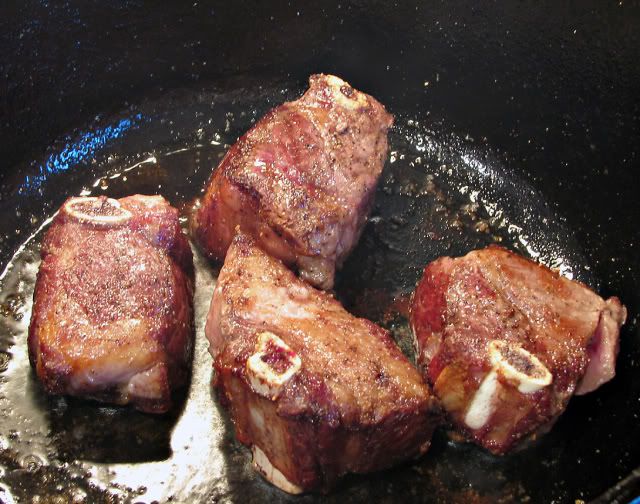
We must first start by browning the short ribs in our trusty cast iron dutch oven.
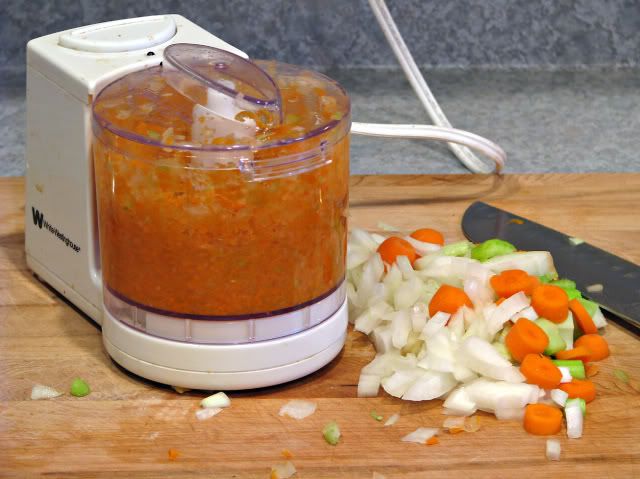
While the short ribs are browning we might as well make good use of our time and mince up some veggies with the food processor.
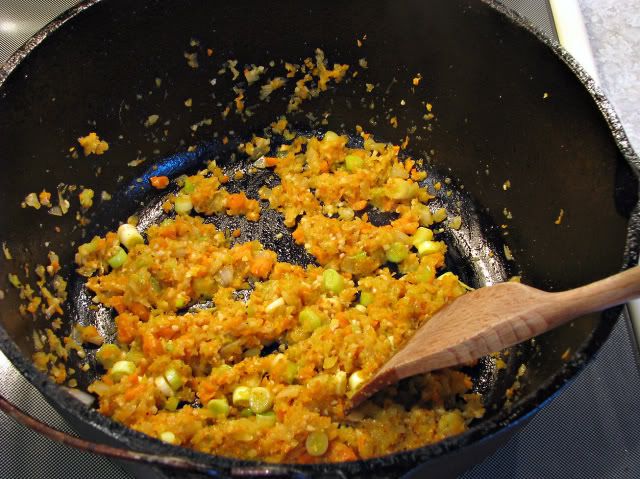
Pretty sad excuse for a food processor eh? Hey it gets the job done even though it takes three loads to process the veggies. Once the short ribs are browned it's time to start cooking our minced up veggies we worked so hard to get ready. After the veggies cook for a few minutes it's time to add tomato paste and flour.
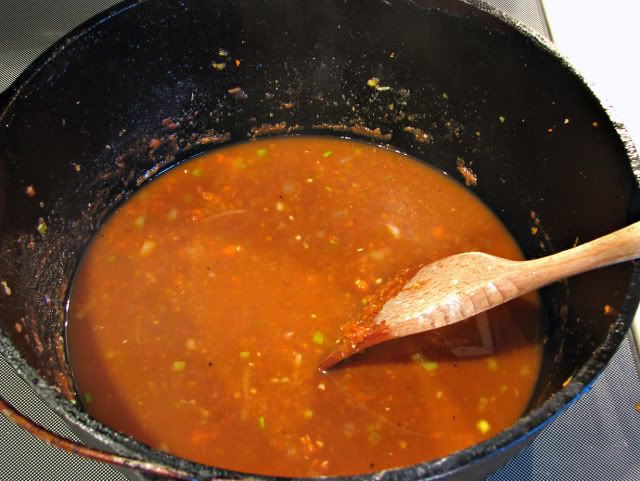
Next we add the wine and let cook for a couple of minutes and then the beef broth. Like I said earlier if you don't want to use the wine just use all beef broth. The original recipe from Emeril actually used beer instead of wine. Since I am trying to be a little more sophisticated these days I chose the wine plus I already had a partial bottle in the refrigerator already.
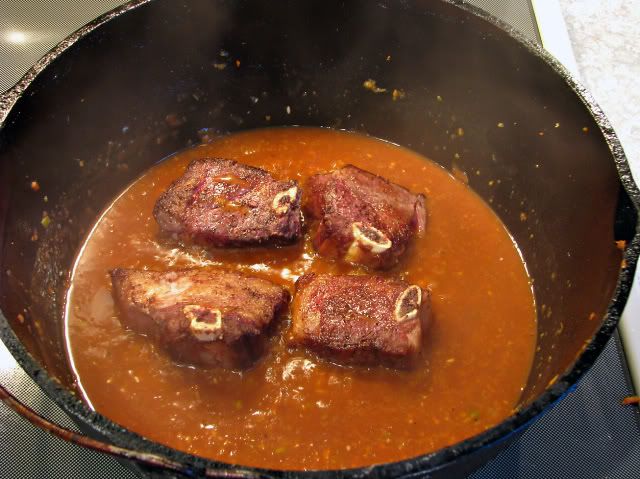
It's time to bring everything up to a boil and then turn down the heat and let simmer for 5 minutes or so. Now it is time to add the beef short ribs back to the gravy and let cook for 2 hours, with a lid on of course.
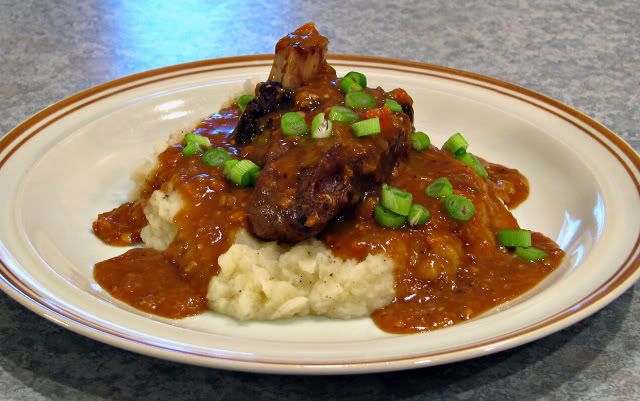
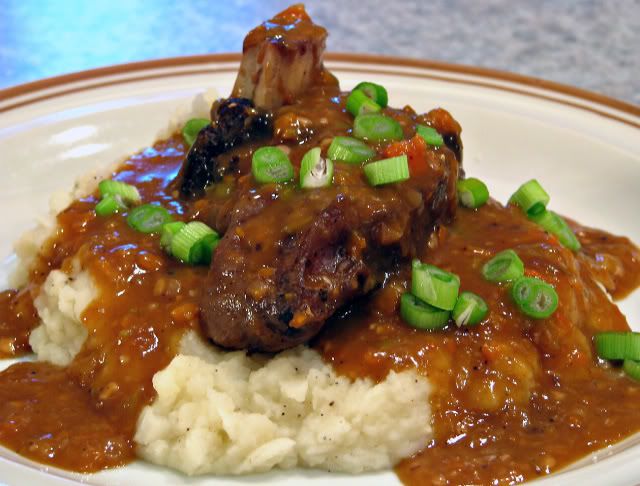
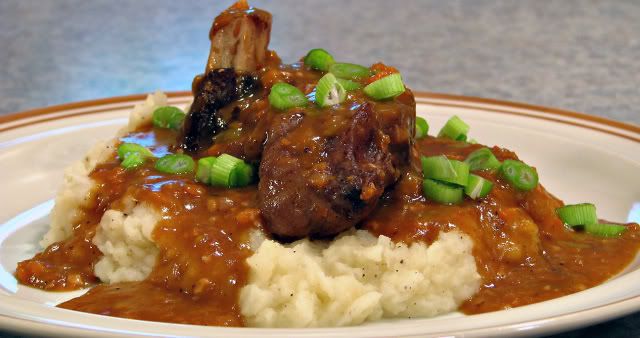
After everything in the dutch oven gets happy it's time to serve over garlic mashed potatoes.
Mmm that's some good grub there folks. I make this 3 to 4 times a year and never get tired of it. And the big bonus is it's so simple to make.
Beef Short Ribs Over Mashed Potatoes
. 2 tablespoons olive oil
. 3 pounds Beef Short Ribs
. 2 teaspoons salt
. 1 teaspoon freshly ground black pepper
. 1 cup diced onion
. 1/2 cup diced carrot
. 1/2 cup diced celery
. 1 tablespoon minced garlic
. 2 teaspoons minced ginger
. 1 tablespoon minced green onion, white part only
. 2 tablespoons tomato paste
. 2 1/2 tablespoons all-purpose flour
. 1 cup red wine
. 1 1/2 cups low-sodium canned beef broth
Directions
Add the olive oil to the Dutch oven and heat over medium heat until hot. Season the short ribs with the salt and pepper. Brown short ribs on all sides, about 3 to 4 minutes per side. Set the seared short ribs off to the side.
Mince onion, carrot and celery in food processor.
Once all the short ribs are browned, add the onions, carrots and celery to the pan. Sauté the vegetables until softened, about 3 to 4 minutes. Add the garlic, green onions and ginger to the pan and sauté for 1 minute, stirring often. Add the tomato paste and stir well to incorporate. Sprinkle the flour over the vegetables and stir to combine. Cook, stirring, for 3 minutes. Add the wine to the Dutch over and increase the heat to medium-high. Bring to a boil and cook for 5 minutes.
Add the stock, stir, and return the short ribs to the pan. Return the pan to a boil and place the lid over the pan. Once a steady stream of steam is emitted from the pan, lower the heat to a simmer, and cook the short ribs until tender, about 2 hours in a Dutch oven. Remove the lid, and serve immediately over mashed potatoes. Garnish with green onions or chives.
Subscribe to:
Posts (Atom)