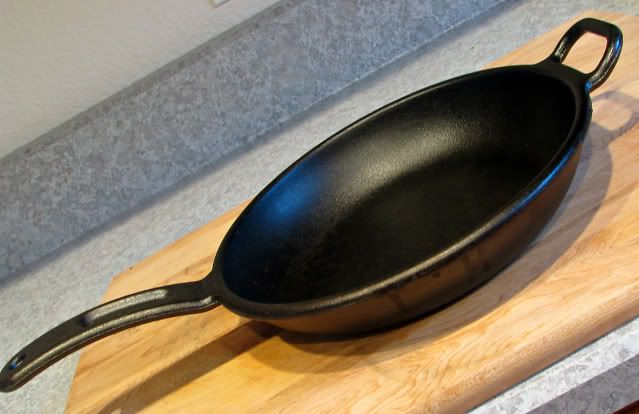
So you finally broke down and bought your first cast iron pan but you're not sure what to do with it. It said on the package "preseasoned" but is it really? You want to use it but you're not sure about cleaning it. Well this is the place for you because I am going to tell you how I take care of my cast iron. You might find people that will argue with my methods but I can tell you I don't have any problems with food sticking to my pans and they are as easy to clean as any other pan you can buy.
I have used preseasoned cast iron pans out of the box and they perform fine but if you want to go up one more notch and make your cast iron pan truly non stick then read on.
First of all take a good look at the pan straight out of the box.
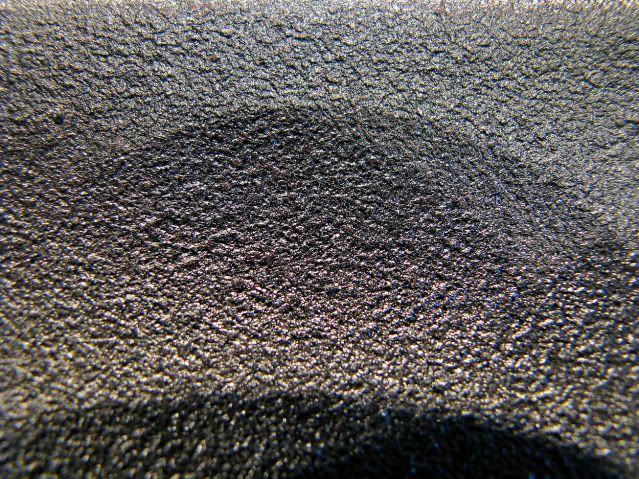
Run your finger across the bottom of the pan, feel that? Feel the roughness of the surface and some areas may even feel like a sharp point? That's because the finishing process in the factory isn't perfect. When they break the cast iron pans out of the sand molds they were formed in they then either sand blast them or roll rocks around them (or something like that I'm not really sure) to get a "smooth" surface before they preseason the pan. I like the idea of buying my cast iron pans already preseasoned but I don't like the roughness of the surface from the factory so what do I do?
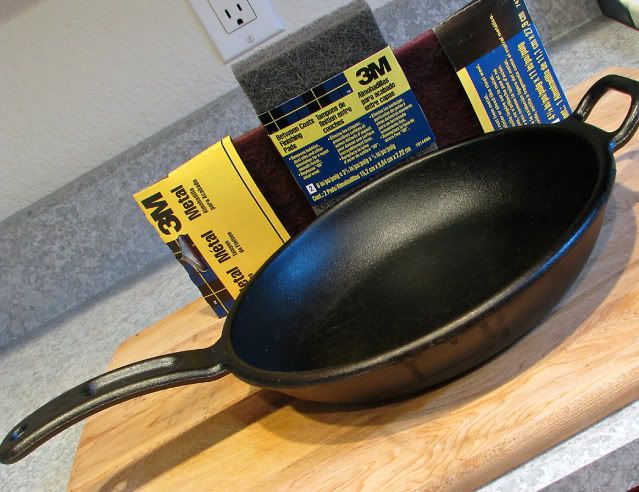
I sand the surface of the pan. Yeah I know it ruins the preseasoning of the pan but I would rather reseason the pan myself and have a truly non stick cast iron pan then put up with the possible struggles of cleaning the pan straight from the factory. And trust me it makes a big difference.
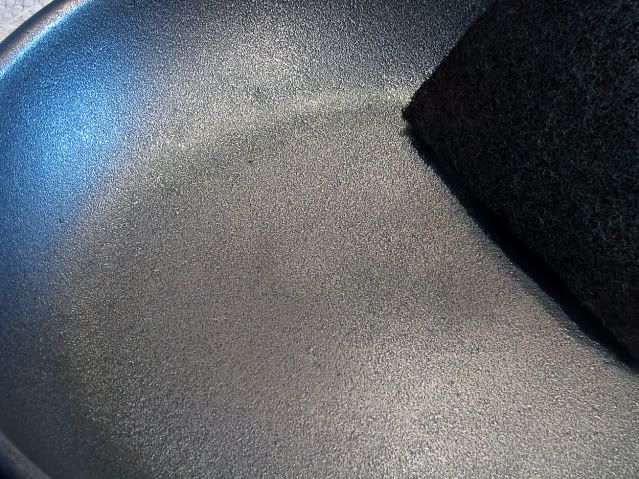
I start with a medium grit sand paper or like you see in the above photo scotch brite pad. I sand all the rough peaks off and then I switch to a very fine sand paper or scotch brite pad.
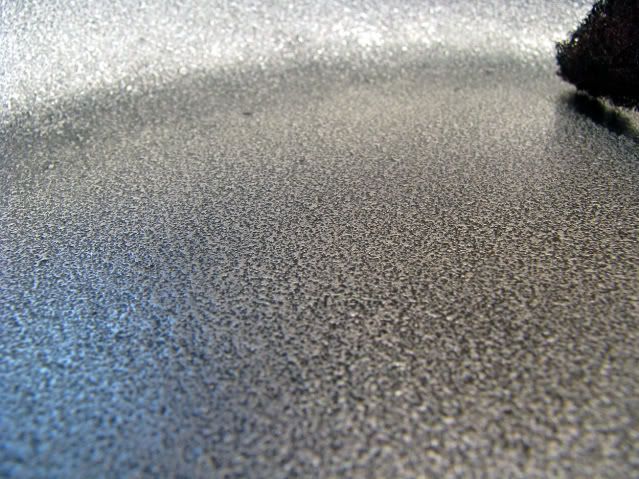
Now run your finger across the pan and feel how much smoother it is, big difference huh? I only sand the inside of the pan not the entire pan. There is no reason to since you only cook with the inside portion of the pan.
At this point since you have taken the seasoning off the pan you can wash it with soap and water you want hurt anything. Make sure you get the pan clean because there will be a lot of cast iron dust left behind from the sanding process.
Now we can reseason the pan and I will explain how I do mine.
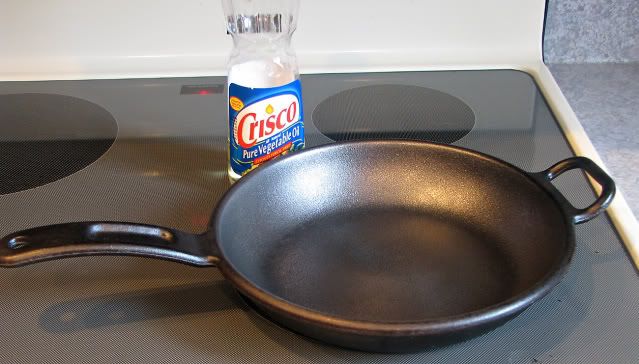
I use vegetable oil for seasoning my cast iron. This is where you might find some arguments with other people on what is the best thing to use for seasoning cast iron. I have read where all you should use is vegetable shortening and other articles that say you should use bacon grease or lard. I guess I am not really sure what is best but I can tell you I have had extremely good luck using vegetable oil so I stick with it, and it's easy.
Preheat the oven to 350 degrees........
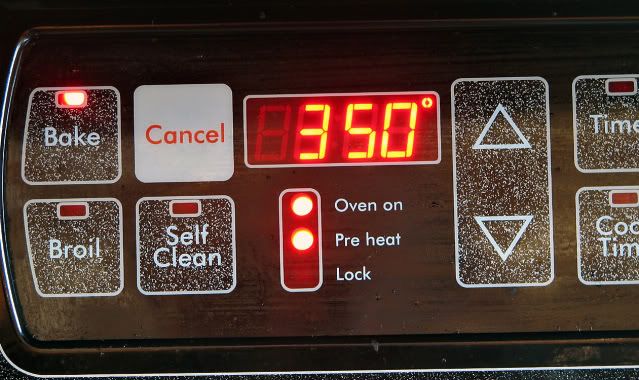
.....and get ready for a long day.
Next coat the pan with vegetable oil and place the pan upside down in the oven for one hour at 350 degrees. You may want to place a piece of aluminum foil on the bottom rack to catch any oil that may drip off the pan. After one hour turn the oven off and let the pan cool off in the oven for about 2 hours. Once cool coat the pan with oil again ,only this time with a thin coat, and repeat until you have done this for three times. The last time for me is normally at night so I let the pan sit in the oven over night to cool off.
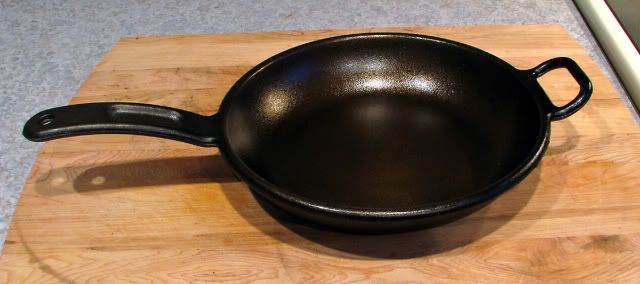
When you pull the pan out of the stove the next morning you will have a pan with a rock hard smooth finish and a pan that is ready to cook with.
Let's take another look.
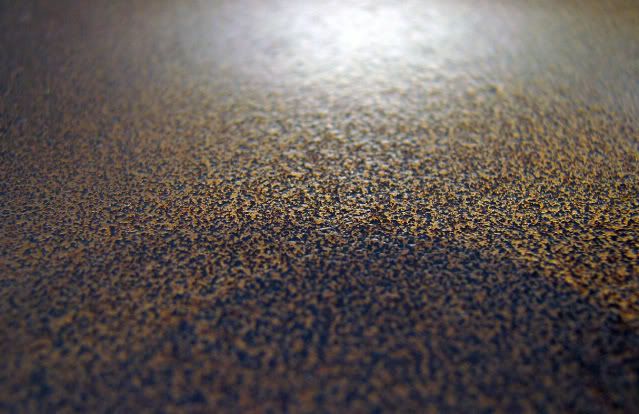
Remember what we started with?
Even in the photos you can see the difference.
The next question is how do I clean the pan after I use it? You may be surprise how easy it is to care for cast iron after you clean one a couple of times. Here is how I do it. I clean the pan right after I use it because it is easy and fast. First put the pan back on the stove so it remains hot. Next pour a little water in the bottom, I normally use about 1/2" or so in the bottom. The water will boil right away and at this time I use a soft nylon brush and quickly scrub the pan being careful not to burn myself. Then I dump the water down the drain and put the pan back on the stove and most times I will repeat this step a second time as a rinse for the pan. After the "rinse" cycle it is back on the burner again to dry. I will normally wipe the pan out with a towel and then pour 1 teaspoon of oil in the pan and wipe it all around the bottom while the pan is hot. From here I just leave the pan on the stove until cool. Once the pan is cool if I see any oil laying on the bottom of the pan I will wipe it out before I put it away.
There you have it how I take care of my cast iron pans. If you follow these directions you will end up with a pan equally at home over an open camp fire or cooking your most elegant meals. I will guarantee you once you have the cast iron pan mastered you won't want to go back to your coated non stick pans plus you will have a pan you can hand down to the next generation.
Thursday, April 23, 2009
Tuesday, April 21, 2009
Emeril's Sausage Chili
This post originally aired on my other blog but since I had a request for the recipe I thought I would post this again on the blog.
It's that time of year again when the sun starts to slowly sink farther to the south making the days shorter and shorter. That means the mornings are getting chillier and the days are getting colder. It also means hunting season is here and it won't be long until deer season opens. Even though I haven't gone deer hunting for the last couple of years it doesn't mean I can't cook some of the food I normally cook for hunting season. The one meal I like to cook this time of year when the temperatures cool off is..............
......Chili.
Just so you know I am not a big fan of "normal" chili, by that I mean burger, chili powder, beans, tomatoes and water. A few years ago I was watching an Emeril Live Episode and he made chili, not just any type of chili but sausage chili and instead of using water he used beer. Needless to say he got my attention. It wasn't long and I decided to make it and ever since then I make sausage chili once if not twice a year. I did make one slight change from his recipe Emeril used andouille sausage. Since I could never find andouille sausage when I lived in Michigan I decided to use chirizo instead. If I was the only one eating the chili I would only use chirizo but since I was afraid it would be too spicy if I did only use chirizo sausage I decided to use half chirizo and half sweet italian sausage. I will mention that I did use all chirizo once and ended up winning a chili cook off. Grand prize was a $25 gift certificate from WalMart. Lucky me eh?
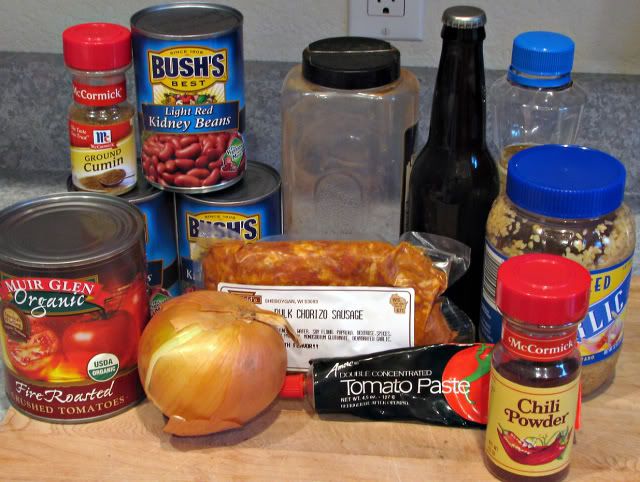
Let's get started with the good stuff. First let me introduce you to this weeks cast of characters.
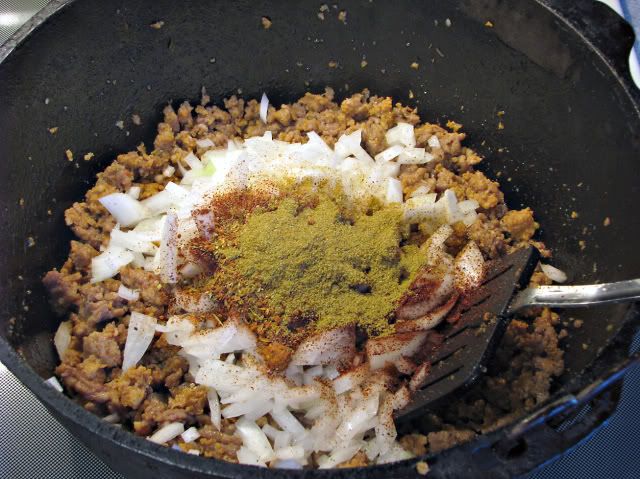
First we must start by browning the sausage and then add some the this weeks cast in the browned sausage.
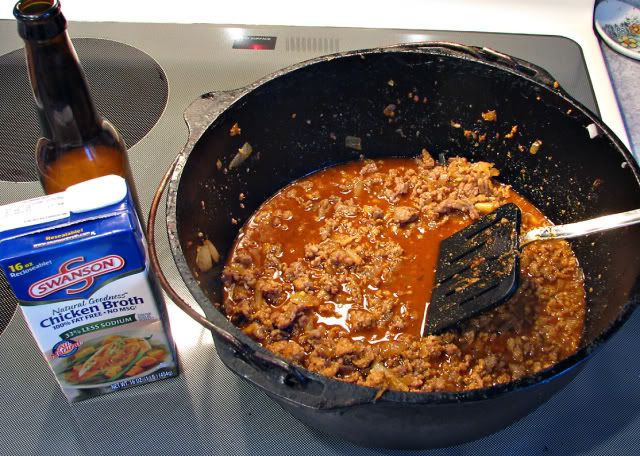
Now it is time to add the beer.
Okay so I didn't use all beer this time like I normally do I decided since it was just me and the wife I would only use a half of bottle of beer and a half of box of chicken broth.
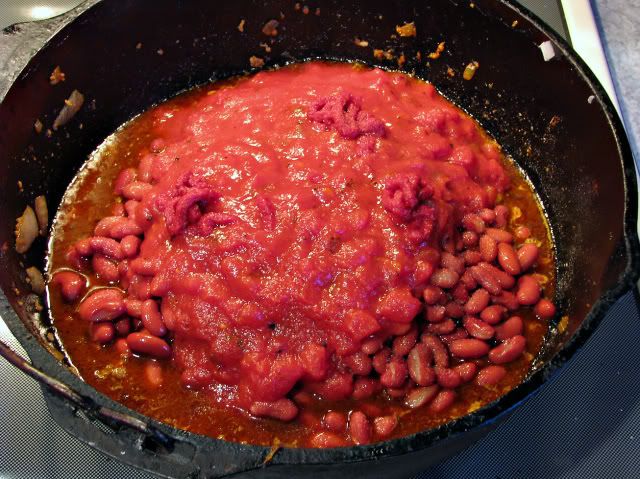
Bring this to a boil and time to add some more stuff.
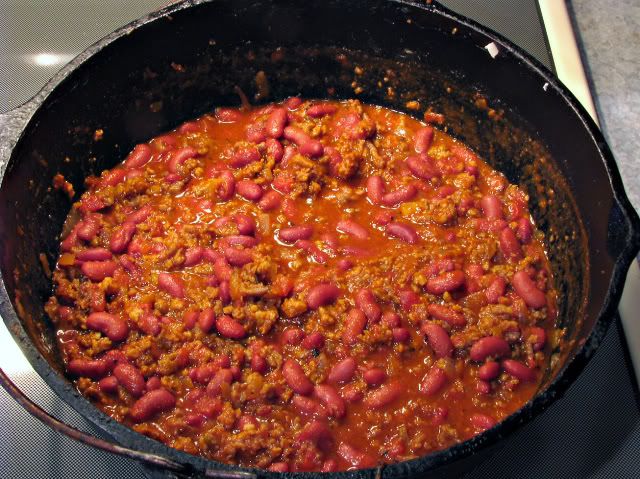
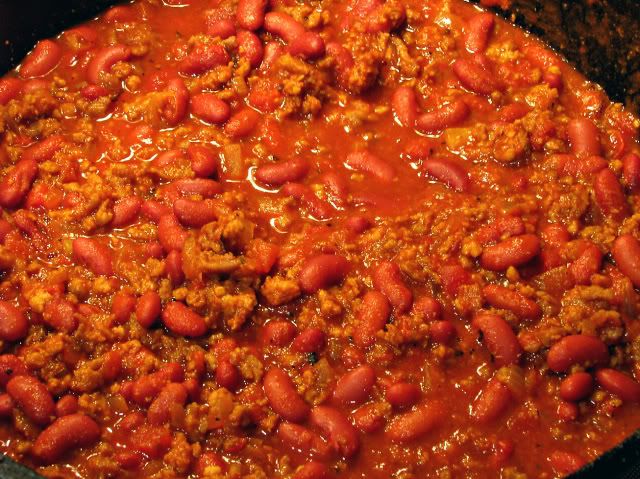
Let this cook for a hour to and hour and a half and it should look like this.
Nice and thick and tasty just the way chili should be.
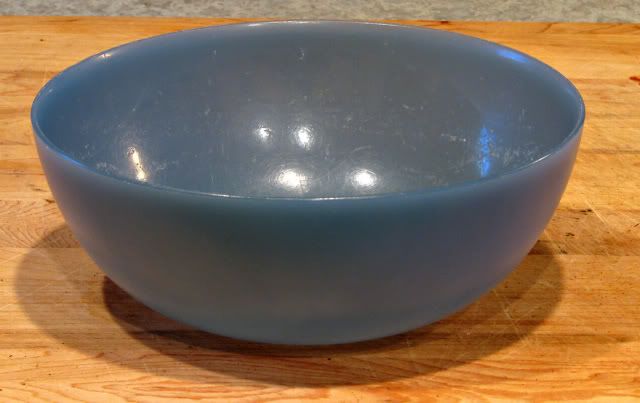
Now that we have the chili cooked we need to decide what type of bowl to serve it in. We might choose one of these...
Nah that bowl is for cereal.
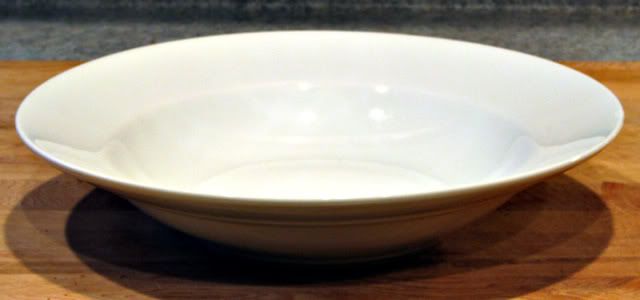
How about this one?
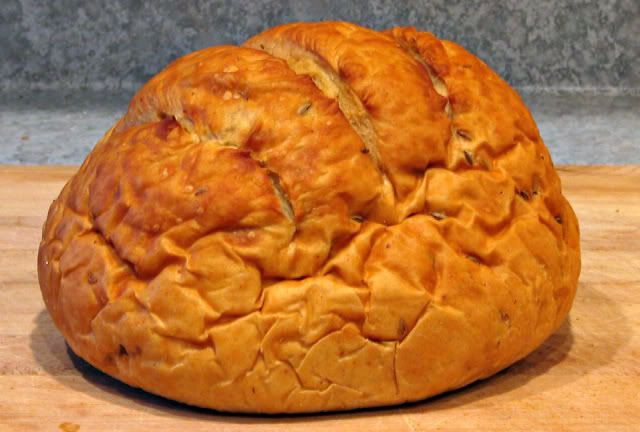
This bowl is normally used for soups, chowders and stews. I suppose it can be used for chili but I think I have a better idea. How about this....
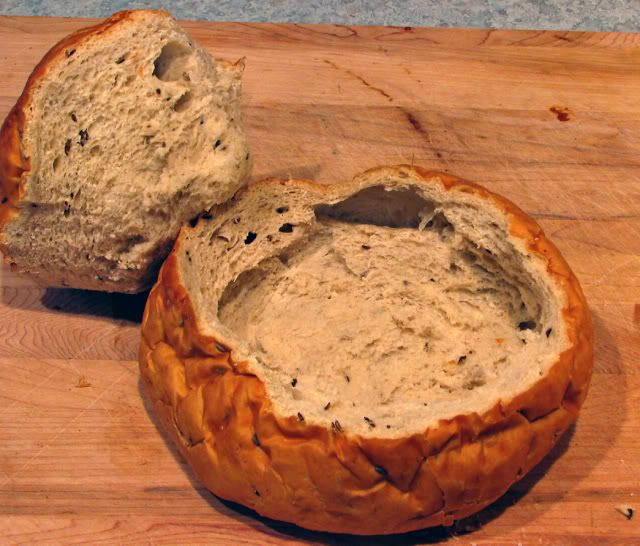
You don't think that looks like a bowl? How about if we do this then?
Now does it look like a bowl? It is hard to beat a bread bowl but try to find one that is the right size. Normally they are to big or to small I can never find the right size. This particular one is a little big but it will do.
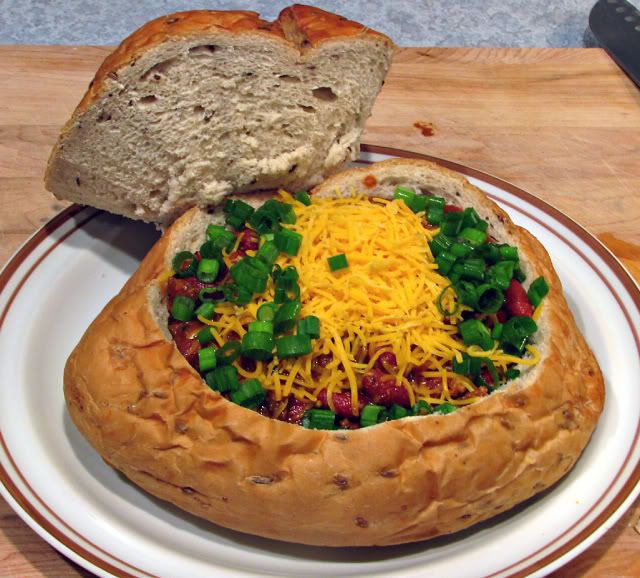
I think it is time to fill it....
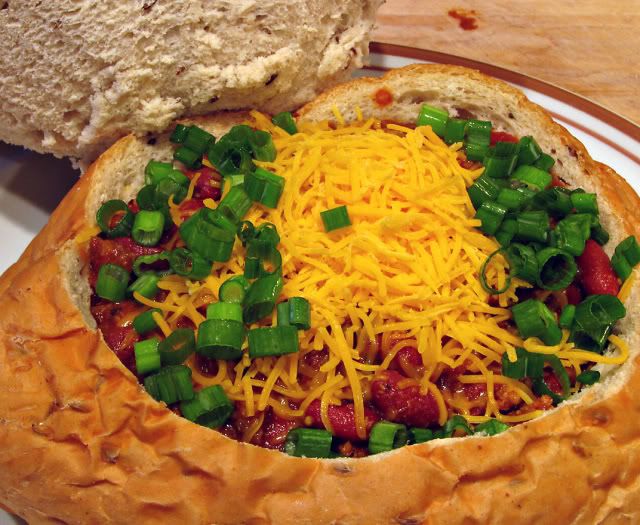
Don't forget to add the shredded cheddar cheese and green onions on top.
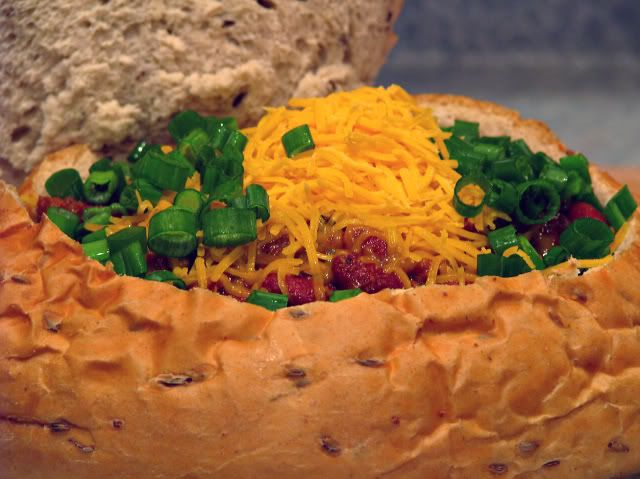
How about a little different angle......
I'll rate this chili a 4.75 spoons out of 5 only because I used chicken broth instead of just beer.
The big bonus with this meal is you get to eat the chili soaked bowl afterwords too. Now how can you beat that no bowls to wash.
How about one more look at this weeks episode.
Perfect meal for a cold chilly Sunday but the only problem was it was 65 degrees on Sunday. Oh well can't be perfect.
Sausage Chili
Recipe courtesy Emeril Lagasse, 2002
Ingredients
1 tablespoon vegetable oil
2 pounds Andouille, or other spicy, smoked link sausage, cut into 1/2-inch pieces
2 cups chopped yellow onions
1 tablespoon minced garlic
2 tablespoons chili powder
1 tablespoon Essence
2 teaspoons ground cumin
1 (12-ounce) bottle dark beer
1 (28-ounce) can whole tomatoes, crushed, and their juices
3 tablespoons tomato paste
1 teaspoon sugar
6 cups cooked red kidney beans, drained and rinsed
Salt and freshly ground black pepper
1 cup grated cheddar cheese, garnish
1 cup finely chopped green onions, garnish
Directions
In a large heavy pot, heat the oil over medium-high heat. Add the sausage and brown on all sides, about 5 minutes. Add the onions, garlic, chili powder, Essence, and cumin and cook, stirring often, until soft, about 4 minutes. Deglaze the pan with the beer and cook until the foam subsides, about 1 minute.
Add the tomatoes, tomato paste, sugar, and kidney beans to the pot. Stir well and bring to a boil. Lower the heat to medium-low and simmer, uncovered, for 30 minutes, stirring occasionally to prevent the chili from sticking to the bottom of the pot. Season with salt and freshly ground black pepper, to taste.
Remove from the heat and transfer to a thermos. To serve, ladle into bowls or thick cups. Sprinkle each serving with grated cheese and green onions, and serve hot.
Recipe from "New New Orleans Cooking", by Emeril Lagasse and Jessie Tirsch. Published by William and Morrow, 1993.
Wednesday, April 1, 2009
Shrimp and Grits
Anybody out there watch Throwdown with Bobby Flay? I do and it is one of my favorite shows on TV. A couple of weeks ago he did a throwdown with a guest from Georgia and the throwdown was shrimp and grits. I have never had the pleasure of eating shrimp and grits, shoot I have never eaten grits but I have been wanting to make them for sometime now. Once I watched the episode I knew I wouldn't get them out of my mind until I finally tried them.
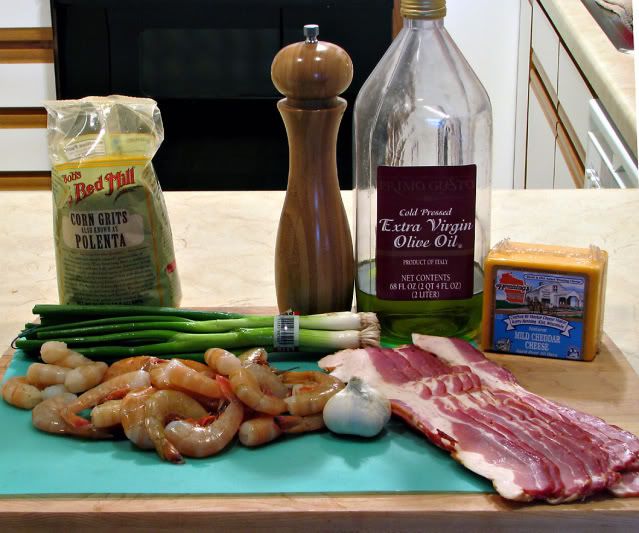
Let's get busy and introduce the cast of characters:
Pretty simple cast this week.
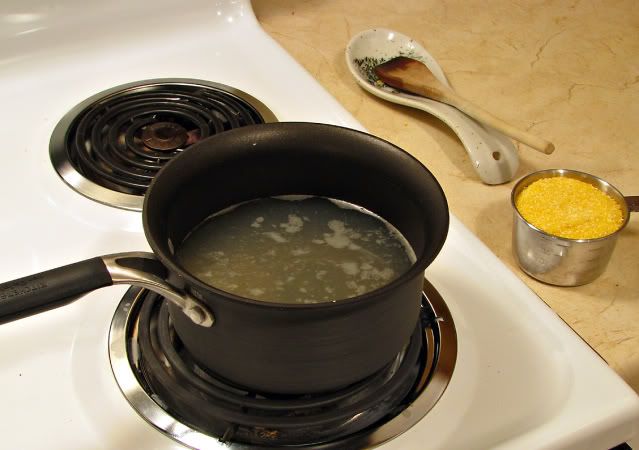
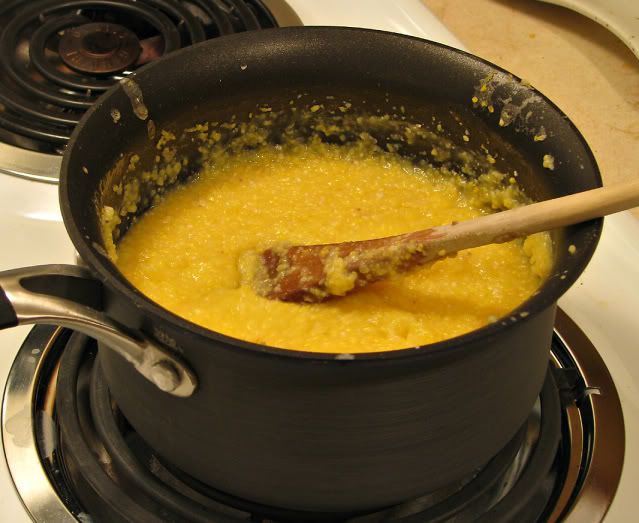
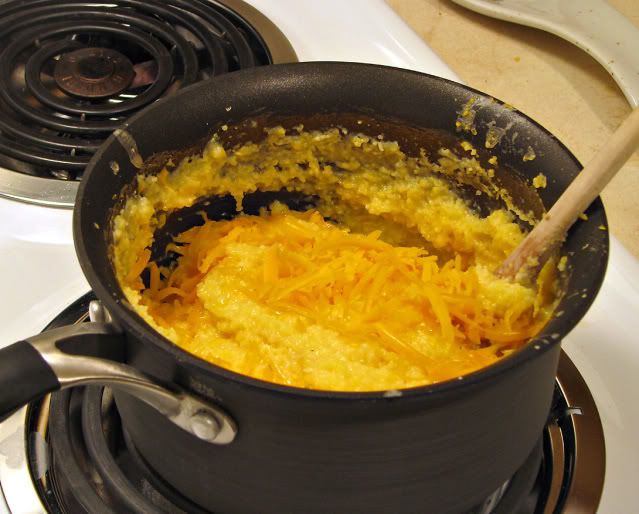
I wasn't to sure about the grits part but what the heck all they are is cornmeal cooked with some sort of broth. I had two choices on how to cook them Bobby Flay's way or the real way his throwdown partner cooked them. Since I really didn't need all the butter and cream in the second way I choose Flay's way which was with shrimp stock and cheddar cheese.
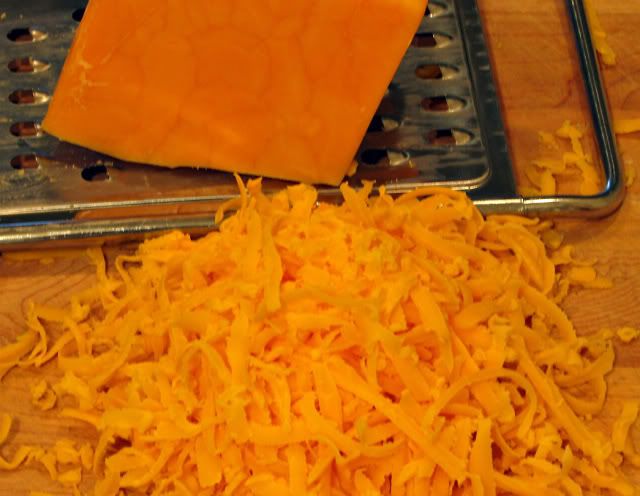
I did all my stirring with a wooden spoon just like the show suggested. I'm not real sure what the wooden spoon has to do with anything but I stuck by the directions. One change I had to make was I had to use yellow cheddar cheese instead of white because I couldn't find the white cheddar cheese in our grocery store. Hard to believe since I live in Wisconsin the supposed king of cheddar cheese.
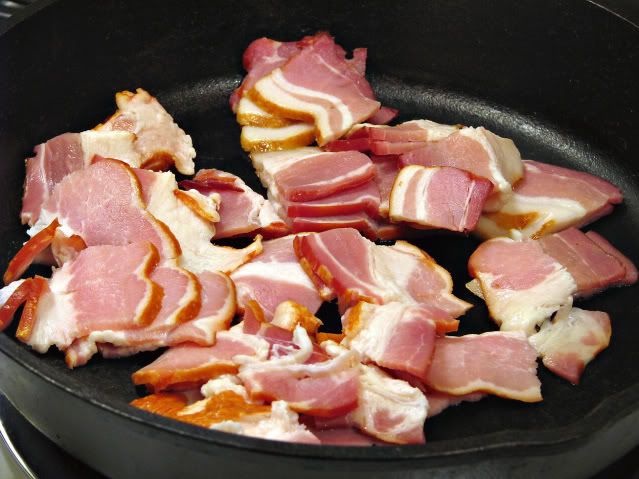
Once the grits are cooked it's time to start on the shrimp portion of this episode. Start with browning up some bacon......
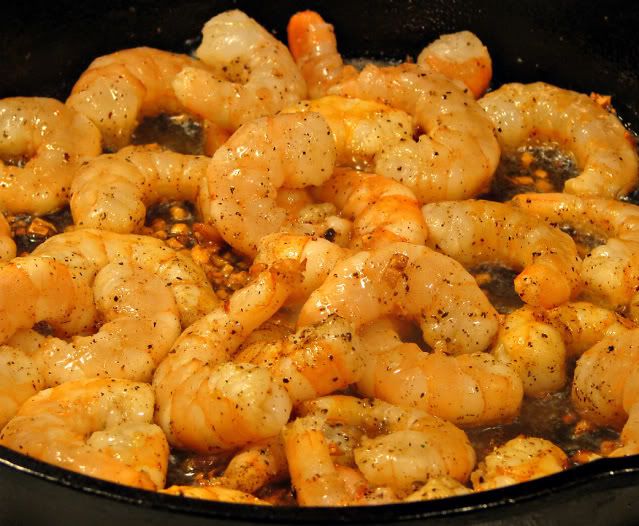
....finish up with the garlic and shrimp....
....and it's really that easy.
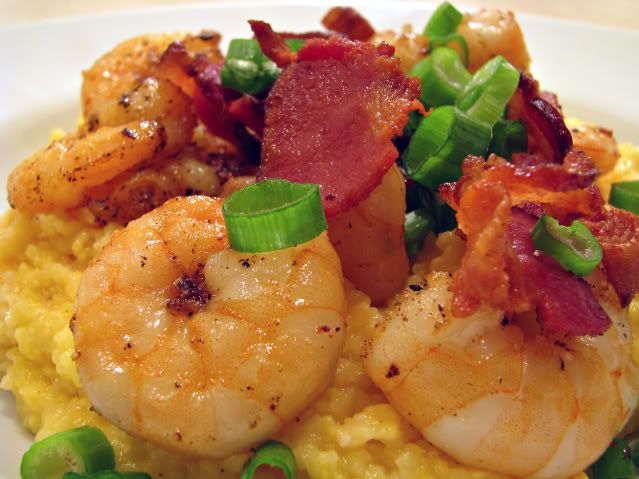
All that's left is to put everything together.
A pretty fine meal and one I will be making again in the near future. The grits could have been creamery and next time I think I will add another 1/2 to 1 cup of broth so they aren't so thick. I am rating this a 4 out of 5 forks because the man from the south ended winning the throwdown episode against Bobby Flay. I have to admit the southern shrimp and grits did look better but there were so many bad things in it, like cream, butter, more cream, I just couldn't bring myself to make them. I also think next time I will use andouille sausage instead of bacon and I will come up with a different type of sauce to pour over the top. I think I will use Emeril's Essence on the shrimp before I cooked them too.
Bar American’s Gulf Shrimp and Grits
Recipe courtesy Bobby Flay
Prep Time: 20 min
Ingredients
Grits:
4 to 5 cups shrimp stock
Salt
1 cup yellow stone ground cornmeal
1 cup grated white Cheddar
Freshly ground black pepper
3 green onions, thinly sliced, for garnish
Sautéed Shrimp:
1/2 pound thick double-smoked cut bacon, cut into lardoons
2 tablespoons pure olive oil
20 large (21 to 24 count) shrimp, shelled and deveined
3 cloves garlic, finely chopped
Salt and freshly ground black pepper
Directions
For the grits:
Bring 4 cups of the water and 2 teaspoons of salt to a boil in a medium saucepan over high heat. Slowly whisk in the grits and bring to a boil. Reduce the heat to medium and continue cooking until the grits are soft and have lost their gritty texture, whisking every few minutes, 15 to 20 minutes. If the mixture becomes too thick, add remaining water and continue cooking until absorbed. Add the cheese and whisk until smooth; season with salt and pepper.
For the shrimp:
Place bacon in a medium pan over medium heat and cook until golden brown and crisp and the fat has rendered. Remove bacon with a slotted spoon to a plate lined with paper towels.
Remove all but 2 tablespoons of the bacon fat from the pan and place back on the heat. Add the olive oil and increase the heat to high Season the shrimp with salt and pepper, and add to the pan with the garlic. Sauté until golden brown on both sides and just cooked through, 1 to 2 minutes per side. Remove shrimp to a plate. Reserve the garlic oil to drizzle over the finished dish.
Divide the grits among 4 bowls and top each with 5 shrimp. Drizzle the top with some of the bacon-garlic oil (that the shrimp were sautéed in) and sprinkle with some of the green onion.
Printed from FoodNetwork.com on Sat Mar 28 2009 © 2009 Scripps Networks, LLC.
All Rights Reserved
Subscribe to:
Posts (Atom)