Tuesday, June 19, 2012

The Ultimate Quest for Pizza Dough


Pizza dough, who knew it could take so much time to find a good pizza dough to make pizza?  After all, a pizza will only be as good as the dough it's cooked on.  It doesn't matter if you're a thin crust or traditional crust person making and finding a good pizza dough recipe can be a daunting experience.  


Finding a good pizza from a pizza restaurant can be a tough proposition too.  I can think of a couple of good places in former places I've lived, Buccilli's Pizza in Clare Michigan and DeO'Malley's Pizza Pub in Plymouth Wisconsin, both serving tradition style pizza crust, my personal favorite.  Where we live now, Gaithersburg Maryland, we have yet to find a pizza parlor that matches either of the above two.  There is a good thin crust pizza place close to here called Coal Fire, actually cooked in a coal fired oven.  Who would've guessed.  

In my never ending quest to find the better pizza dough I have made many different recipes from many different places but I was never satisfied with the outcome.  In my opinion all tasted, well, homemade, and nothing like a good pizza place can make.  In fact, one of the better pizza crust I have come across, or at least as good as I have ever made, was the Pillsbury Pizza dough sold in tubes in the local grocery stores.  Now how bad is that?  

My whole pizza dough life changed one day via Twitter (who said I was technologically challenged?) when someone tweeted to Mario Batali "What is the best pizza dough recipe?"  Mario is one of my favorite tweeters (is that what they're called?) if someone asks him a questions he will usually answer it.  Mario tweeted his answer back as "Mozza, the same one we use in our Mozza restaurant."  Since twitter is limited to 140 characters he couldn't very well give the entire recipe in his tweet and that's why google was invented, to fill in the gaps.  After a quick search on the 'net I came up with a recipe called Nancy Silverton's Pizza Dough. (I'm sorry it's an Oprah link but it's the best link I could find that explains the what and whys for making this pizza dough.)

The cast of characters is, for the most part, simple with a couple of surprise guests, raw wheat germ and barley malt.
  

  • 1⁄2 ounce (1 Tbsp) compressed yeast or 1 tsp active dry yeast
  • 26 ounces unbleached bread flour, plus more as needed
  • 1⁄2 ounce (1 Tbsp) dark rye flour or medium rye flour
  • 1 1⁄2 tsp wheat germ
  • 1 1⁄2 tsp barley malt or mild-flavored honey, such as clover or wildflower
  • 1⁄2 ounce (1 Tbsp) kosher salt


  • The barley malt is the interesting character, the Kramer of this show.  It's a natural sweetener and, I believe, gives the dough its flavor.  

    One note of caution, this pizza dough takes a lot of time to make so if you do decide to try it make sure you give yourself plenty of time.  Sometimes I'll make it the night before and put it in the frig until the next day.   
     The day I made this pizza dough I ran out of bread flour, oops forgot to buy it when at the store, so I used 50% whole wheat flour and that's why the dough has a little hint of brown.  Still delicious, although not as good at using all bread flour as the recipe suggest.  
    I normally cook my pizzas on a stone on the grill, which gives fantastic results and something an oven just can't match.  Also, I think I finally have a pizza dough recipe that can compete with the best pizzas I've had at any restaurant, so much so I would rather stay home and cook my own pizza instead of going out for pizza.

    Original Recipe:

    Saturday, June 16, 2012

    The Best Steak I Ever Made

    I
    I'll admit it, I'm a Food Network junkie.  This time of year, right after Washington Nationals baseball, it's my most watch TV channel.  Every year after Memorial Day Weekend the Food Network airs a week of barbecue and grilling and I set my dvr to record many shows during the week so I can watch them later and to also save shows that have recipes I want to try.  This particular recipe idea for this post came from a show called The Best Thing I Ever Made during the grilling week specials.  For those of you not familiar with the show several chefs from The Food Network will share the best thing they ever made, along with the recipes and how to prepare them, on the show.  Every week the show has a theme and of course during grilling week the theme was.............wait for it.........Grilling!!!

    Although there were many good ideas and recipes on that show the one that stood out to me was the Grilled  Ribeye Steak by Chef Geoffrey Zakarian.  In my never ending quest to grill a better steak I immediately filed this recipe away for later.  Chef Zakarian didn't give me any earth shattering information I didn't already know but he did use a little different method than I normally use.  His ingredient list is simple enough, olive oil, salt, pepper and a little pad of butter applied after grilling but it is when he applies all the ingredients, other than the butter, that is different.  My normal method is to get the steak out of the frig before I go out to start the grill and this is when I apply oil, salt and pepper.  If you checked the Grilled Ribeye Steak link above you will notice Chef Zakarian use a ribeye steak 2-1/2 inches thick.  What he said during the program was a thick steak like that needs plenty of salt and pepper and plenty of time to absorb the salt and pepper. He salt and peppered the steak the night before and let it sit in the frig.  The next day he got the steak out a hour before he wanted to grill to give it a chance to come up to room temperature (this also helps to cook the steak more evenly once on the grill).  Since my steaks were only 1-1/2 inches thick I applied the salt and pepper in the morning of the day I planned on cooking them.  

    My choice of charcoal for cooking the steaks was the hardwood type charcoal.  I also knew I wanted a hot fire, the hardwood charcoal burns much hotter than the regular charcoal, so I decided to put a pan under my charcoal holders so the grate sat on top of the coals.  I watched Alton Brown on Good Eats cook steak on top of charcoal and it always intrigued me.  I'll admit, I don't think I will ever be able to put meat in direct contact with the charcoal but none the less, I still wanted to try something similar.  After the grill was ready I had one hot fire and it was time to get the steaks.

    I made sure I didn't go far while cooking the steaks because I didn't want the steaks to end up as as big chunk of charcoal.  I cooked the steaks 5 minutes on each side, alternating with the lid up and with the lid down.  I only put the lid down whenever I thought the fire was going to flame up but once I was convinced fire wasn't going to engulf the steaks and turn them into blackened shoe leather I left the lid up.  After the steaks had sufficient sear marks on each side I slid them to the "cool" side of the grill and let them finish cooking for another 10 minutes until they were a perfect medium rare.  

    Hot off the grill and tempting to pick up by the bone and start eating.  But I can't do that because these steaks need to rest for 15 minutes.  The recipe also calls for a pad of french butter to be added to the steaks while resting.  I'm not sure what "french" butter is or what makes it different but since I had some Lancaster County Pennsylvania Amish butter I used that instead.
    Once rested, it was time to slice the steaks and get them ready for their final resting place, my plate.  I got to admit though, after I sliced the meat off the bone I did pick up the bones and chew the remaining meat off.  After chewing on a bone I can see why dogs fight over steak bones.  
    The steak was served on a simple salad, leafy greens, red onions, red peppers and sweet grape tomatoes.  This might be the best way to eat a steak.
    So simple and yet so delicious.  How did the steak turn out?  It's the best steak I ever made and gets a perfect 5 out of 5 forks.  You would have to search far and wide to find a fancy steak joint that could serve a steak as good on this.

    Original Recipe

    Grilled Rib Eye Steak with Romaine Marmalade and Watercress

    Tuesday, June 12, 2012

    Barbecue Chicken Pizza Part Deux


    If you read the last post you will know I made some barbecue chicken.  If you didn't read the last post go ahead and it now, don't worry I'll wait.......................................................Done? Okay let's roll.


    For those people that know me you know there is only three in our household and most days or nights there are only two of us for dinner so you may be wondering "Why did he cook 2 chickens when there are only three people to feed?"

    Well, the answer is simple, especially if you opened your eyes and saw the first photo, Barbecue Chicken Pizza.  If you have never tried a Barbecue Chicken Pizza it's definitely a must try.  I have made BBQ Chicken Pizza before using different ingredients and different ways of cooking.  Until recently, I have had limited success with pizza on the grill but I think I got it down now.  I have been fairly successful with thin crust pizza on the grill, in my opinion much easier to make than the traditional style, but I prefer the traditional style crust.  I was going to post the recipe for the pizza dough but I think I will save that for a post all by itself.  I will tell you this though, it is the best pizza crust I have found to date and this particular pizza crust was 50% white flour and 50% wheat flour.

    As far as the ingredients go for the pizza itself it's fairly short list.  The cast of characters include: leftover bbq pizza from the Sunday cookout, red pepper, sweet onion, barbecue sauce, and some green onion because it was in the vegetable drawer and needed to be used.  Ingredients can vary and the only reason I used these particular ingredients is because I had them on hand.  Cheese can vary too with my normal favorite for bbq chicken pizza being asiago but since I used what I had in the frig I used baby swiss with a little pecorino and parmesean shredded on top.  If you notice the cheese didn't make the photo shoot because it's either A) To shy to show up and have its picture taken or B) The photographer forgot it, take your pick.

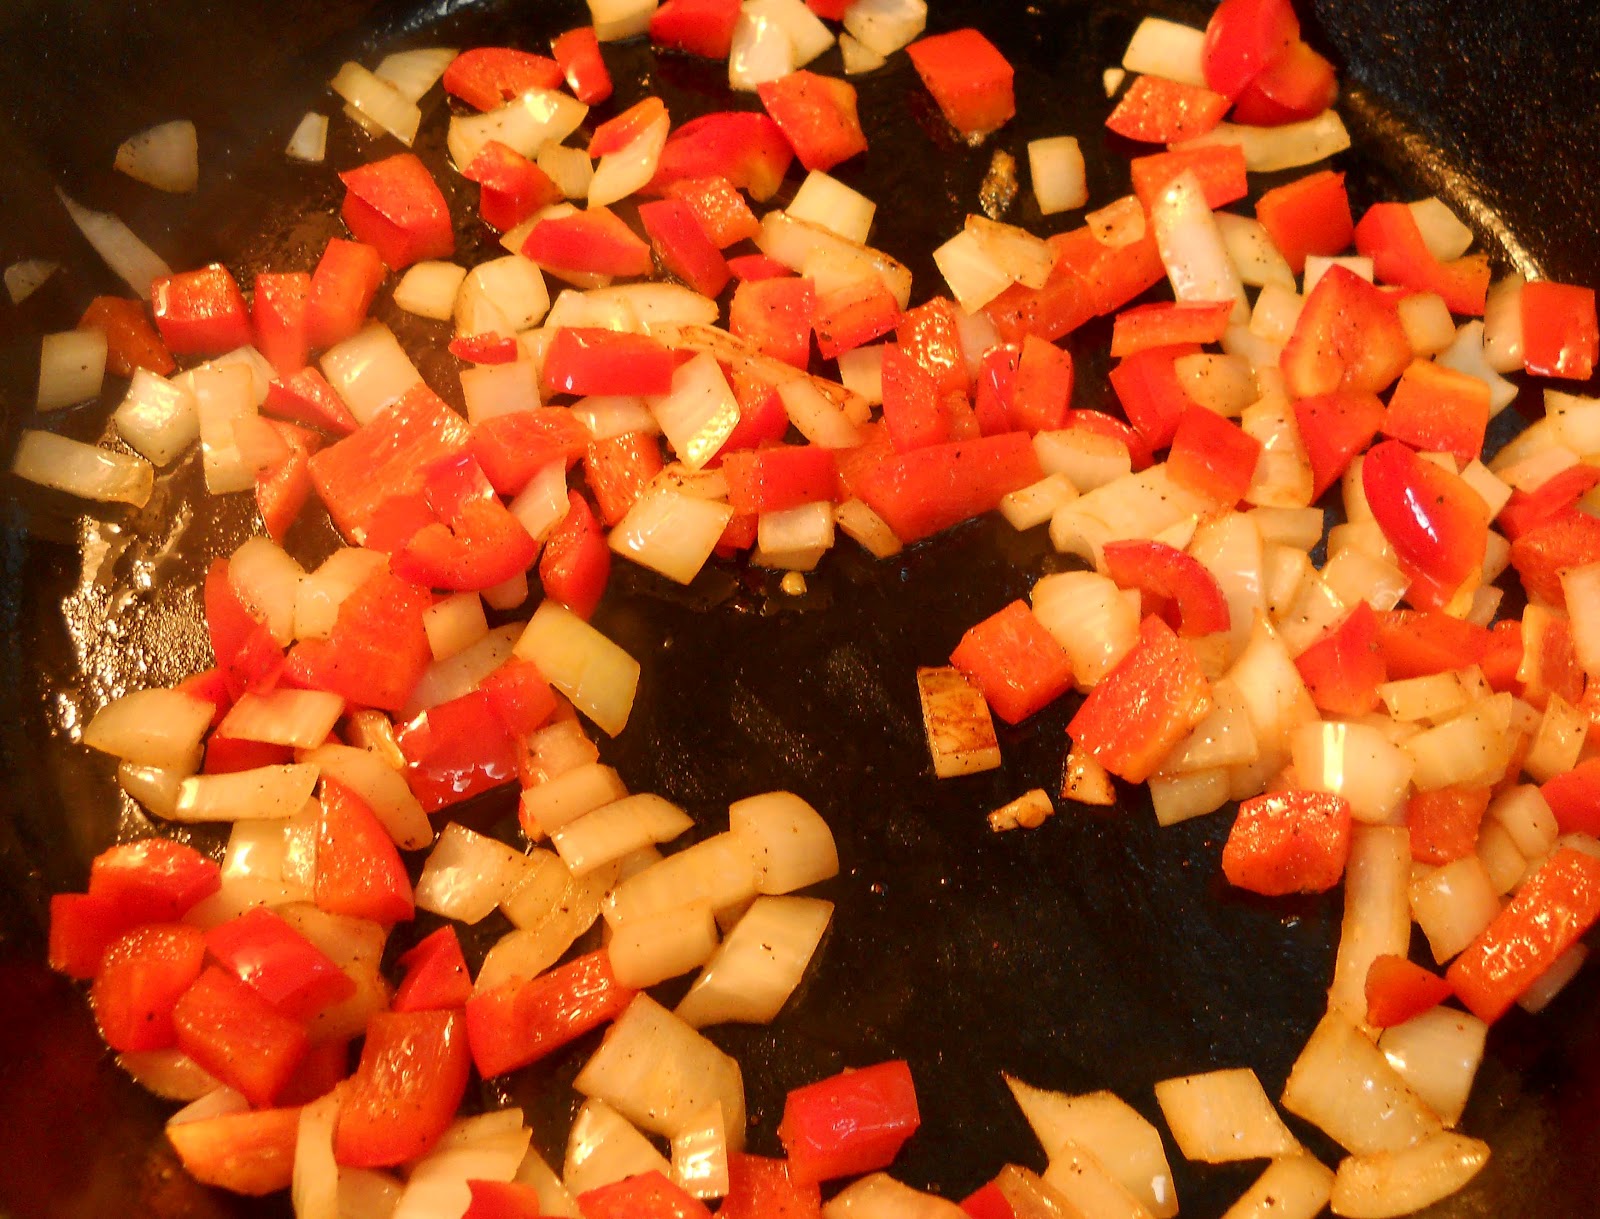
    I like to saute the onions and red pepper on the stove top for a few minutes before putting them on the pizza.  I also throw a little fresh garlic in the pan at the end until fragrant.   

    Building the pizza is easier than building a box out of Lego's, pizza dough, favorite barbecue sauce, cheese, red peppers and onions, chicken and more shredded cheese on top.  And oh yeah, don't forget the green onions I needed to use up from the veggie compartment in the frig.  Also, notice the pizza peel under the pizza, I was told you can't be a pizza pie maker if you don't have a pizza peel.  I'm not sure the pizza peel makes me any more of an expert but I'm sure it gets me a step closer.

    I've tried all sorts of ways to cook pizza on the grill and here is the way the works the best for me.  I start with a chimney full of charcoal and after the coals are white I for a circle all around the outside of the grill.  I also put four or so hot coals in the middle of the grill so when the pizza stone is laid on the grill it helps to warm it up.  And speaking about warming up the pizza stone, that may be the most important step, making sure plenty of time is given to warm up the stone, at least 10 minutes or more.  I'll bet you noticed how much the grill and stone have been used.  Since I don't have a big budget for buying new grilling equipment for every show like the big boys on Food Network I must work with what I got.

    Now that the grill and stone are ready all that's left to do is cook the pizza.
    That looks good and we're just getting started.  After 12 to 15 minutes, depending how hot the grill gets, we can take a peek and see how things are going........ 
     Ohh, almost ready, only a couple more minutes.
     My, my, my, that looks good.  All that's left to do is let cool, slice, eat and enjoy.


    Sunday, June 10, 2012

    Grandma's Barbecue Chicken


    Let's climb into the wayback machine and take a trip back 40 years or so to my Grandma Williams cottage.  We land on a fall Sunday afternoon, leaves need to be raked and life jackets put away for the winter.  After the leaves are raked in piles and lit on fire we head for the dock on the lake and catch a few bluegills with kernels of corn.  Meanwhile, grandma drags the old red reliable charcoal grill (I'm not sure gas grills existed in those days), piles up the charcoal in a neat pyramid and douses the charcoal with lighter fluid.  After the lighter fluid soaks into the charcoal she touches a match to the coals and fire slowly spreads from coal to coal until the coals were completely covered with white ash.


    While the charcoal is getting ready we know within the next couple of hours we will be treated to barbecue chicken by the unmistakable smell of lighter fluid and charcoal burning.  (Years later, in one of my first attempts to use a charcoal grill, I thought the only way to light charcoal was with lighter fluid.  Of course, being a young buck and impatient, thinking if a little lighter fluid is good then more must be better.  Needless to say those burgers tasted just like lighter fluid and that day I swore off charcoal and shortly thereafter purchased my first gas grill.  A few years later, while in a local store, I came across a chimney starter for lighting charcoal without lighter fluid that would change my grilling life forever.)

    I don't now what grandma did to get the chicken ready for the grill, I was too busy being a 13 year old boy to care how barbecue chicken was made.  However, I do know she made the best barbecue chicken on this planet.  My guess is she kept it simple, probably salt and pepper, before she tied it to the rotisserie.  There was no mistaking when the chicken finally made it to the grill.  The constant whining of the rotisserie motor told you chicken was cooking.  The chicken was never balanced properly on the rotisserie and the motor changed to a lower growl when the breast portion of the chicken was lifted upwards.  Once the chicken breast cleared the top the motor pitch increased as gravity helped push the rotisserie motor down.  This continued for a 1-1/2 to 2 hours until the chicken was done.  She would start slathering barbecue sauce on half way through and continue until the chicken was done. The smell was incredible and one of my favorites while growing up. Anyway, back to our trip.......

    The chicken is fall off the bone good.  Caramelized barbecue sauce on the skin from the thigh is my favorite part of the chicken with the legs coming in a close second.  Oh so good but it's time to get back in the wayback machine and come back to the present.

    A couple of years ago I made barbecue chicken for little sister and asked her if it was as good as grandma made back in the day, much to my disappointment she said no.  Needless to say, I expected that answer and that started my quest towards duplicating grandma's barbecue chicken.  I've made barbecue chicken many different ways, and all are good, but I always knew until I bought a rotisserie I couldn't match grandma.  So a couple of weeks ago I broke down and bought a rotisserie for my Weber grill and it turns out to be one of the better gadgets purchased in the last couple of years.  

    I knew simpler was better but I a big believer in brine for anything poultry. I usually keep it simple, apple juice, brown sugar or sugar in the raw, salt, and peppercorns.  I heat it all up on the stove top until the salt and sugar are dissolved and cool it all down with a couple handfuls of ice.  The chicken is submerged in the brine overnight.  The next day I remove the chicken and pat it dry with paper towels.  Once dry, I message canola oil onto the chicken and liberally salt and pepper the outside as well as inside the cavity.  Other seasonings can be added but like I stated earlier, simpler is sometimes better.  

    Once the chicken is seasoned it's time to put it on the rotisserie and tie it down so it can't flop all over the place.  On to the grill it goes and spins........
    .............and spins..........
     ........and spins.......
     ......and spins for 1-1/2 hours until the chicken is cooked through and the barbecue sauce is caramelized and delicious.
     Is it as good as grandma's?  I won't know until little sister gets a taste but I like to think it is.

    Thursday, June 7, 2012

    Bourbon, Sriracha Sauce and Barley Malt, What do These Things Have in Common?

    So the new toy for the grill showed up at my door (the rotisserie attachment for those of you too lazy to check out my previous post) from Amazon a few days ago and the first decision to be made was what to cook? Yes, yes, we must figure out what to cook first.


    For some reason my brain got on a pork roast track and wouldn't let go.  My fingers even typed out Rotisserie Pork Roast Recipes on my keyboard while on the internet before I realized what I was doing.  My grand plan was to cook barbecue chicken first, after all I got this need to have little sis tell me I finally matched Grandma Williams barbecue chicken, but like I said my brain kept saying PORK ROAST, PORK ROAST, PORK ROAST!!!!  OK, OK I get it, let's see what Google brought me on my search.  Well, well, the second search link Bourbon Rotisserie Pork Roast sounds interesting and simple ingredients.  


    • 1 5-6 pound boneless pork shoulder
    • 1 tablespoon kosher salt
    • Rub:
    • 2 tablespoons light brown sugar
    • 2 teaspoons whole black peppercorns
    • 2 teaspoons mustard seed
    • 1 teaspoon paprika
    • 1 teaspoon garlic powder
    • 1 teaspoon onion powder
    • Mop:
    • 1 cup bourbon
    • 1/2 cup light brown sugar
    • 1 small onion, pureed
    • 1/4 cup ketchup
    • 1/4 cup corn syrup (preferably dark)
    • 2 tablespoons brown mustard
    Also, see that first ingredient listed under the mop recipe?  Bourbon?  That one got stuck in my brain too.  Now I got two things rattling around in my head, pork roast and bourbon, that's an awful lot for me to process at one time.  I decide to kill two birds with one stone and make this recipe I found, the barbecue chicken will have to wait for another day.

    I'll admit, I didn't use the recipe above but I made one up along the same lines:
    • 1 5-6 pound boneless pork shoulder
    • 1 tablespoon kosher salt
    • Rub:
    • 2 tablespoons light brown sugar
    • 2 teaspoons whole black pepper
    • 1 teaspoon paprika
    • 1 teaspoon garlic powder
    • 1 teaspoon onion powder
    • 1 teaspoon ancho chili powder
    • Mop:
    • 1 cup bourbon
    • 1/2 cup light brown sugar
    • 1/4 cup sriracha chili sauce
    • 1/4 cup barley malt
    • 2 tablespoons dijon mustard
    I don't know why I like cooking with bourbon because I can't stand the taste.  I guess it's just like wine, again, I don't like the taste of it, no matter how expensive, but I like cooking with it.  Also, lately I've had sriracha sauce in the frig and I've substituted it for ketchup in different sauces and marinades.  I like the flavor and little bit of heat it brings.  The barley malt is from a pizza dough recipe (more on that in a later post) I've been making so I have been substituting that for sugar or honey in some recipes.  I roasted the pork roast for around 1-1/2 hours over my grill that started at 450 degrees and settled on 350 degrees after a 1/2 hour or so.  The mop was applied every 15 minutes after the initial 45 minutes of roasting.
    Ahhh, the sweet, succulent taste of pork.  It's hard to beat a good pork roast and even harder to beat when spun on a rotisserie.  I think I'll keep this new toy and look for more rotisserie recipes. So to answer the question Bourbon, Sriracha Sauce and Barley Malt, what do these things have in common?  Why, obviously, pork roast and rotisseries.

    Wednesday, June 6, 2012

    Spinning Food with a Purpose

    It's been awhile since I last visited here but I think I'm back to post more pics, recipes and whatever else I feel like, after all, this is my blog and I can do what I want.  A couple of years ago the whole family moved to Facebook and that killed the blog writing for everyone.  Why spend all the time writing and editing photos for a blog post when all that needs to be done is to take a pic with the new fangled phone cameras, post to Facebook and write a clever sentence or two?  It all seems so easy when compared to writing and maintaining a blog.

    I thought about it a few weeks ago and decided I wanted to get back into the blog business, back to my roots, where it all started years(?) ago.  I'll still post a pic or two on Facebook, after all how else will I ever get anyone to visit my blog, but the blog will tell my story with words, recipes and of course photos.  Will I be able to post photos of nightly dinner 5 minutes after I finish eating and before I even start to digest my meal?  Hell no, that is the big advantage of Facebook but with the blog I can share more photos and share recipes.  The blog will also give me a history of my food exploits and that is something hard to do with Facebook, even with the new timeline.  Now, on to the blog.

    If you have been here before but it's been a while you will notice the new look.  It's called a " dynamic" blog where photos, somehow or other, are suppose to load faster.  Also, it's suppose to be easier to navigate when a visitor comes calling.  We'll see, if I don't like it I may change it back.

    Enough BS let's get to the reason I'm here..........FOOD!!!

    Weber Rotisserie Attachment
    Rotisserie Magic About to Happen
    For the last couple of years I've thought about (maybe I should say procrastinated) buying a rotisserie for my grill.  Ever since I cooked some barbecue chicken for my little sister and made the mistake asking her if it was as good as Grandma Williams barbecue chicken and she gave me the ole head shake no I knew eventually I would have to break down and buy one.  Now, I have to admit, I think I make a pretty mean barbecue chicken on the grill but apparently it's not up to Grandma's standards.  I had everything she used, grill and charcoal, but I didn't have a rotisserie.  Like I said earlier, after two years thinking about it (okay procrastinating) I finally broke down and bought one.  
    Grandma's Barbecue Chicken?
    Rotisserie cooking, as I have found out, brings a whole new level to cooking.  I don't know what took me so long to get in the game but I'm sure glad I did.  Stay tuned over the next few days because I got a couple of backlogged food items, obviously from the rotisserie, to post.


    Sunday, August 1, 2010

    Orange Honey Glazed Chicken

    I have  been waiting and waiting for big sis to post this recipe for about a year now but I guess she is too busy posting graduations, planning weddings, traveling to New York City and who knows where else to post food blogs.  Not that those things aren't important but come on, we are talking about food here, the basic ingredient to life.

    She introduced me to this recipe a year ago after bragging about how it was her favorite chicken recipe for
     months prior.  I got to admit it's pretty darn good and well worth a post on this blog.
    There are a couple of differences from the recipe posted below.  The first being I used thighs instead of breast (a change big sis made and I continued with it) and the second is I used orange juice instead of tangerine juice because I can't find tangerine juice. 

    Let's take a look at this weeks cast of characters........
    First things first and we must make the glaze.  It's an easy glaze to make just combine the thyme and orange juice in a sauce pan and cook down.  Remember to leave enough time to reduce the orange juice because it took me 45 minutes or so to get the orange juice reduced to what the recipe calls for. 
    Now that the hard part is done it is time to FIRE UP THE GRILL!!!!!!
    It really is pretty simple from here, start by cooking the thighs, brush on some glaze and take off the thighs before they are over cooked.  If you do that and follow the directions below here is what you end up with.
    A delicious chicken recipe that is so simple to make it can be cooked for a weekday dinner.  My for rating for this recipe is 4.25 forks out of 5.  The only reason it is 4.25 is I think the recipe has too much cumin (personnel preference).  The next time I will cut the cumin in half and the rating will be higher, I have no doubt about that.

    So in the end it looks like big sis really did have a good chicken recipe, even if she didn't get around to sharing it with everyone, and one well worth keeping around in the recipe box.


    Bobby Flay’s Winner of a Chicken Dinner
    Chicken With Tangerine-Honey Glaze

    3 cups tangerine juice or tangerine-orange juice (not from concentrate)
    5 fresh thyme sprigs
    1/4 cup clover honey
    Kosher salt and black pepper
    3 Tbsp Spanish paprika
    1 Tbsp ground cumin
    1 Tbsp dry mustard powder
    2 tsp ground fennel seeds
    2 Tbsp canola oil
    4 boneless, skinless chicken breasts (about 8 oz. each)
    2 green onions, thinly sliced, for garnish

    1. Combine the juice and thyme in a medium saucepan and bring to a boil over high heat. Cook, stirring occasionally, until thickened and reduced to about 1/2 cup; remove the thyme stems and discard. Whisk in the honey until incorporated and season with 1/2 teaspoon of salt and 1/4 teaspoon of pepper. Transfer to a bowl and let cool to room temperature.

    2. Heat grill to medium-high.

    3. Stir together the paprika, cumin, mustard powder, fennel, and 1 teaspoon each of the kosher salt and black pepper in a small bowl. Brush both sides of the chicken with the oil, and season with salt and pepper. Rub the top of each breast with some of the spice rub and place on the grill rub-side-down. Cook, without touching, until they’re lightly golden brown and a crust has formed, 3 to 4 minutes. Turn the breasts over, brush the tops liberally with some of the glaze, flip them, and continue cooking until an instant-read thermometer inserted into the center registers 155°F. Remove from the grill, brush the spice-rub side with more of the glaze, tent loosely with foil, and let rest 5 minutes before serving.

    Serves 4. Per serving: 460 calories, 39g carbs, 48g protein, 12g fat, and 125mg cholesterol.

    http://www.parade.com/export/sites/default/food/recipes/parade/090719-bobby-flay-chicken-dinner.html